How to Plant, Grow, and Care for ‘Winterbor’ Kale
If you love to grow kale, grow some ‘Winterbor’ kale this season! This F1 hybrid produces plentiful, curly leaves that last through early spring or into late fall. If you need more info on how to cultivate this awesome superfood, follow this guide by experienced gardener Sarah Jay.


Contents
I love kale. It’s one of the easiest crops to grow, with some of the highest marks for nutrition. ‘Winterbor’ is a great variety of curly kale that produces tons of deep green leaves you can use just like your other favorite cultivars.
Kale is mostly an annual plant in North America. In regions where winters aren’t completely frozen the entire time, it can perennialize. However, in these regions, insects reign. Growers who invest in a good floating row cover have an advantage in this regard.
This kale variety really shines in regions that are cold. It handles cold weather like a champ and doesn’t stop producing until conditions are unfavorable for its growth. It does well in cooler seasons in temperate areas, too.


‘Winterbor’ Kale Overview

|
Plant Type
Biennial vegetable
Species
oleracea
Genus
Brassica
Family
Brassica
|
Native Area
Eastern Mediterranean
Exposure
Full sun
Height
2’
Watering Requirements
Moderate
|
Pests & Diseases
Leaf spot, damping off, mildew, aphids, caterpillars, flea beetles, root knot nematode
Maintenance
Low
Soil Type
Rich, well-draining
Hardiness Zone
2-11
|
What Is It?
‘Winterbor’ is an old Dutch F1 hybrid bred for its cold tolerance. At first glance, it’s nothing more than a standard curly kale. But it has some of the best resistance to cold among other varieties of kale.
While it is best suited for colder regions, people in the South will also benefit from growing this high-producer.
Characteristics
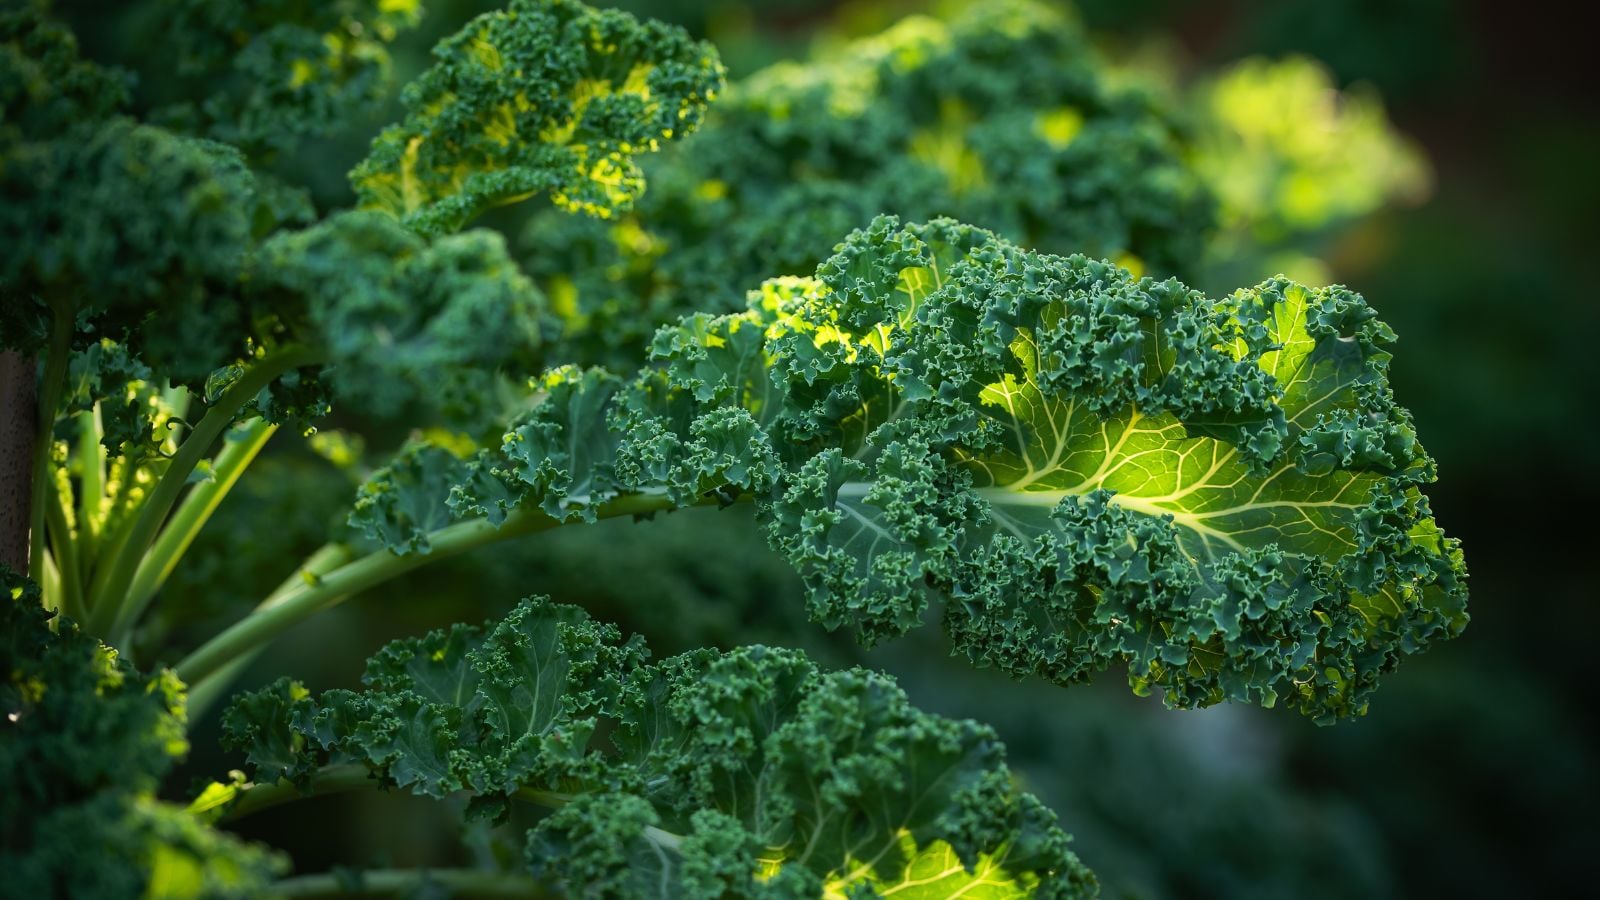
Like other kales, this one is a great temperate weather veggie. Its leaves are deep green, and sometimes bluish with deeply curled edges and light green veins. What sets ‘Winterbor’ kale apart from other varieties is its fullness. At maturity, its heads are incredibly lush and full.
All kale is technically biennial, and in its native range and similar conditions, carries out its life cycle over two years. In most places in North America, this kale acts like an annual, and typically dies back when the climate gets too cold or hot.
Native Area

Kale is native to the eastern Mediterranean, with records showing its cultivation all the way back to 2000 BCE. Archaeologists note that curly kales were in use by the 4th century in Greece. With such a longstanding history of over 3500 years of cultivation, it’s no surprise there are so many kale varieties out there.
‘Winterbor’ was hybridized in the late 20th century in Holland for its desirable cold-tolerant traits.
Planting
If you’ve never grown kale before, you’re in luck! The initial planting process, whether it’s done from transplant or seed, is very easy. As long as you time your plantings appropriately, you’ll have the lovely full leaves that ‘Winterbor’ is known for.
Transplanting

The best time to transplant kale seedlings is in the early spring or late summer, when soil temperatures are at least 65 to 85°F (18 to 29°C). Weed the area where you’d like yours to grow, either in your garden bed or in a container. Dig a hole the size of the starter pot. You can set your starter inside the hole to check its size.
Gently loosen your transplant from its starter pot, and lower it into the hole. Then press it into the soil to ensure the roots make contact with the soil surface. Fill in any gaps, and water your transplant in. Keep plants 18 inches apart in rows two feet apart.
Growing from Seed

Kale is one of the first seeds to pop up in my seed starting station every year. That’s because it only takes five to 10 days to emerge. And it’s not fussy like peppers or tomatoes, which require some heat to germinate. Sow your seeds indoors four to six weeks before your last frost, or 12 to 14 weeks before your first frost.
Transplant after four to six weeks of growth. You can direct sow seeds under a row cover in spring, one to two weeks before your last frost as well. Plant a group of three seeds ¼ inch deep every 18 inches. When they reach one inch, thin them to the strongest of the three seedlings.
How to Grow
Once you get your ‘Winterbor’ kale transplanted, most of your efforts will go to managing pests and diseases, and harvesting tons of nutritious leaves. Let’s discuss what it needs to thrive.
Light

Full sun is needed to grow ‘Winterbor’ kale. Give yours at least six to eight hours of sunlight per day. In areas where summers are hot and come on strong, provide some partial shade in the late afternoon. Established plants can handle heat, but this cold-hardy kale needs some shielding from intense sunlight to prevent scorching.
Water

Kale plants need at least one inch of water per week. In seasons where rain is plentiful, there’s no need to supplement. Alternatively, in areas where rainfall is scarce, water once per week with soaker hoses or drip irrigation. In hot areas, water up to two times per week.
Soil

Regardless of where ‘Winterbor’ kale is planted, it needs rich, well-draining soil to thrive. If you’re dealing with heavy clay soil, add compost to improve the nutrient content and the texture of the soil. If necessary, add perlite or agricultural grit, which improves drainage.
In containers, use a rich, organic container garden soil.
Temperature and Humidity

This variety is known for its cold-loving nature. It can handle temperatures down to 0°F (-18°C). Heat is another story. While ‘Winterbor’ kale can handle heat, its taste becomes bitter in hot areas, and it may be prone to bolting above 80°F (27°C).
If you want to keep yours alive through summer, monitor it, water it regularly, and remove any flower heads that form before they open. Humidity can leave your kale open to fungal and bacterial pathogens, so keep a close eye on the leaves in humid areas. Remove any diseased areas promptly.
Fertilizing

Wait until your transplants reach four inches tall, and apply an organic, powdered fertilizer high in nitrogen. Then side-dress your plant with well-rotted compost once in the middle of the season. The great thing about kale is that it does not require fertilizer in rich soils.
Maintenance

The most important maintenance for ‘Winterbor’ kale is monitoring for pests and diseases. We’ll get into the specifics of that later in this piece. If you notice any singed or dead leaves, remove them from the plant as needed.
Harvesting and Storage

While this kale takes 60 days to reach full maturity, you can begin harvesting baby leaves from the outside of its central rosette when they reach two to three inches tall. Full-size ‘Winterbor’ kale leaves can be harvested all at once, or from the outside as well, keeping the center for future harvests.
Wash leaves, dry them, and store them in plastic bags in the refrigerator for up to one week. Roughly chop the leaves, blanch them, and freeze them in a flat layer on a cookie sheet. Then transfer them to plastic freezer bags to store for up to one year.
Dry kale pieces for kale chips at 125 to 130°F (52 to 54°C) for four to seven hours. Keep them in a plastic bag or jar in a cool, dark place for up to one week. You can pressure can kale and keep it for up to one year as well. Note that this is a low-acid food, and pressure canning is an absolute must for preventing botulism.
Common Problems
Most of the problems with ‘Winterbor’ kale stem from all the pests that love to eat its supple leaves (just like you do!). Use cultural means of control before resorting to chemicals, and you’ll find other insects take care of the pesky ones for you.
Pests

Cabbage loopers, cabbage worms, cutworms, armyworms, and more caterpillars love to feast on brassicas of all kinds. The easiest way to deter them is to transplant your kale in early spring and add a row cover over your crop immediately afterward. This deters flea beetles as well.
If you don’t have a row cover handy, hand-pick any caterpillars you see, checking once per day. BT spray is a good way to get rid of them, and birds typically love to eat caterpillars. Encourage them in your yard. Insecticidal soaps deter flea beetles.
Root knot nematodes are prevalent in areas where kale is planted year after year in the same spot. Rotate your ‘Winterbor’ kale to prevent them, and treat soils where they have been before planting transplants. Use beneficial nematodes in two treatments two weeks apart in temperate times of year for best results.
Diseases

Young seedlings succumb to damping off in conditions that are too moist after germination. Let the soil dry slightly between waterings at this early stage. Leaf spots (both fungal and bacterial) may also crop up where conditions are overly wet or highly humid. Keep an eye on plants in these conditions, and remove damaged leaves as they crop up.
Frequently Asked Questions
Is ‘Winterbor’ kale edible?
Yes! It’s part of the curly kale group and can be eaten just like any other edible kale.
When to plant ‘Winterbor’ kale?
Plant seeds 12 to 14 weeks before the first frost for a winter harvest, or 4 to 6 weeks before your last frost for a spring harvest. Transplant after four to six weeks of growth.
What is ‘Winterbor’ kale?
This variety is a Dutch F1 hybrid bred for its cold resistance.


