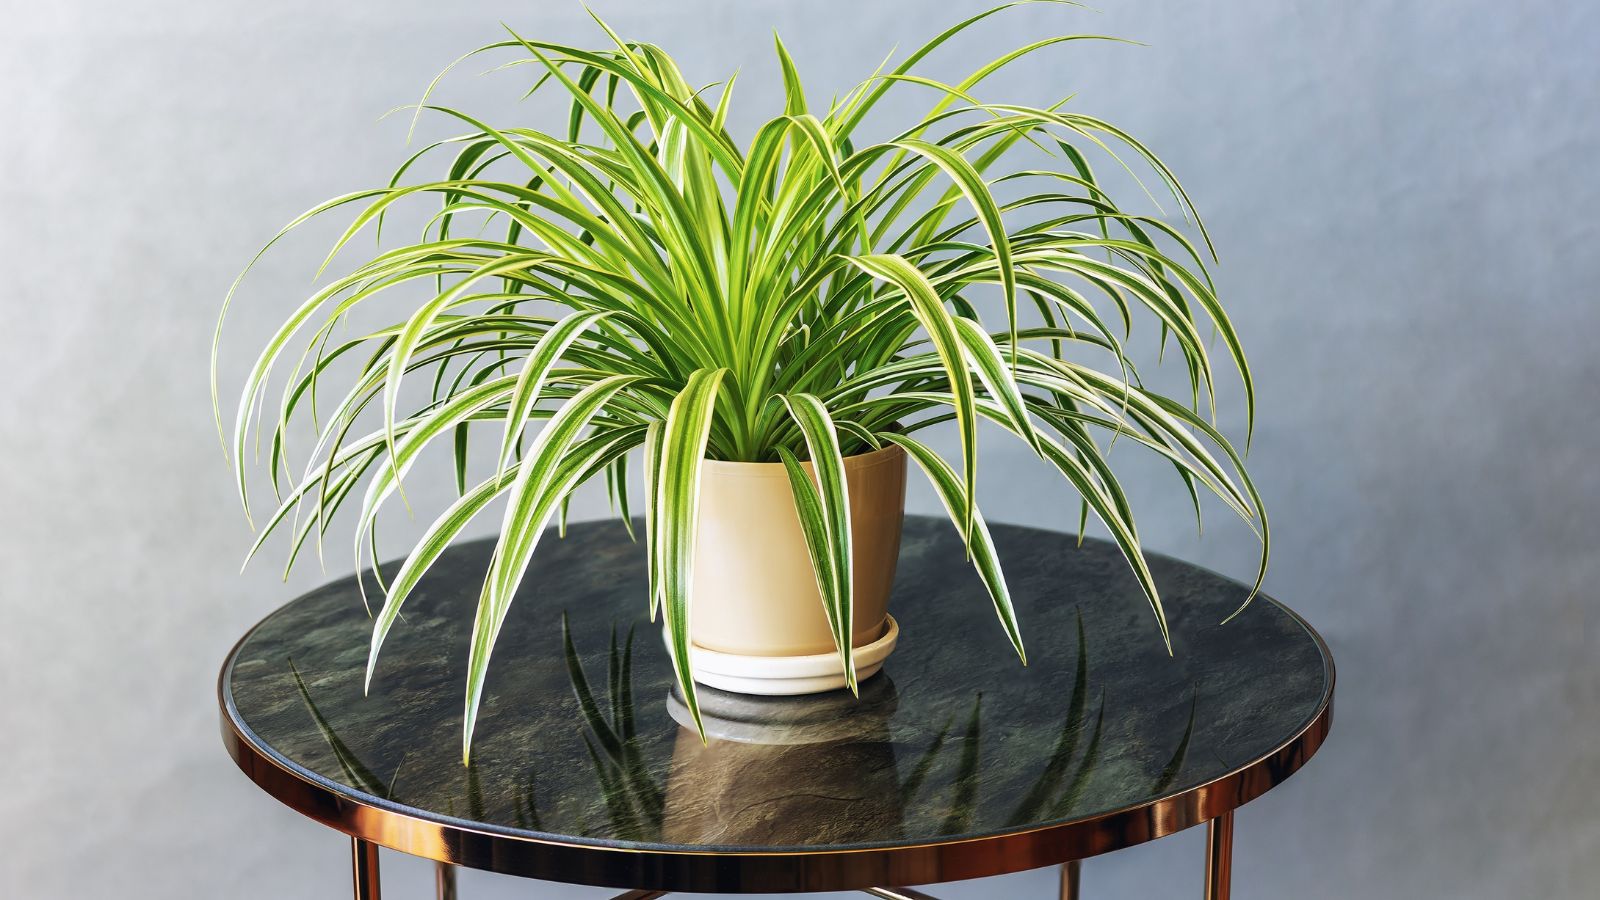
How to Save a Dying Spider Plant
Spider plants are known for being nearly indestructible, but even these resilient houseplants can struggle when conditions go wrong. Gardening expert Madison Moulton explains how to diagnose what's causing your spider plant to decline and the steps to nurse it back to health.


Contents
Spider plants have earned their reputation as beginner-friendly houseplants. They tolerate neglect and generally thrive with minimal fuss. So when a spider plant starts looking terrible, it’s both concerning, and a bit embarrassing.
Luckily, spider plants are remarkably resilient. Even plants that look half-dead can often recover once you address the underlying problem. Once you figure out what went wrong in the first place, it’s easy to save a dying spider plant. Without understanding the actual cause, you might “fix” the problem in ways that make it worse.
Identify the Cause

Before you start making changes, spend some time observing your plant and evaluating its growing conditions. Random adjustments without understanding the problem often create new issues while leaving the original one unresolved.
Start with the soil. Stick your finger into the potting mix a few inches down. Is it wet, dry, or somewhere in between? Pull the plant partway out of its pot if you can and check whether the roots look healthy and white or if they’re brown and mushy. Mushy roots indicate overwatering and root rot, while roots that circle endlessly around the pot suggest the plant has outgrown its container.
Examine the leaves closely. Brown tips are common and usually relate to water quality or inconsistent watering rather than serious problems. But if entire leaves are yellowing from the base or the plant is losing multiple leaves at once, something more significant is happening. Look for pests too, as spider mites, mealybugs, and aphids all attack spider plants.
Consider environmental factors. Has anything changed recently? Did you move the plant to a different location, change how often you water, or add fertilizer? Sometimes plants react badly to changes, even when those changes seem beneficial.
Once you’ve identified the most common culprit, choose one of the fixes below to save your dying spider plant. Make sure you make adjustments slowly rather than making all these changes at once, as it might only make the problem worse. Start with the most likely, wait a few weeks, and then try again if needed.
Adjust Your Watering

Watering issues cause the majority of spider plant problems. These plants like their soil to dry out partially between waterings, but they’re not quite as drought-tolerant as people assume, and they definitely can’t handle constantly wet roots.
If your plant is wilting despite wet soil, you’re overwatering. The roots have likely developed rot from sitting in moisture, which prevents them from absorbing water and nutrients properly. Counterintuitively, overwatered plants often look like they’re dying of thirst because the damaged roots can’t function.
To save your dying spider plant, cut back on watering frequency immediately and let the soil dry out more between waterings. This might mean watering once a week or once every two weeks, depending on your home’s temperature and humidity. Empty any water that collects in trays after watering, so roots aren’t sitting in standing moisture.
For severely overwatered plants showing root rot, you might need to repot in fresh, dry soil after trimming away damaged roots. Mushy brown roots should be cut back to healthy tissue using clean scissors.
If the problem is underwatering (soil is completely dry and hard, leaves are crispy rather than mushy), increase watering frequency and make sure you’re watering thoroughly when you do water. Water until it runs out the drainage holes, ensuring the entire root ball gets moistened.
Change the Soil

Old, degraded potting soil loses structure and becomes compacted, which creates drainage problems even if your watering habits are correct.
If you haven’t repotted your spider plant in several years, fresh soil might be exactly what it needs. Dump out the old potting mix completely. Rinse the roots gently to remove old soil and get a better look at root health.
Trim away any damaged sections, then repot in fresh houseplant potting mix. Choose a blend that drains well rather than retaining too much moisture. Many commercial potting mixes designed for houseplants work fine, or you can add perlite to standard mixes to improve drainage.
While you’re repotting, inspect the container itself. Make sure drainage holes are clear and haven’t become blocked with roots or old soil. Spider plants absolutely need drainage. Without it, even a perfect watering technique leads to waterlogged roots and the problems that follow.
After repotting in fresh soil, water lightly to settle everything in place, but don’t drench it. The plant is already stressed, and damaged roots are vulnerable to rot, so err on the side of slightly too dry rather than too wet as the plant recovers.
Use a Bigger Pot

Spider plants grow quickly when happy, and a thriving plant can outgrow its container within a year or two. Roots circling the inside of the pot or emerging from drainage holes signal it’s time to size up. They don’t get very big, but if you started with a tiny container, this could be the issue.
When roots run out of space, the plant can’t access enough water or nutrients, even when those resources are present in the soil. This leads to stunted growth, yellowing leaves, and general decline despite seemingly adequate care.
To save your dying spider plant, choose a pot one or two sizes larger than the current container. Going too big creates excess soil that stays wet longer and increases the risk of overwatering, so resist the temptation to give your plant a massive pot thinking it will have room to grow for years.
After repotting to a larger container, your spider plant might pause growth briefly as it adjusts. This is normal and doesn’t mean you’ve made things worse. Give it a few weeks to settle in before expecting to see new growth emerging.
Divide

Sometimes a spider plant isn’t dying. It’s just become so large and congested that the center is struggling while the outer portions continue growing.
Division solves this by creating multiple smaller, more manageable plants from one overgrown specimen. This also gives you a chance to remove any truly dead or damaged sections rather than trying to nurse them back to health.
Remove the plant from its pot and examine the root mass. You’ll probably find it’s extremely congested with roots wound tightly around themselves. Use your hands or a clean knife to separate the plant into sections, each with its own roots and foliage.
Pot each division separately in fresh soil and appropriately sized containers. Trim away any dead or dying leaves. Water lightly and keep plants in bright, indirect light while they recover from the division process.
Remove Pests

Spider plants aren’t particularly pest-prone, but they’re not immune either. Spider mites, aphids, and mealybugs all occasionally infest these plants, and the damage can look identical to watering or light problems.
Check leaf undersides and the junctions where leaves meet stems. These are favorite pest hiding spots. Spider mites leave fine webbing and cause stippled, yellowing leaves. Aphids cluster on new growth and leave sticky honeydew residue. Mealybugs look like tiny cotton balls tucked into crevices.
For light infestations, washing the plant thoroughly with water often resolves the problem. Take your spider plant to the sink or shower and spray all surfaces with a strong stream of water, paying special attention to leaf undersides and new growth. Repeat every few days for a couple of weeks to catch newly hatched pests.
More serious infestations might require treatment with insecticidal soap or neem oil to save a dying spider plant. These products kill pests on contact and disrupt their life cycles, preventing reproduction.
After treating for pests, isolate the plant from your other houseplants if possible. This prevents the problem from spreading while giving the affected plant time to recover without competition for attention or resources.
Move to a Different Location
Sometimes a spider plant struggles simply because it’s in the wrong spot. These plants tolerate a range of conditions but they have preferences, and consistently inadequate light or temperature extremes eventually cause problems.
Spider plants need bright, indirect light. They survive in lower light but won’t thrive, and prolonged low-light conditions lead to weak, stretchy growth and yellowing leaves. If your plant is in a dim corner or far from windows, try moving it somewhere brighter to save a dying spider plant. Near an east-facing window is often ideal.
Too much direct sun causes problems, too. Leaves bleach and develop brown patches when exposed to harsh rays, particularly afternoon sun from west or south windows. If your plant is right against a sunny window, move it back a few feet or add sheer curtains to filter the light.
Spider plants really don’t like cold drafts or heat from vents blowing directly on them. Check whether your plant is positioned near air conditioning, heating vents, or drafty windows. Moving it away from these temperature fluctuations often leads to noticeable improvement within a few weeks.


