How to Regrow Green Onions from Scraps
You can regrow green onions and old bulb onions that have sprouted by following this quick guide. It's easy and saves you a market trip! Horticultural expert Lorin Nielsen explains the simple process step by step.

Contents
If you’re avoiding supermarkets, you’ll be glad to know there is a simple trick that helps you stay at home. Many people know you can regrow green onions from a tiny nub end, but few realize you can also turn half-rotten sprouted onions into new full-sized onion plants.
I use green onions so often that I am always running short. They do not last long in the refrigerator, with the greens wilting within just a few days. You can place them in a glass of water in the fridge to extend their life a little, but that only slows the decline.
Resprouting them is so easy that it is surprising more people do not do it. It takes only a few minutes, and before long, you will have more onions than you expect. They will also be far healthier and more vigorous than the thin, weak shoots produced by soaking the root end in water.
Ready to learn a few simple tricks to regrow green onions? Here we go.
White Lisbon Bunching / Scallion Onion
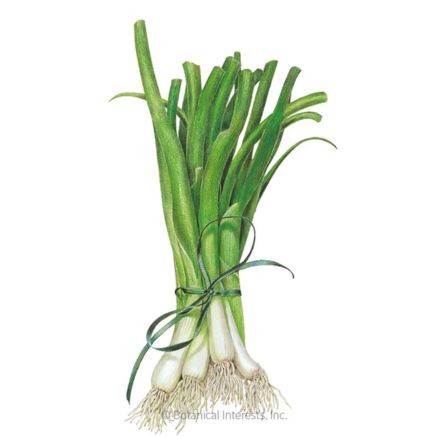
White Lisbon Bunching / Scallion Onion Seeds
Yellow Sweet Spanish Utah Bulb Onion

Yellow Sweet Spanish Utah Bulb Onion Seeds


How to Regrow Green Onions From Scraps
So you’ve separated out bunching onions and planted them, or you bought them at the market. Either way, you’ve got harvested green onions ready to eat. Here’s what to do with them to regrow green onions.
Prepare the Scraps
The first step to regrow green onions is to use what you need and save the root end. Before you cut, take a close look at the base. Here are a few possibilities you might come across:
- This onion end looks a little bedraggled. It should grow, but it is not in ideal condition. The nodule where the roots attach is still intact and not heavily discolored, so it will eventually produce new roots.
- This one is almost perfect. The trimmed root material is evenly distributed across the entire end, and each piece can regrow. These are the ends I always try to save for replanting. Healthy bases like this can usually be regrown between two to four times because they are vigorous and have plump tendrils that absorb water easily.
- This end has seen better days. The rooting nodule has started to darken and discolor, although there are still a few small root remnants. It may take root, but if it does, it will likely be viable for only one regrowth cycle.
Occasionally, you will find an onion with no roots at all. The entire base may have been sliced off. These green onions will not regrow, so there is no point in saving them.
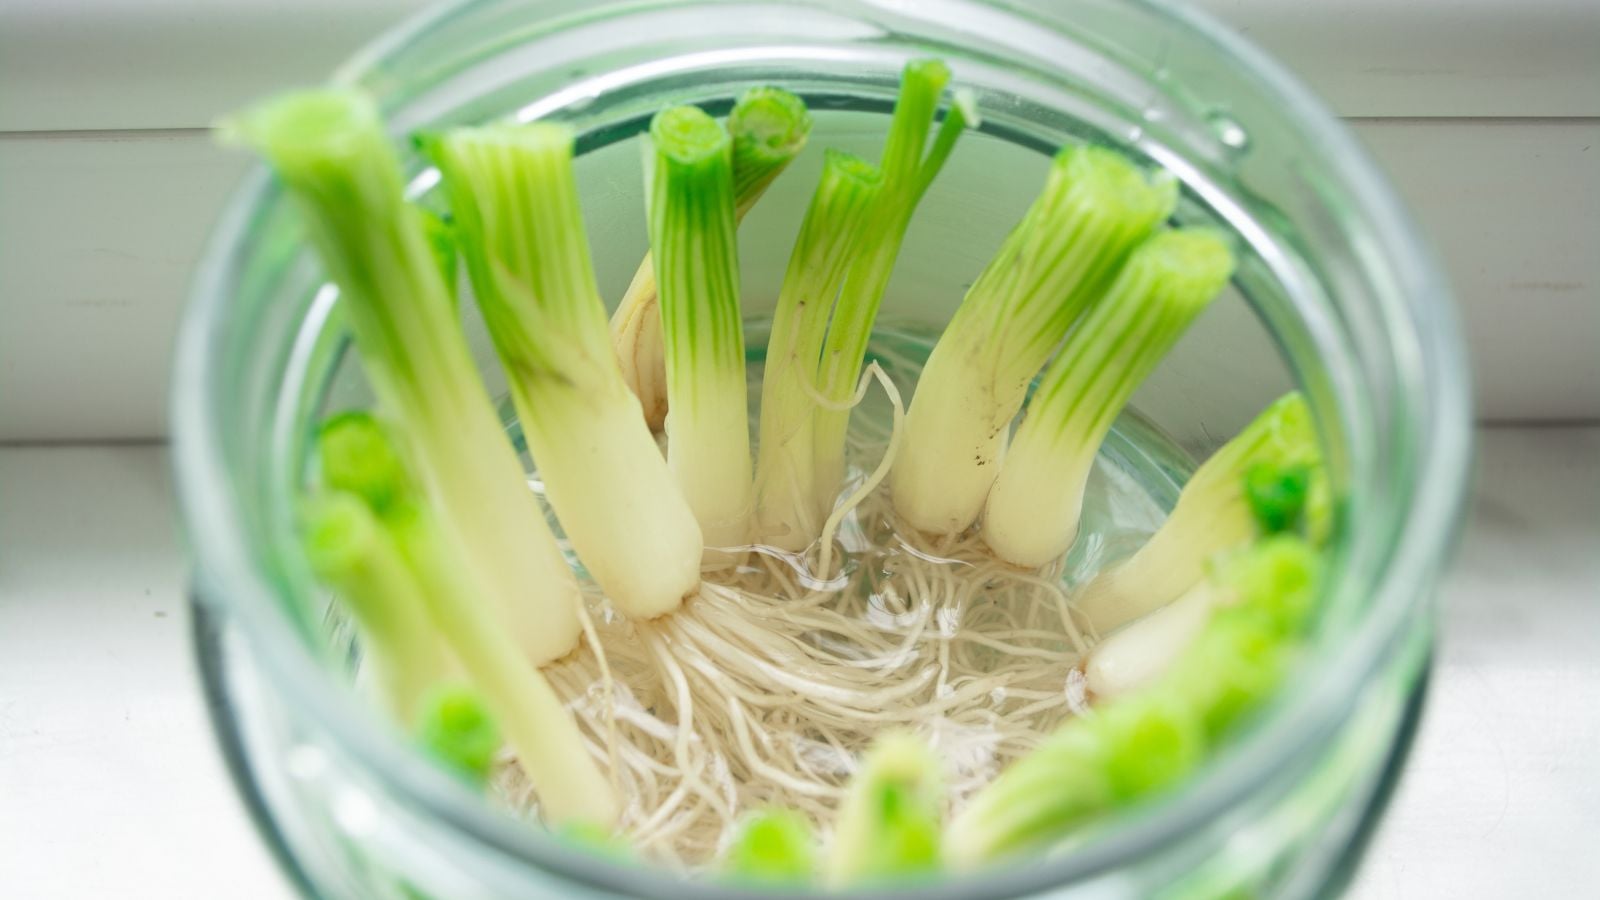
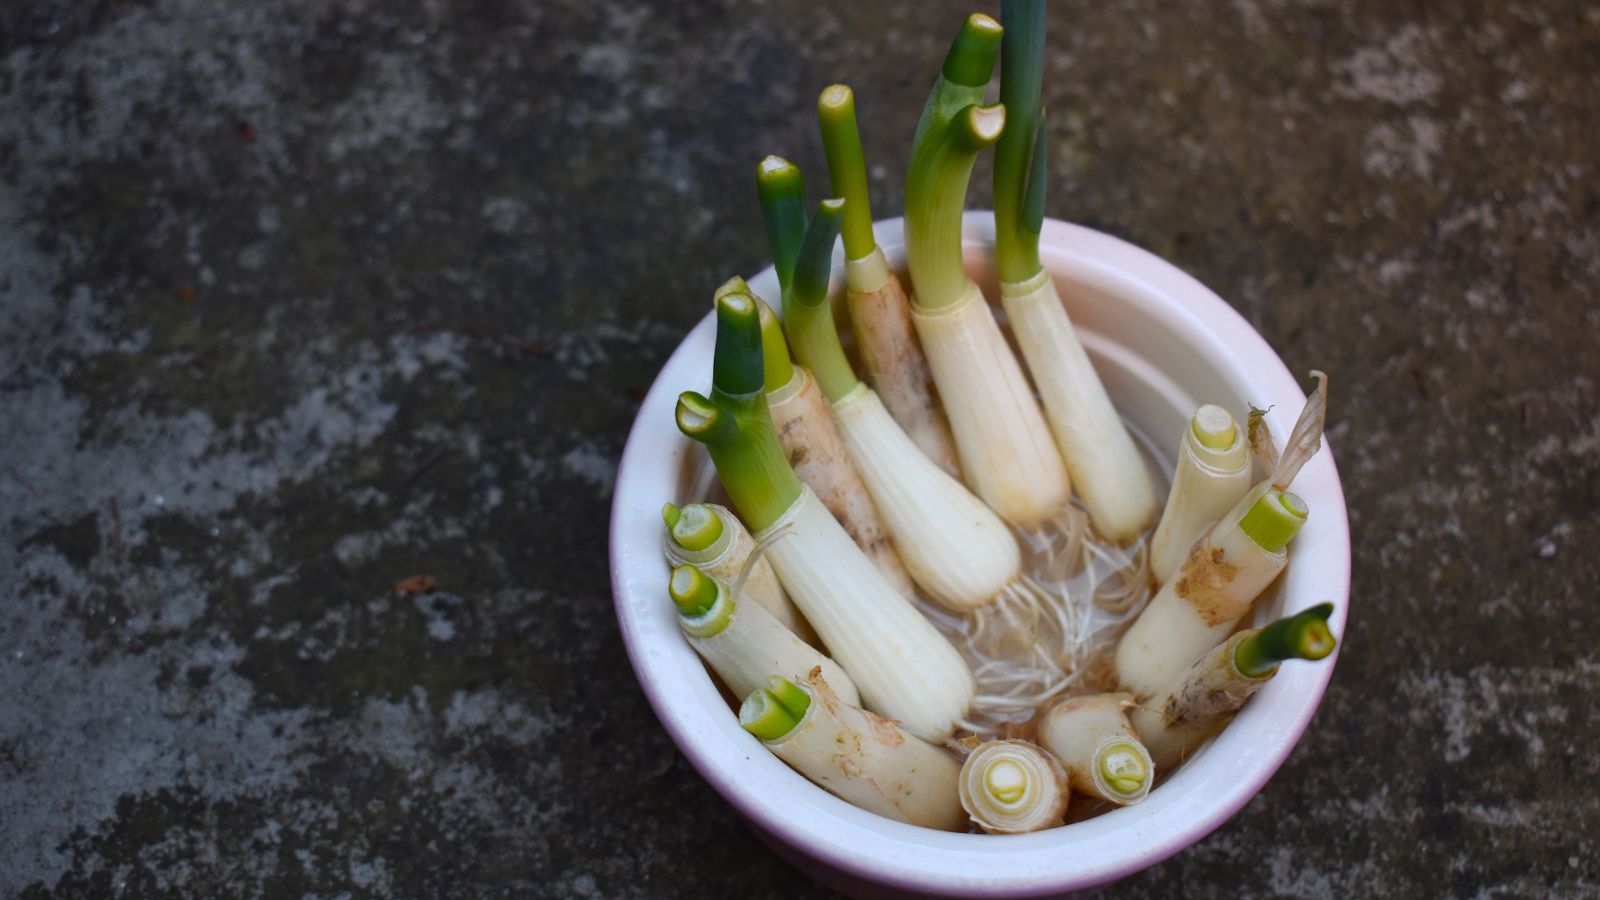
Place in Water

Now that you have a few healthy candidates, cut off a one-and-a-half to two-inch section of the white base. This is the portion of the green onion that will regrow. You can use a piece as short as one inch, but slightly longer ends tend to produce stronger new growth.
Place the green onion bases in cool water and set them in a spot with plenty of light.
Maintenance

This is the stage where onion regeneration begins. As new roots form and fresh green growth starts to stretch upward, your only daily task is to rinse the bases and change the water once or twice a day. The plant will take care of the rest.
Keep the water clear. Cloudy water signals a buildup of bacteria, which is not good when you regrow green onions. Clean water supports stronger, healthier regrowth.
Avoid submerging the tops of the cut bases. They need access to air as well as moisture to stay healthy.
Over the next three to five days, continue your daily rinsing and water changes while keeping the onions in a bright spot. A sunny window or well lit room works well. The more light they receive, the greener and sturdier the new shoots will be. Growth will appear gradually.
At first, the cut end forms a slight dome, then begins to separate. New green shoots start to push upward. The first leaf will still carry your cut tip, but new leaves follow quickly. After about a week, you should have two stalks, one with a pointed tip and one with a flat one.
Transplant or Use

At the end of the first week, your starts are ready to move into the garden, or you can use the fresh leaves for cooking. If you plan to harvest them, trim the new growth just above the original cut.
To plant them, choose a good quality potting mix or use a garden bed with soil that drains well but still retains some moisture. The onions have been growing in water, so they will adapt best to soil that stays lightly damp.
I used a blend of two mixes: a fine seed starting mix rich in worm castings and organic material, and a raised bed mix with larger pieces of wood, compost, and composted manure. The wood helps hold extra moisture and keeps the soil damp longer during warm weather.
You do not need a special blend if you do not have one on hand. Use whatever soil is available, even plain backyard dirt. Just make sure it is loose enough to work with and does not dry into a hard, crusty surface in the heat.
If you space the starts about six inches apart, they will grow quite large, often resembling young leeks. They may be a little tougher, but they are still excellent for cooking. If you want a steady supply of tender scallions, plant them about two inches apart or slightly closer. They form compact clusters and do not need much space.
This method to regrow green onions works like succession regrowing. As long as there is enough water and nutrient-rich soil, you can continue adding new starts to the same pot when you remove older ones. You can also harvest individual leaves as needed. Remember to keep your green onions well-watered.
Regrowing Sprouted Onions
Have you ever reached for an onion in the pantry only to find green leaves pushing out of the top? It happens to all of us, but that onion is not ruined. You can easily regrow it using those sprouts.
Prepare the Bulbs

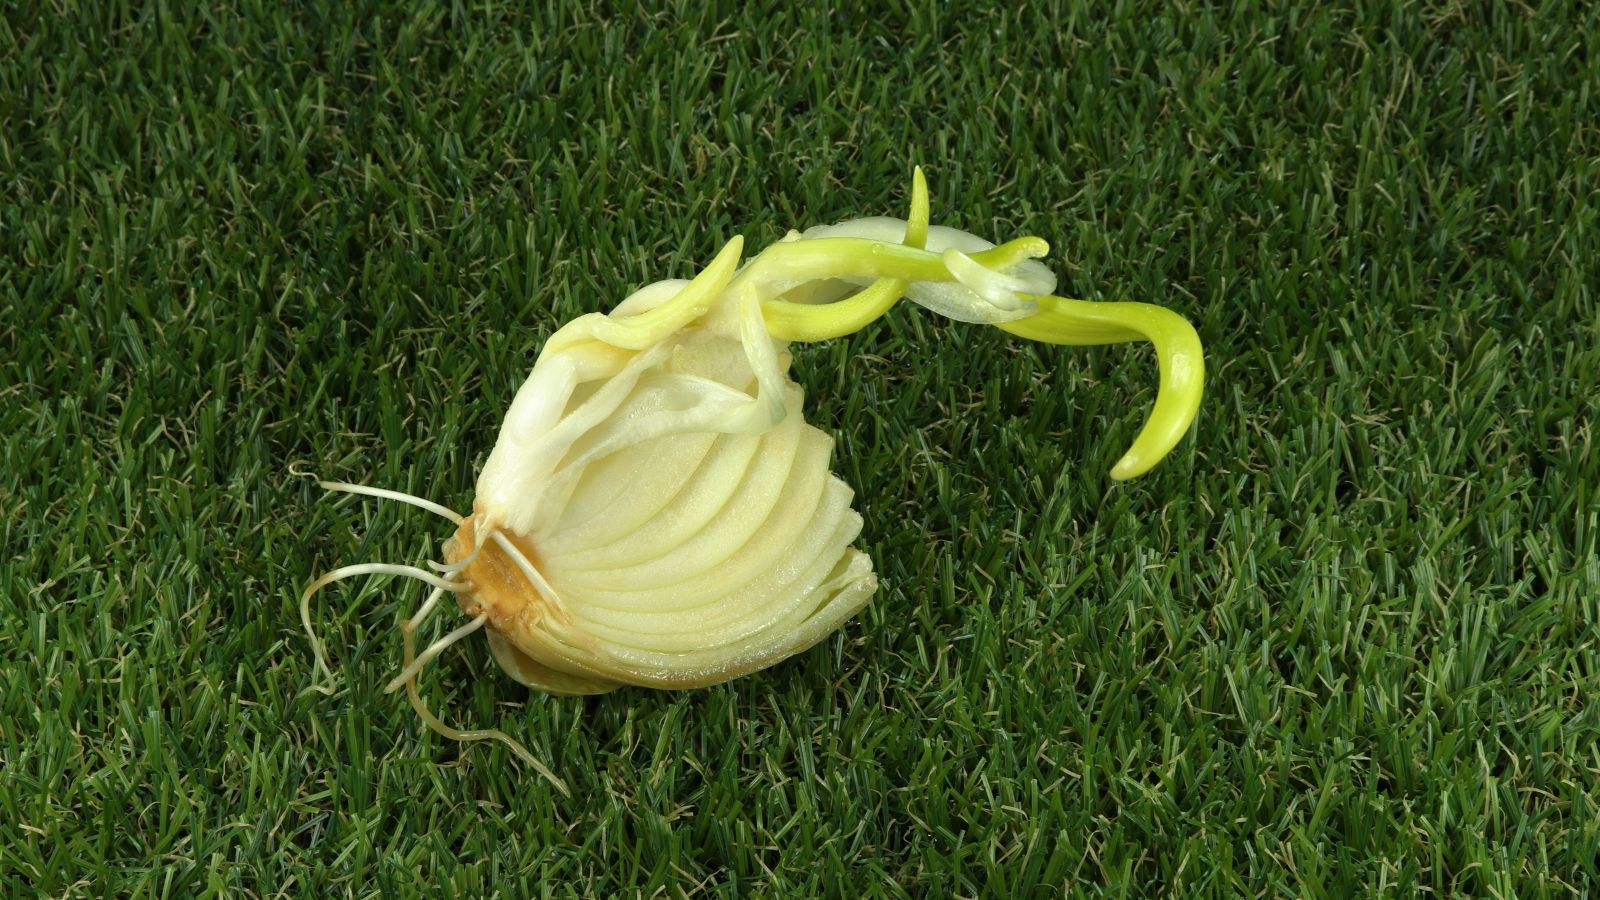
Your first step in reclaiming the sprout is to gently peel away the outer layers of the onion.
As you work your way down, you may notice patches of mold. That is completely normal. Keep peeling the layers away one by one. Set the outer layers aside for your compost bin, since they are well past the point of eating. You may come across soft spots or a strong smell, but as long as the sprout at the top is green and healthy, continue removing the old layers.
With firm-stemmed onions like brown onions, you might eventually reach the point where the original stem grew upward. If you do, simply peel off that flat stem segment. It will not harm the sprout.
As you get further in, some of the inner layers may loosen. Try to work your way toward a plump inner sprout without removing more layers than necessary.
If your onion has several sprouts emerging, peel more carefully. Each sprout can become a separate plant later, so you want to avoid damaging them.
If you look at the base, you will see that quite a bit of material has been removed, but there is still a thick root section attached. The original dried root plate sits at the very bottom, then a white layer where the onion formed, and above that a brown area.
That brown section is the true base of the sprout. It produced a new root segment inside the onion, on top of the old one. Because it was feeding from the parent onion, it did not need to send out roots yet and simply drew nutrients from the old root plate.
You only need the new root segment. The original onion root end can be discarded.
Trim the Base

Make a clean cut between the old root end and the dark brown spot where the new root base has formed. Be careful not to cut into that dark brown area, since it needs to remain fully intact.
If you have multiple sprouts attached to one base and each has a brown root segment, slice off the old root plate first. Then gently separate the base so each sprout has its own section of root tissue to grow from.
When you examine the cut surface, you will notice it does not look like the rest of the onion. It appears more like a solid core, and this is where your new root system will develop.
Place in Water

Set the onion sprout into the same cup as your green onion starts. If it is viable, it will send out new roots from the cut end. As with the green onions, rinse the sprout once a day and refresh the water. Watch the base for signs of new growth.
When you see a bundle of developing root tendrils, allow them to reach at least one inch, and ideally one and a half inches, before planting. This process can take up to a week, sometimes a little longer, since a larger sprout needs more root mass to support future growth.
Transplant

When planting your sprout, place it deep in the soil so only the green portion sits above the surface. Most of the sprout has been kept moist and recently peeled, which makes it vulnerable to sunburn. Cover as much of the white section as possible. If needed, add a little mulch around the base to protect any exposed areas from the sun.
Keep the soil consistently moist and give the plant plenty of sunlight. Before long, you will have a new onion to replace the one you lost. With a bit of luck, you may even end up with three or four new onions from a single sprouted bulb.
It is a simple process that can easily extend the time between grocery store trips. You will also have a steady supply of fresh scallions or homegrown onions ready whenever you need them.
Share This Post
When and How to Harvest Homegrown Onions
Homegrown onions are a tasty treat. They’re special because you grew them yourself! Don’t let all that hard work go to waste. When you harvest your onions on time, they last a long time. Learn how to take care of your bulbing crop this year alongside seasoned grower Jerad Bryant.


Is It Better To Grow Onions from Seeds or Sets?
Join organic farmer Jenna Rich as she attempts to answer the age-old question: is it better to start onions from seed or sets?

3 Signs It’s Time to Harvest Your Onions
Every great comfort meal begins with sautéed onions, so knowing how to grow and care for them is essential. But what about knowing when to harvest them? Organic farmer Jenna Rich shares three crucial signs to know it’s time to harvest your onions.

How to Cure and Store Onions in 9 Easy Steps
Your onions are ready to harvest and you’ve had a good crop. Assuming you don’t want to eat them all at once, do you know how to prepare them for long-term storage? Learn some useful tips for curing and storing your onions so they’ll last until when you need them!

9 Vegetable Combinations That Grow Well Together in Containers
With companion plants and compatible pairings, the vegetable harvest goes all season. Containers are no exception, given the right sizing and plant selection. Gardening expert Katherine Rowe explores top vegetable combinations to grow in pots for versatile additions to the garden and culinary endeavors.

7 Causes of Rotting, Mushy Onions from the Garden
Onions are earthy, spicy bulbs that are usually easy to grow and mostly problem-free. But the large rounds sometimes experience underground issues or problems in storage that leave them less than desirable. Gardening expert Katherine Rowe explores causes of rotting onions and how best to prevent them.

5 Reasons Your Onions Are Bolting and What to Do About It
Watching your carefully tended onion crop suddenly send up flower stalks can be frustrating for any gardener. But understanding why onions bolt and how to prevent it can save your harvest. Garden expert Madison Moulton explains the 5 main causes of onion bolting and what you can do to stop it.