How to Start a Raised Bed Herb Garden
A raised bed herb garden can elevate your culinary efforts. It's a low-effort and rewarding way to grow a productive garden in a small space. In this guide, Rachel Garcia explains what you'll need to get yours going!

Contents
Imagine this: you are busy in the kitchen, putting together dinner, when inspiration strikes. That bland boxed mac and cheese would be perfect with a little oregano. Instead of reaching for a dusty shaker at the back of the pantry, you grab your kitchen shears and step outside.
Just beyond the door, you snip a few fresh leaves, give them a quick rinse, and toss them into the pot. Suddenly, a simple meal becomes something far more flavorful and partially homegrown, all thanks to your raised bed herb garden.
Whether you rely on boxed meals or love experimenting in the kitchen, growing your own herbs adds freshness and convenience to everyday cooking. With so many herb varieties available, you can easily customize your garden to suit your taste. Even better, most herbs are surprisingly easy to grow, especially when you plan your setup carefully.
This article walks through how to create an herb garden in the most effective way, in a raised bed. With a simple setup at the start, your herbs can thrive in a compact, productive space. Let’s dig into one of the most enjoyable ways to grow your own seasonings.


Why a Raised Bed?

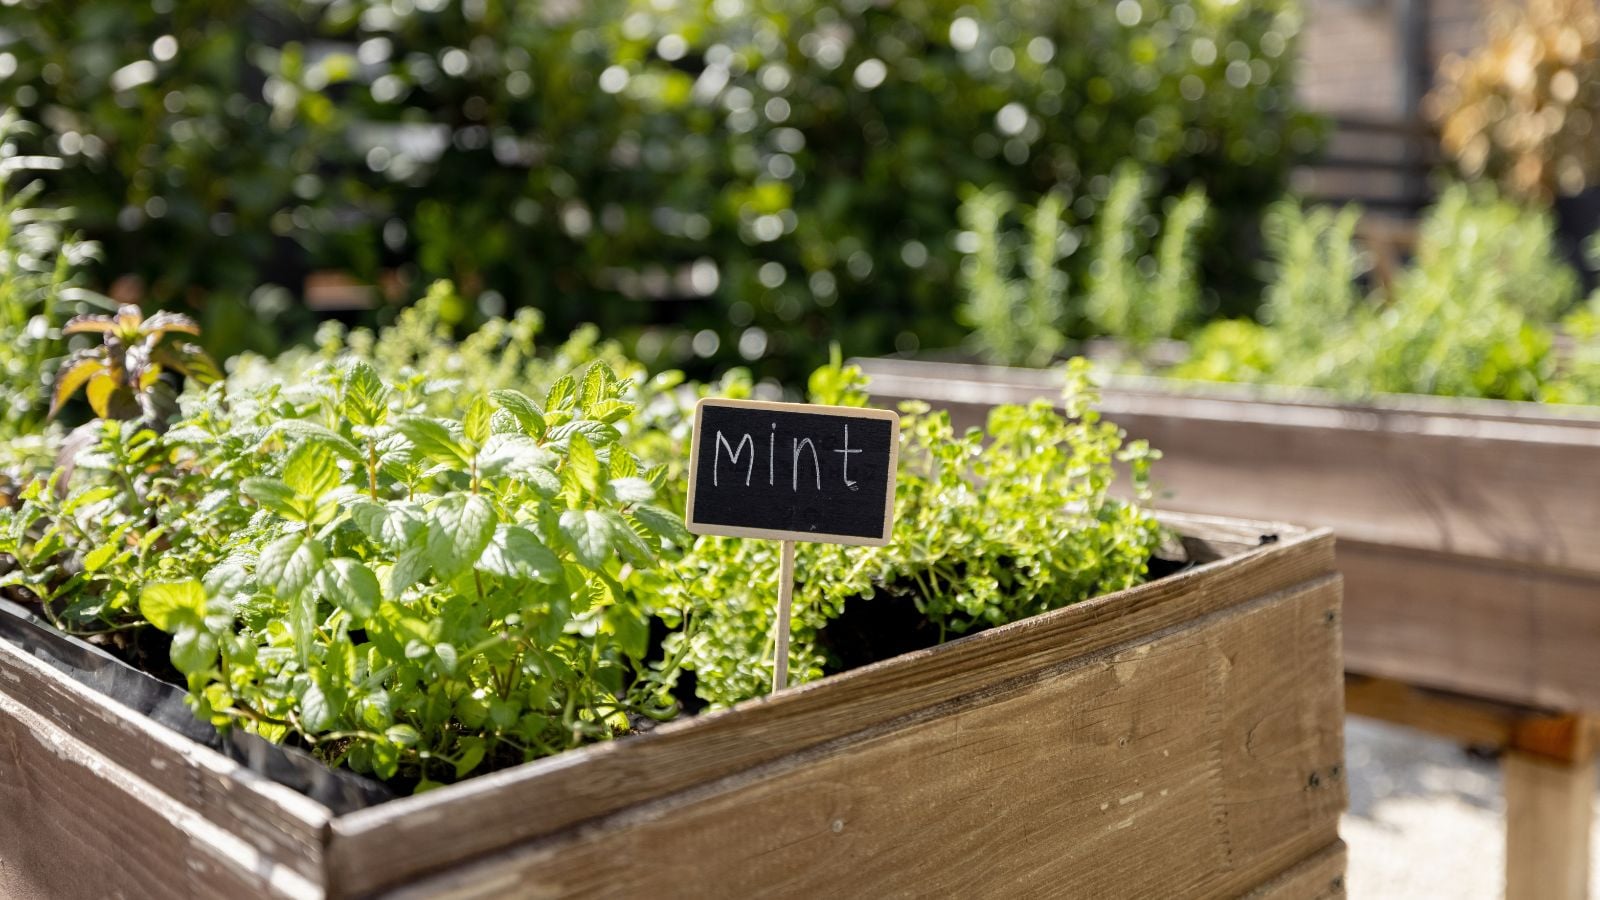
We talk about raised garden beds often, and for good reason. One of the biggest advantages of a raised garden bed is the elevated soil level. This setup makes gardening more accessible because you do not need to crouch or bend as much to reach your plants. Improved accessibility is especially helpful if you deal with back pain, arthritis, or other mobility issues. Raised beds also work particularly well for herb gardens, since you tend to harvest herbs frequently, often in the middle of cooking.
Another benefit of raised gardening is reduced weed pressure. Think about outdoor potted plants, weeds rarely appear there. That is largely because potting mixes usually do not contain dormant weed seeds. Raising the soil also makes it harder for airborne weed seeds to land, germinate, and establish. Any weeds that do manage to grow are easier to spot and remove because they sit closer to eye level.
Raised garden beds also tend to have fewer pest problems. Fresh soil mixes are unlikely to contain insect eggs, larvae, or harmful bacteria. Many soil-dwelling pests struggle to reach plants in raised beds, which further reduces pressure on your herbs.
Raised Beds Vs. Container Gardening
Raised beds and containers share many benefits, so why put in the extra effort to build a raised bed when you could use one of the plastic planters sitting in the garden shed? It comes down to two words gardeners love: low maintenance.
When you grow in containers, watering takes up a large portion of your gardening time. A planter holds a limited amount of soil, so it cannot retain much moisture. As a result, you often need to water daily, even under mild conditions. Raised garden beds, by contrast, hold a larger volume of soil that retains moisture more effectively. They can support even thirsty plants without constant irrigation.
While containers offer convenience at the start, raised garden beds save time and water over the long term, making them a more efficient choice for busy gardeners.
Choosing a Raised Bed for Your Herb Garden

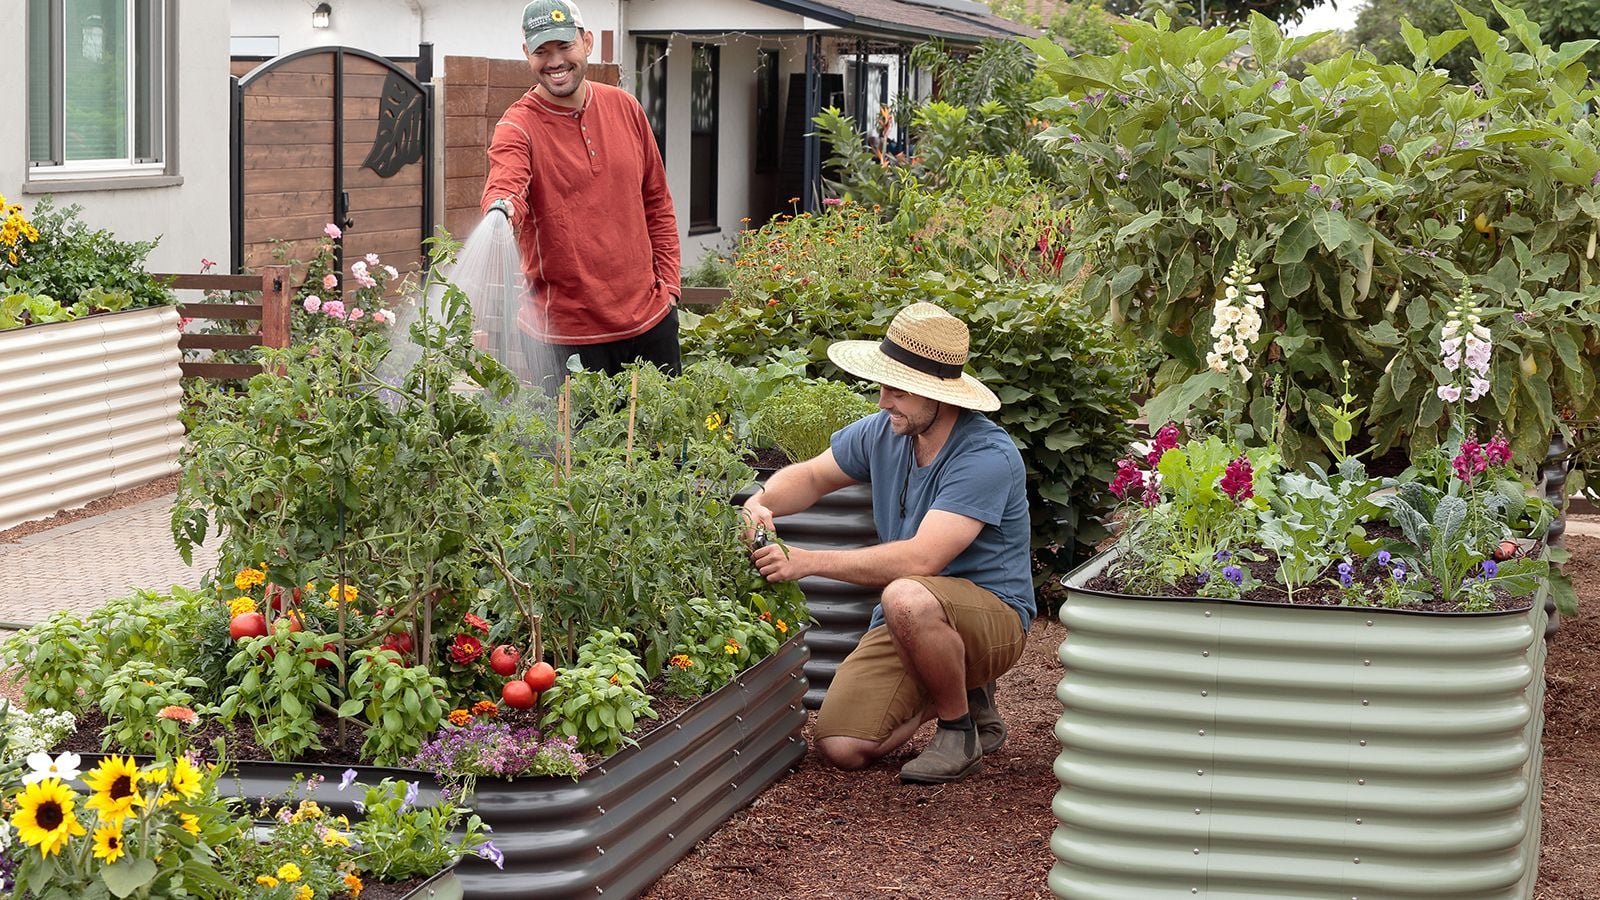
There’s no shortage of raised bed designs out there. You can buy a kit that’s easy to put together, like our favorite, the Birdies Raised Bed. You can repurpose old materials, such as wooden crates or cinder blocks. Or, you can go off-script and design something completely unique to your garden!
Whatever design you choose, there are a few things to keep in mind. For growing herbs, your elevated planter must be:
- On level ground
- Tall enough to allow good drainage
- In partial shade
- Made of sturdy materials, like wood or metal (plastic will likely be too flimsy)
Now, I don’t know about you, but all the outdoor space closest to my kitchen is a concrete patio, not dirt. Luckily, that isn’t an issue because it’s just as easy to build raised beds on concrete. However, you’ll have to take some precautions such as filling gaps between pavers with sand to prevent weeds. It’s also a good idea to put landscape fabric at the bottom so the concrete underneath doesn’t get stained.
If you are using Birdies beds, lay down a quarter to a half inch of gravel beneath the bed before filling it. This improves drainage and helps protect the bottom of the bed. Gravel also reduces weed pressure throughout the growing season.
Before building a raised bed herb garden, decide which herbs you want to grow. This planning step allows you to position the bed correctly and create a convenient, accessible living spice rack.
Choosing Your Herbs

Choosing which herbs to plant is often the most enjoyable part. With so many options available, planning ahead makes a big difference. Unless you plan to fill an entire planter with basil, grouping herbs by their growing needs simplifies maintenance and helps each plant perform its best. Most herbs fall into two main categories: drought-resistant and water-loving. For best results, grow each group in a separate planter.
To help you get started, below are some of the most common herbs, along with a few favorites, organized by category.
Drought-Tolerant Herbs
- Thyme
- Rosemary
- Lavender
- Oregano
- Sage
- Calendula
- Mullein
- Lemon balm
- Marjoram
- Borage
- Nasturtium
- Chamomile
Water-Loving Herbs
- Parsley (or its fancy cousin Chervil)
- Cilantro or Coriander
- Tea plant
- Basil
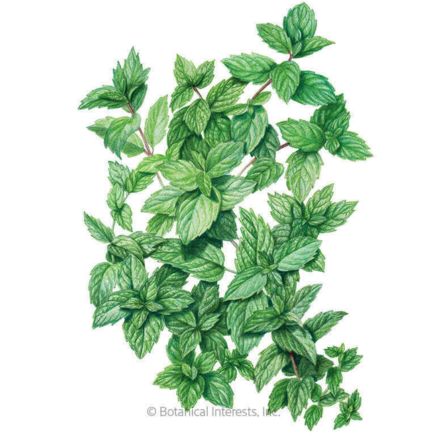
- Mint
- Saffron
- Chives
- Cumin
- Garlic chives
- Dill weed
- Garlic
Some herbs can go either way and so will fit into either bed. Some examples are savory, calendula, garlic chives, and sage.
Themed Herb Gardens

Are you usually cooking Mexican food? Indian? Italian? No matter your tastes, you can bet there are specific herbs you default to. So, why not pick a culinary theme (or two) and run with it?
Here are some herb garden themes that are both fun and practical:
- Indian spices: Cardamom, saffron, and cumin (curry comes to mind, but this herb is actually a 30-foot tree that’s very difficult to grow in the United States. If you’re an experienced gardener looking for a challenge, then give it a shot!)
- Mediterranean herbs: Rosemary, marjoram, cumin, oregano, dill weed, lavender, sage, savory, tarragon, garlic
- Tea garden: Tea plant (Camellia sinensis), chamomile, lemongrass, lavender, mint, borage, calendula, dandelion, stevia
- Medicinal herbs: Chamomile, lavender, motherwort, licorice, calendula
- Whimsical herb garden: Dandelion, mullein, borage, wild pansy, rosemary, lavender, parsley, chamomile
Putting It All Together
You have your planter design and your herb theme. Now it is time to bring everything together into a thriving garden. After building or installing your raised planter, start filling it with layered soil. Herbs need excellent drainage, so begin with a base material that allows excess moisture to pass through easily, such as wood.
Finish with a fertile, well draining potting mix rich in organic matter. If you plan to grow drought tolerant or Mediterranean herbs, use a grittier mix with added sand to better match their natural growing conditions.
Planting

Growing herbs from seed is straightforward, but using pre-planted starts from a local garden center can speed things up. Planting depth and spacing vary by species, so check seed packet instructions before planting. Proper spacing prevents overcrowding and helps plants grow to their full potential. When sowing seeds directly into the planter, consider planting a few extra and thinning out weaker seedlings as they emerge.
Water your herb garden at least once per week, adjusting based on climate and temperature. As with any garden, keep the area free of weeds and monitor regularly for pests to ensure healthy growth.
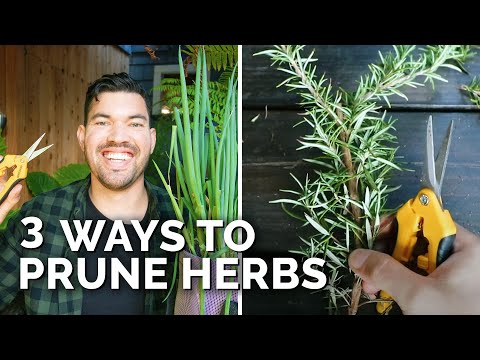
Harvesting

Harvesting benefits herbs just as much as it benefits your cooking. Regularly trimming leaves and stems encourages plants to grow bushier and produce more foliage, which leads to even more harvests. Frequent pruning can also delay flowering, extending the harvest season so you can enjoy fresh herbs throughout summer.
When harvesting fresh herbs, focus on the newer leaves and flowers. Leaving the older, larger leaves in place allows them to continue photosynthesizing and supporting overall plant health. In many herbs, newer growth also delivers the most delicate flavor. A good example is the tea plant, which growers harvest at different growth stages to produce different types of tea, with the youngest leaves used for white tea.
Use clean, sharp kitchen shears to harvest herbs. Clip stems or petioles just above a node so the plant can regrow easily. As a general rule, avoid removing more than one third of the plant at a time.
Storing

Like most fruits and vegetables, herbs have the best flavor when used straight from the plant. If you need to store them, place herbs in a sealed container in the refrigerator. Keep them as dry as possible, and wait to wash them until just before use to extend freshness.
For long term storage, most herbs dry well. One simple method is to spread herbs on a baking sheet and place them in the oven for two to four hours at 180°F (82°C). You can also hang herbs in small bundles upside down in a dry, well ventilated area, although this method usually takes one to two weeks. A food dehydrator also works very well for drying herbs.
Dried herbs will last at least one year, and up to two or three years if you grind them after drying. Even so, they deliver the best flavor when used sooner rather than later.
Frequently Asked Questions
What herbs grow well in raised beds?
Small and medium-sized herbs should thrive in an elevated planter. Some herbs, such as oregano, can grow pretty big but can be contained with regular harvesting.
How deep should a raised bed be for herbs?
Most herbs need at least a foot of soil to grow. Some have larger roots, such as basil and rosemary, and need at least 2 feet. Be sure to check the average size of the herbs you want to plant before building your raised bed.


