Plumeria Leaves Turning Yellow? Find Out Why it Happens, and How To Fix it!
Trying to figure out why your plumeria leaves are turning yellow? There's actually several reasons this may happen, some of which can be easier to fix than others. In this article, gardening amateur Jason White looks at why this happens, and how to fix it.

Contents
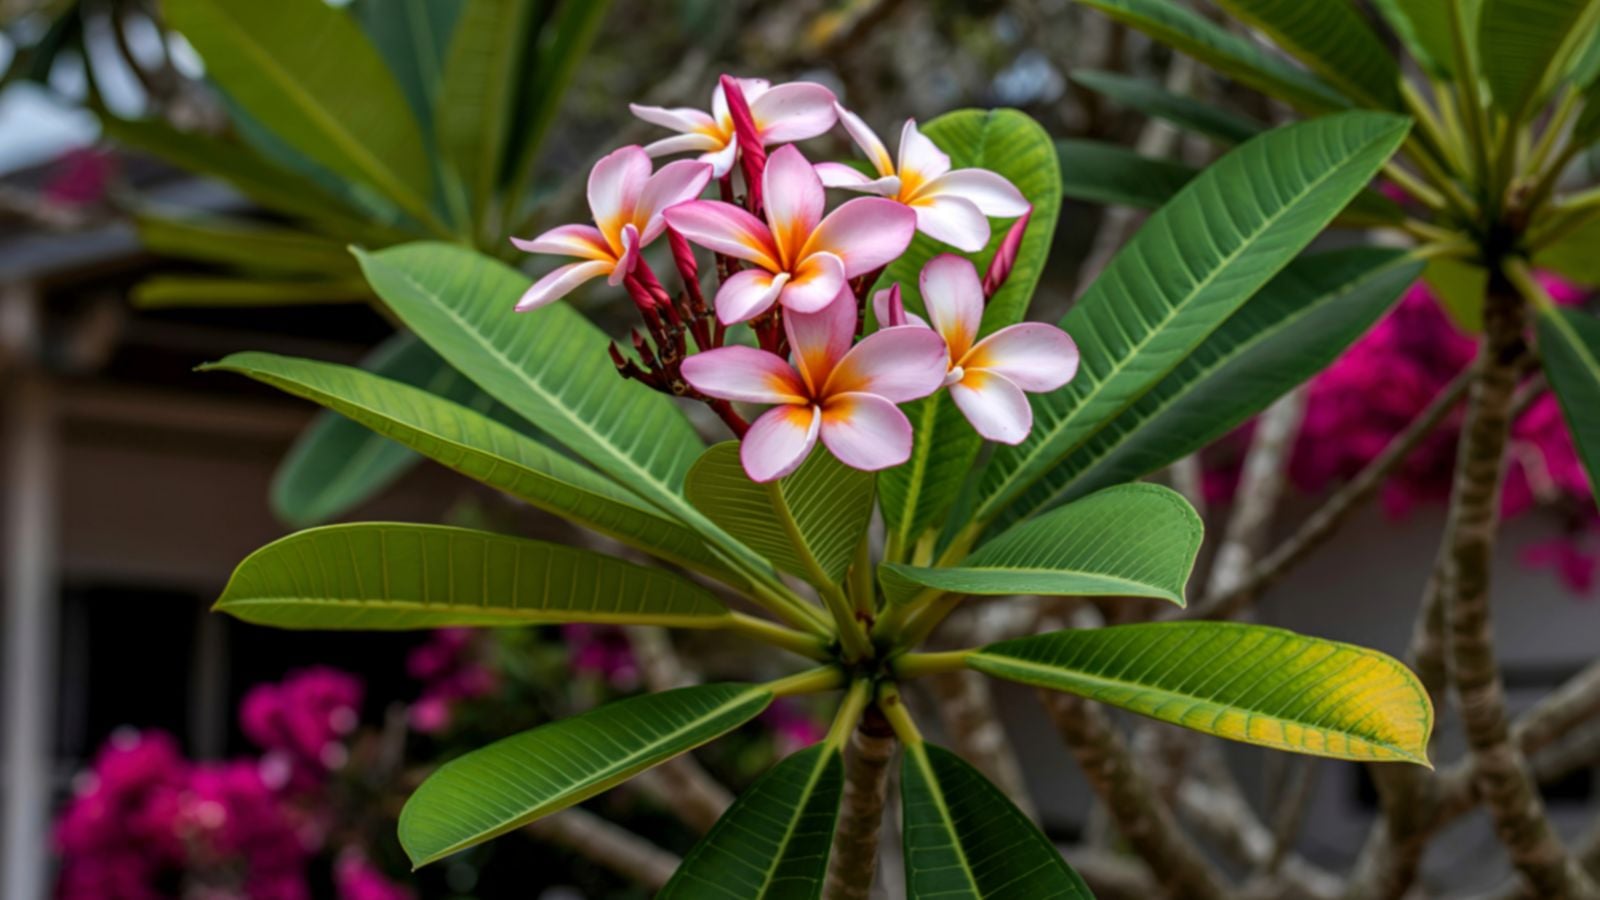
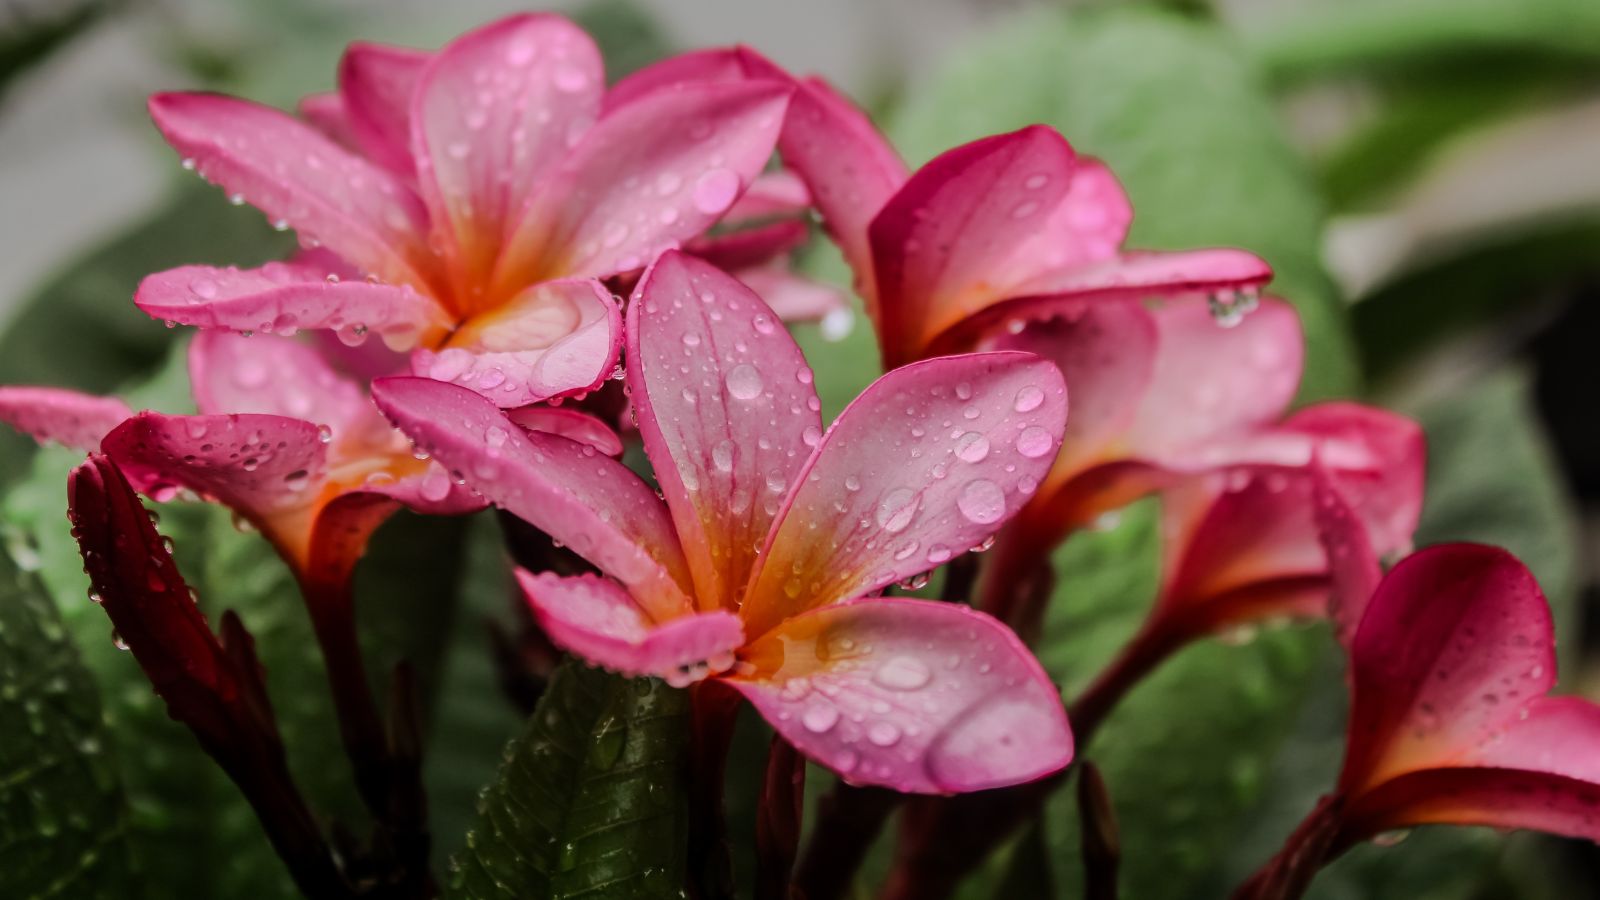
Plumerias bring a touch of tropical style to homes and gardens, with lush foliage and fragrant flowers that perfume the air. As a gardener growing plumerias, keeping the plant healthy ensures years of vibrant growth and abundant blooms.
It can feel discouraging when once healthy, bright green leaves begin to turn yellow. If you are noticing yellowing plumeria leaves, you may wonder what caused the change and how to correct it.
Although the cause is not always immediately clear, several common issues can lead to plumeria turning yellow. Closely examining your plant and its care routine helps pinpoint the underlying problem. With careful troubleshooting, you can identify the cause and take steps to restore your plumeria’s health.
This article explains the most common reasons plumeria leaves turn yellow and what you can do to fix them.


Overwatering and Underwatering
Overwatering can lead to a plumeria turning yellow. Excess water suffocates roots, which prevents the plant from absorbing nutrients from the soil. Without adequate nutrient uptake, the plant cannot produce food efficiently, and leaf health declines.
Leaves often yellow first, then turn brown and drop in severe cases. Overwatering can also lead to stem and root rot, which creates additional problems and can ultimately kill the plant.
Underwatering also causes yellowing leaves. Water transports nutrients throughout the plant, and when water is lacking, nutrient movement slows. Leaves may yellow in patches at first, then turn completely yellow, dry to brown, and fall off. Overwatering and underwatering produce similar symptoms, which can make it difficult to identify the issue at first.
Plumerias do not require frequent watering, especially while developing a strong root system. Water thoroughly at planting, then water every two to three weeks during early establishment.
Once the plant produces abundant foliage, water once or twice a week if it receives strong sunlight and heat. When plumerias enter dormancy in winter, stop watering completely. Resume watering only when new leaves appear. Watering during dormancy can kill plumeria plants, so careful timing is essential.
How to Fix it:
Determining the issue of the plumeria turning yellow is simple and starts with checking the soil before watering. Insert a finger a few inches into the soil and assess the moisture level. If the soil feels clearly dry, it is time to water deeply. Apply water directly at the soil level so moisture reaches the roots and rehydrates the plant.
If the soil still feels wet, wait a few days before checking again. In general, the soil should feel just dry before you water plumerias. These plants tolerate both heavy rainfall and periods of drought, reflecting the natural conditions of the tropical regions where they originate.
Improper Sunlight

Plumerias thrive in bright sunlight, and insufficient light often lead to a plumeria turning yellow. Sunlight drives photosynthesis, the process plants use to produce food. When plumerias do not receive enough sun, nutrient production drops and leaves begin to yellow. Too much sunlight can also cause yellowing, although this is less common in sun-loving plumeria plants. Limited sun exposure also reduces flower production.
Plumerias need abundant summer sunlight. If grown in pots indoors, move them outside from June through late August so they can receive full sun. During autumn and winter, keeping plants indoors near a bright window provides enough indirect light.
Plumerias are winter hardy only in USDA zones 10 through 12. They grow best in subtropical climates, such as Florida, and struggle in regions farther north with reduced sunlight. Provide adequate light and protect plants from harsh weather. Plumerias can remain outdoors as long as nighttime temperatures stay above 45 to 50°F (7 to 10°C).
If leaves turn brown and crispy, the plant is likely receiving too much sun combined with insufficient water. Increase watering and move the plant to a more suitable location if possible. Once light and water conditions improve, healthy green leaves should return quickly.
How to Fix it:
Whether your plumeria is getting too much or too little sun, the fix here is easy. Adjust your plant’s sunlight schedule to ensure it’s getting enough sun for growth, but not too much that it’s burning your plant to a crisp. You can move your plant around your house at certain times of the day, or just find a brand new permanent location for it.
Soil Conditions

Yellowing plumeria leaves often result from poor soil conditions. Plumerias require well-draining soil, as poorly drained conditions lead to waterlogging and negatively affect plant health.
Select a high-quality, well-draining soil, whether you grow plumerias indoors or in containers. Proper drainage allows roots to breathe and prevents compaction, which can also lead to plumeria turning yellow. Compacted roots restrict airflow and water movement, creating stress that shows up in foliage discoloration.
Soil pH also plays an important role in plumeria health. Plumerias prefer slightly acidic soil with a pH between 6.4 and 6.8. Soil that falls outside this range can interfere with nutrient uptake and lead to yellowing leaves.
How to Fix it:
To determine soil pH, use a soil testing kit from a garden supply store. If the soil tests too acidic, apply an alkalinizing amendment such as agricultural lime to raise the pH.
If the soil is too alkaline, add organic matter like compost or peat moss to lower the pH. Organic matter also improves drainage by increasing soil structure and slightly raising the planting area. In addition, it supplies nutrients that support healthy growth and help keep plumerias thriving.
Lack of Nutrition

Yellowing plumeria leaves can also signal a nutrient deficiency. Proper watering, light, and soil conditions help plants absorb nutrients needed for healthy foliage and abundant blooms. Poor soil quality can limit nutrient availability, which leads to yellow leaves and reduced flowering. A common sign of nutrient deficiency appears when leaves turn yellow but the veins remain green, with yellowing starting on the upper leaves first.
You can test soil nutrient levels using a soil testing kit. Identifying deficiencies and correcting them with the appropriate plant food often restores plant health. Plumerias respond especially well to fertilizers high in phosphorus. A fertilizer with a 10-30-10 ratio supports strong bloom production and overall vigor.
If your plant produces very few leaves, increasing nitrogen can encourage foliage growth, although excess nitrogen may reduce flowering. Plumerias are heavy feeders and benefit from regular fertilization. Apply fertilizer every two to three weeks during the active growing season.
Always follow the fertilizer label instructions carefully. Too little fertilizer produces minimal results, while excess fertilizer can damage plants. Overfertilization may lead to plumeria turning yellow and browning due to fertilizer burn. Using the correct amount helps prevent plant stress and avoids unnecessary waste of time and money.
How to Fix it:
Choose the proper fertilizer and maintain a consistent feeding schedule. Follow the fertilizer instructions closely, as too much fertilizer can burn your plant, while too little prevents it from receiving the nutrients it needs. Make sure the fertilizer balance matches the specific nutritional requirements of plumerias to support healthy growth and flowering.
Root Damage

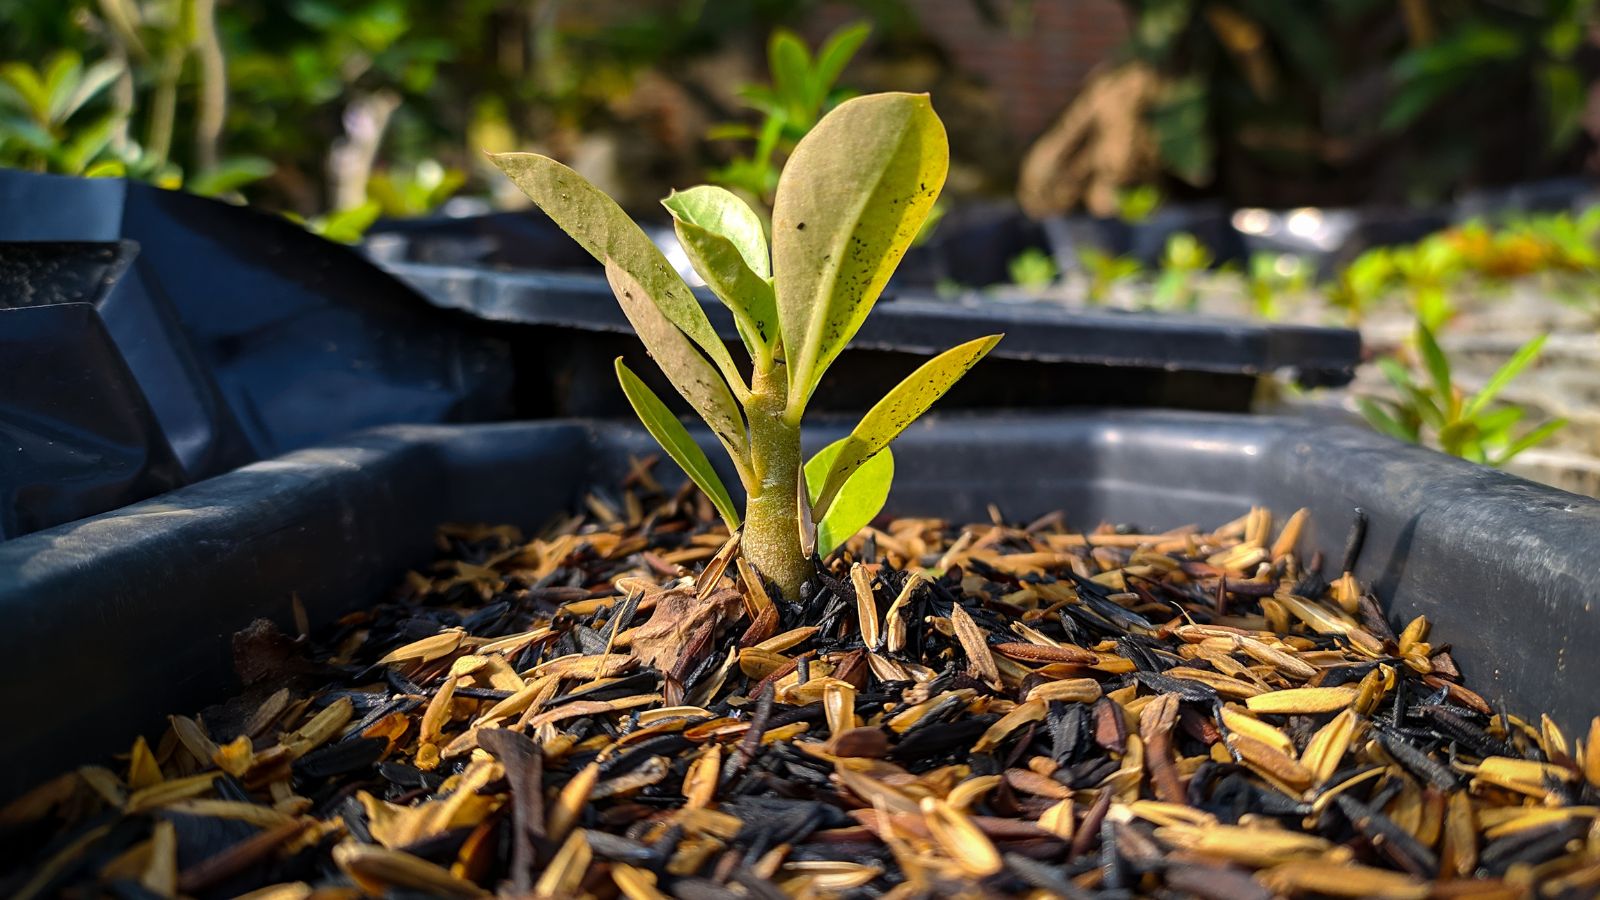
Plumerias grown in the U.S. are often planted in containers to make seasonal movement easier. While container growing offers flexibility, it also introduces potential issues, particularly root damage. Damaged roots cannot absorb nutrients efficiently, which often causes leaves to turn yellow.
Root damage can occur from rough handling during planting or maintenance, but it commonly results from root compaction. Compacted roots develop when a pot becomes too small to accommodate continued growth.
Start with an appropriately sized container from the beginning. Begin with a six-inch pot and move up one size each spring. Once the plant reaches a container size suitable for a five-gallon pot, a plumeria tree often grows to about five feet tall and produces abundant foliage.
Check roots each time you repot the plant. Light root pruning can encourage healthy growth and create additional space, but avoid relying on this practice long-term. Healthy roots appear pale white to light yellow in color.
Diseased roots look dark and often produce a foul odor. This condition usually signals severe root rot, and discarding the plant is often the best option. Root disease commonly develops in waterlogged soil.
Even with proper watering, poorly draining soil prevents roots from functioning correctly. Good drainage and aeration allow roots to breathe and absorb nutrients efficiently, which helps keep plumeria leaves healthy and green.
How to Fix it:
Ensure your plant has an appropriately sized pot if you grow it indoors. For outdoor plants, avoid planting plumerias near diseased plants, as infections can spread through the soil and affect the roots.
If root damage occurs, remove the plant, clean the roots with a fungicide, and replant in fresh, well-draining soil. Severe root damage often leads to poor recovery, and in many cases, the plant may not survive.
Plumeria Rust

Fungal diseases can also lead to plumeria turning yellow. One common issue is plumeria rust, caused by the fungus Coleosporium plumeriae. This disease affects foliage but does not damage stems or flowers.
A clear sign of plumeria rust appears as yellow spots or specks on the upper surface of leaves. Turn the leaves over to find powdery, orange lesions on the underside. These lesions contain pustules that produce fungal spores. If left untreated, plumeria rust can cause severe defoliation.
Plumeria rust thrives in warm, humid conditions. Because the spores travel through the air, always water plumerias at the soil level. Avoid overhead watering, as moisture on the leaves encourages spores to spread and worsens infection.
How to Fix it:
If you have discovered plumeria rust on your plants, take care to properly gather and burn the fallen leaves. Pruning off diseased parts of the plant can also make a difference, but be sure to clean your tools thoroughly between uses; this helps prevent contamination when working with healthy plants.
Pest Infestation

A pest infestation can also cause plumeria leaves to turn yellow, especially if you notice leaf curling. Plumeria sap attracts a variety of pests, and because sap functions as the plant’s circulatory system, infestations quickly lead to declining plant health.
Mealybugs, whiteflies, spider mites, and thrips commonly infest plumerias. Mealybugs appear as small white insects and often leave behind a sticky or waxy residue on the plant. Whiteflies look similar but have rounder bodies.
Spider mites are tiny and pale but usually reveal themselves through fine webbing on the undersides of leaves. Thrips are difficult to see with the naked eye, but you can identify them by gently shaking the plant over a white sheet of paper or cloth. An active thrip infestation leaves behind small, moving black specks.

How to Fix it:
Avoid using harsh insecticides on plumerias unless other methods fail. Gentler control options often work well and reduce stress on the plant. For light infestations, remove pests by dabbing them with a cotton swab dipped in alcohol. You can also dislodge mealybugs, whiteflies, and spider mites by spraying affected leaves with a strong stream of water. Repeat this process until pest numbers decline.
If pests return, apply a neem oil spray weekly until the infestation clears. Insecticidal soap offers another effective option for persistent or moderate infestations. Reserve systemic insecticides for severe infestations only, as they can affect plant health and beneficial insects.
Acclimation
Another possible reason for a plumeria turning yellow is acclimation stress. When you purchase a plant from a greenhouse, it has typically grown under stable, controlled conditions.
Moving the plant into a new environment introduces changes in light, temperature, and humidity. This transition can shock the plant and lead to temporary stress. Common symptoms include yellowing leaves that drop off, overall drooping, and a generally unhealthy appearance as the plant adjusts to its new surroundings.
How to Fix it:
Although this adjustment period can feel dramatic or even alarming, it signals the need for attentive care. When you meet the plant’s basic needs, a new plumeria usually adapts to its environment quickly.
As acclimation progresses, signs of recovery appear and growth becomes more vigorous. Continue providing consistent care during this period, and concerns about plant health should ease. Proper care during acclimation also helps prevent future stress-related issues.
Natural Life Cycle

Another reason plumeria leaves may turn yellow relates to the natural life cycle of the plant. This change is especially common in plumerias grown outdoors.
As temperatures cool, plumerias naturally begin to yellow, then brown, before shedding their leaves for winter dormancy. This process signals the seasonal transition into dormancy and does not indicate a health problem.
How to Fix it:
Dormancy begins when temperatures drop below 50°F (10°C). In colder regions, leaves often fall off completely, leaving bare branches. To protect the plant through winter, provide frost protection when needed.
A frost cloth that extends all the way to the ground helps insulate plumerias during dormancy. Protecting the plant while it rests supports overall health and prepares it to produce new green growth when warmer weather returns.


