How to Plant, Grow, and Care For Pear Trees
Are you interested in growing fruit trees in your backyard? Pears are your answer. These plants are easy to care for, grow quickly, and produce the classic fruits we all know and love. Gardening expert Madison Moulton dives into the specifics of European pear tree growing, covering absolutely everything you need to know for a thriving tree in your own backyard.

Contents
Next to apples, pears are one of the most common fresh fruits found in home kitchens. Soft, juicy, and extremely versatile, it is easy to see why. When grown in your own garden, these fruits taste even better.
Whether you are starting a home orchard or experimenting with fruit growing as a beginner, pear trees are an excellent choice. They are relatively easy to care for, show good resistance to pests and diseases, and produce generous harvests after three to five years.
Pears suit a wide range of culinary uses and adapt well to different climates and soil types compared to many other fruit trees. The earlier you plant, the sooner you can enjoy homegrown fruit, making now an ideal time to get started.


Pear Tree Plant Overview

|
Plant Type
Tree
Family
Rosaceae
Genus
Pyrus
Species
Pyrus communis
Native Area
Asia
Hardiness Zone
USDA 4-8
|
Season
Autumn
Exposure
Full Sun
Maturity Date
3-5 Years
Growth Rate
Moderate
Plant Spacing
20 feet
Height
20-30 feet
|
Watering Requirements
Moderate
Pests
Codling Moth, Psylla, Scale
Diseases
Fire Blight, Pear Scab
Maintenance
Low to Moderate
Soil Type
Well-draining
Attracts
Birds, Bees
|
About Pear Trees

Pears are one of many trees, including avocados, with ancient origins. Research suggests that ancestors of the modern Pyrus genus lived around 65 million years ago, roughly the same period archaeologists associate with the extinction of dinosaurs. These trees were widespread across western China and entered human cultivation about 5,000 years ago.
The pear most commonly eaten today, Pyrus communis, also known as the common pear, has a more recent history. It gained popularity in Europe around 3,000 years ago and was especially valued by the Greeks and Romans. They used pears much like apples and fermented the fruit to produce a cider using methods similar to apple cider production.
From southern Europe, cultivation of the common pear spread north, where it became an economically important crop. Pear trees moved from Italy into cooler regions of France and Belgium and eventually reached Britain in the eleventh century. When British colonists traveled to North America, they brought pear trees with them, spreading European cultivars across continents.
Pear production in the United States expanded rapidly during the 1800s as agriculture grew. The Bartlett pear, originally exported from Britain under the name ‘Williams’, became widely commercialized and emerged as the most popular pear nationwide. This variety remains the most widely grown and consumed pear in the world today.
Cultivation

All trees in the Pyrus genus belong to the Rosaceae family, which makes them related to many other fruiting plants, including apples and stone fruits such as cherries.
There are thousands of pear varieties, each with its own characteristics, but the most commonly grown types fall into three main categories: European or common pears, Asian or nashi pears, and ornamental pears that do not produce edible fruit.
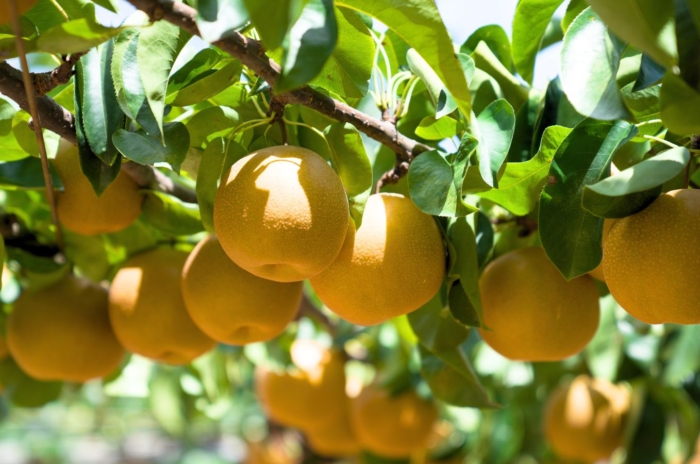
Asian pears, botanically Pyrus pyrifolia, resemble apples in appearance and are often mistaken for unusual apple cultivars. However, these trees are fully part of the pear genus. The fruit ripens on the tree and retains its shape, with a firm, crisp texture that is closer to an apple than a European pear.
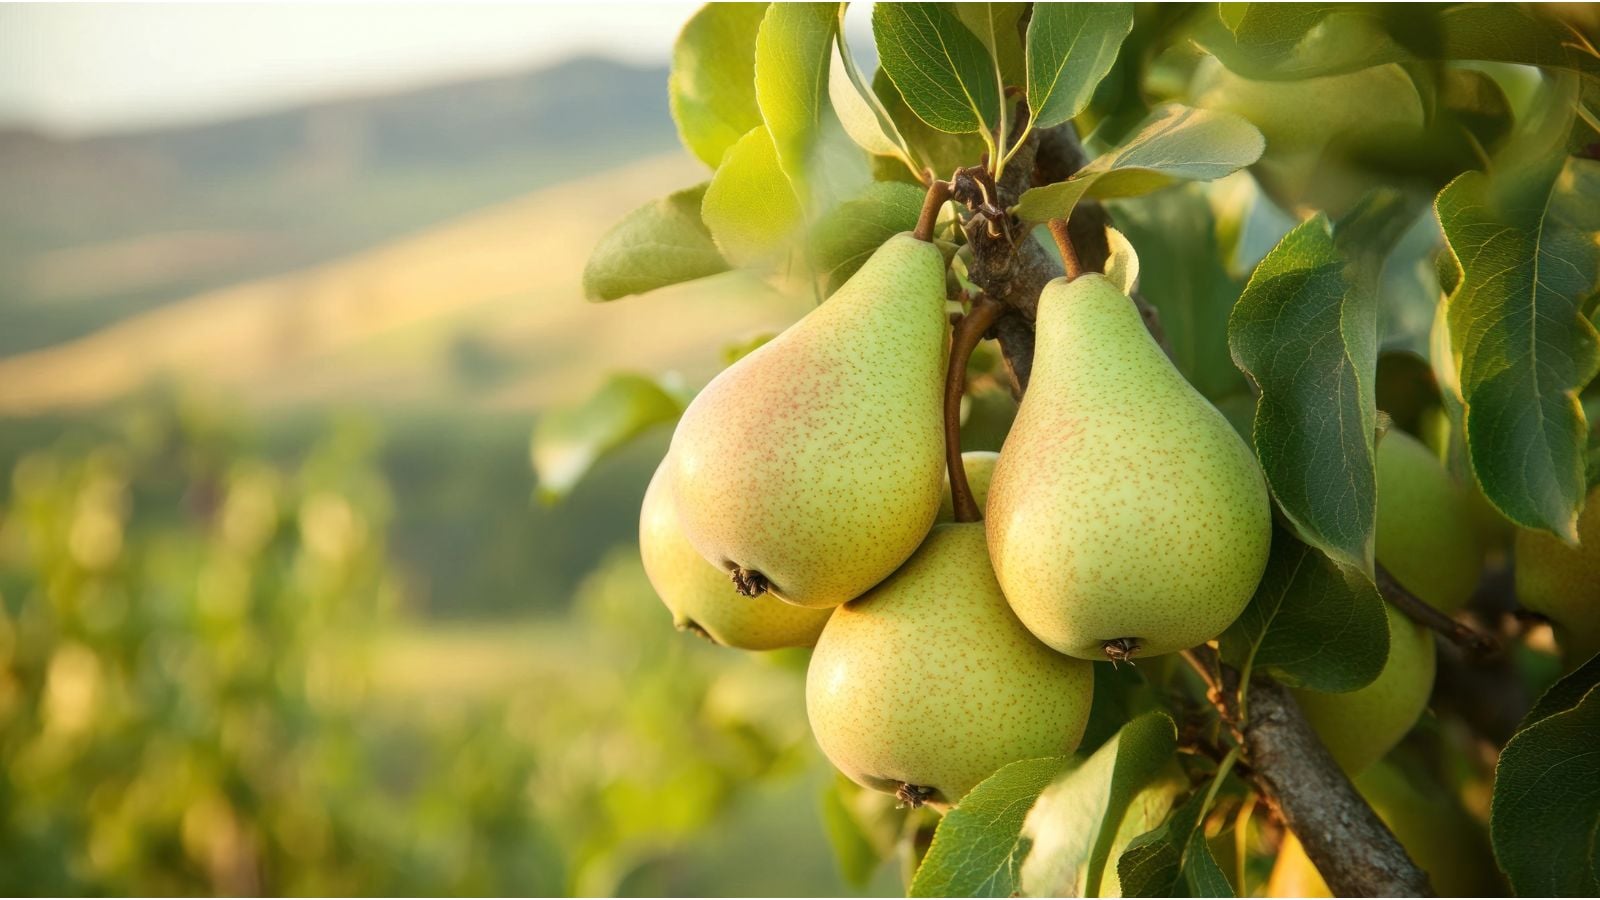
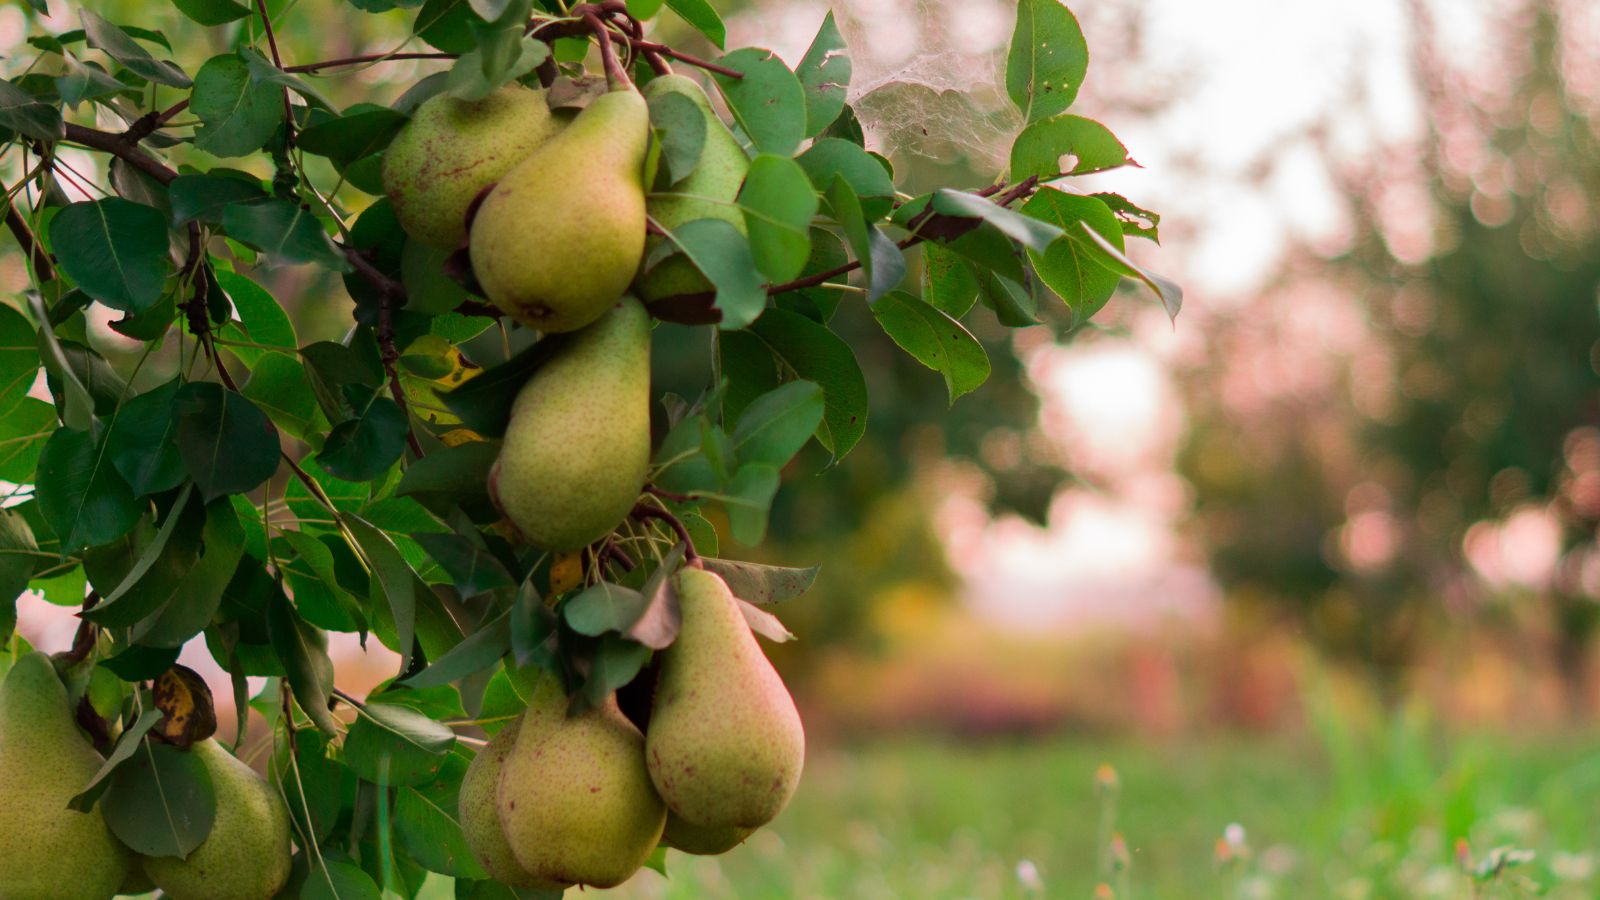
As the name suggests, European pears are the most widely grown type. These fruits have the classic pear shape and ripen off the tree, developing the soft, juicy texture most people associate with pears. Because they are the most commonly cultivated and consumed, this is the pear type discussed throughout this article.
Ornamental pears are grown for visual appeal rather than fruit production. Their fruit is often small, tasteless, or inedible, but the trees produce abundant flowers on large, striking branches that make them popular in home landscapes.
Because of their vigorous growth, ornamental pears are commonly used as rootstocks for edible pear cultivars. Commercially, they are also grown for timber, which is used in applications such as furniture making.
Planting

You can plant pear trees in fall or early spring. Fall planting allows roots to establish without the demand of new top growth, but young trees are more vulnerable to sudden weather changes than mature specimens.
Gardeners in colder climates should plant in early spring once the soil has warmed and is workable. This timing takes advantage of the strong growth push that follows planting.
Pear trees grow vigorously and need ample space for healthy root development. Plant each tree at least 20 feet apart. You will also need more than one tree for cross-pollination, which is covered later. Keep trees at least 20 feet away from your home and other garden structures to reduce the risk of root-related damage.
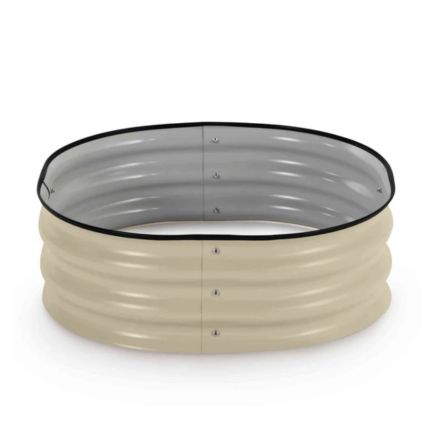
If space is limited, choose dwarf varieties, which need about ten feet between trees. You can also grow pear trees in containers. Container growing helps control size but typically reduces overall fruit production.
The Process

Prepare the planting hole by digging to the same depth as the original pot and twice the width. Depending on soil quality, mix in compost to improve moisture retention and nutrient availability. Build a small mound of soil at the base of the hole to support drainage.
Remove the tree from its container and gently tease the roots apart. If the roots are tightly bound around the base and difficult to separate, cut through them carefully with clean shears.
Set the tree on the soil mound so the soil line matches the surrounding ground level. Spread the roots outward to help them access the surrounding soil. Backfill with compost-amended soil and firm it gently around the trunk to secure the tree. Water deeply after planting to encourage roots to grow outward and downward.
How to Grow
To maximize fruit production, pear trees need perfect conditions. Follow these steps to get it right.
Light

Like other fruiting plants, including cherries and avocados, pears need ample sunlight to produce fruit. Fruit production requires significant energy, so the more sunlight your tree receives, the more fruit it will produce and the better the overall fruit quality.
Sunlight also helps prevent fungal diseases that commonly affect pear trees. Morning sun is especially beneficial, as it dries moisture from leaves and fruit, which is particularly important in humid climates.
Water

Once planted, pear trees need regular watering to establish a strong root system. After the first few months, rainfall should meet most of the tree’s watering needs. However, provide supplemental water during dry spells or periods of intense summer heat to prevent stress and support healthy growth.
Soil

Pears are not particularly fussy about soil conditions. Good drainage is essential to prevent root damage, especially in regions that experience periods of heavy rainfall. A slightly acidic soil pH between six and seven is ideal, although soils outside this range usually do not have a significant negative impact on overall growth.
Climate and Temperature

Climatic conditions vary by cultivar, but European pears are generally grown in USDA Zones 4 through 8. Some cultivars tolerate Zone 3, while others handle the heat of Zone 9 and require fewer chill hours.
Cold winters paired with wet summers suit pear trees best. Cold winters trigger fruit production, and most varieties need around 400 to 800 hours of temperatures below 45°F (7°C) to set fruit. Wet summers provide sufficient moisture for fruit development, although high humidity can increase the risk of disease.
Pears do not tolerate extreme heat well and perform best in mild, cool conditions. Extended periods above 90°F (32°C) can cause heat stress or reduce fruit production.
With many cultivars available, you can select a pear tree that matches your local climate. Consider required chill hours and disease resistance carefully when choosing the best variety for your region.
Fertilizing

In suitable soil conditions, pear trees do not require frequent fertilization. One application of a slow-release fertilizer in spring each year provides enough nutrients to support healthy growth throughout the season without excess.
Avoid overfertilizing, particularly with nitrogen. Too much nitrogen increases the risk of fire blight and encourages excessive foliage growth at the expense of fruit production. Always follow package instructions and apply the recommended amount, or slightly less if your soil is already highly fertile.
Maintenance

Pruning plays an essential role in pear tree maintenance and should be done every year. Regular pruning improves airflow, reduces disease risk, and keeps the tree manageable. Heavy pruning is unnecessary. Light pruning to train branches into a strong shape and remove weak or unproductive growth is usually sufficient.
Remove branches that grow straight upward or cross over one another, while keeping most outward-facing branches intact. This encourages a wider growth habit, prevents overcrowding, and makes fruit easier to harvest. You can also trim branch tips to promote healthy growth and maintain a neat structure.
On high-yielding trees, thin developing fruit as well. Leave a small amount of space between fruit clusters along each branch. This allows the tree to concentrate its energy on producing fewer, higher-quality fruits rather than many undersized ones.
Propagation

Unfortunately, growing pears is not as simple as planting seeds from grocery store fruit.
European pears do not grow true from seed, which means a tree grown from a store-bought pear will not match the parent tree. The resulting fruit may be poor in quality, or the tree may fail to produce fruit altogether. Growing pears from seed also takes a very long time before any harvest is possible.
For this reason, most pear trees sold by nurseries are grafted. Growers attach a bud from a fruiting tree to a rootstock, often an ornamental variety. This process ensures the tree produces fruit true to the cultivar while improving vigor, disease resistance, and overall performance.
Purchasing grafted trees from a reputable nursery is the most reliable way to ensure healthy growth and consistent, high-quality fruit.
Propagating From Cuttings

If you want to propagate an existing tree in your garden, or a neighbor’s tree with permission, you can grow pears from cuttings. Growing a mature tree from a cutting is challenging, so plant multiple cuttings to improve your chances of success.
Take cuttings in spring when new growth appears. Select a green branch of fresh growth about half an inch wide and eight to 10 inches long. Cuttings from dwarf varieties can be smaller, while those from larger trees can be slightly longer. Make the cut at a 45° angle just below a leaf node to increase surface area for rooting.
Fill a pot with a soilless mix of coconut coir and perlite and water thoroughly, allowing excess moisture to drain. Remove leaves from the lower portion of the cutting and dip the cut end into rooting hormone powder to encourage root development. Insert the cutting into a hole in the mix and gently firm the medium around it to hold it upright.
Cover the pot with a plastic bag, making sure the plastic does not touch the cutting to prevent rot. Place the pot in a warm area out of direct sunlight. Keep the medium evenly moist by misting regularly, but avoid waterlogging, as excess moisture can cause the cutting to rot.
After about one month, the cutting should begin developing roots, although growth will remain delicate at this stage.
Move the cutting outdoors while keeping it in its pot for another couple of months. This allows the root system to strengthen, reduces transplant shock, and increases the likelihood of successful establishment once planted in the garden.
Harvesting

Knowing when to harvest pears can be challenging. Unlike many fruits that ripen on the tree, pears remain firm until picked. Leaving them on the tree until they soften usually means the fruit has already begun to rot and is no longer edible. Color is also an unreliable indicator, as pears show little visible change when they reach maturity.
Picking too early causes the fruit to shrivel instead of ripen, while picking too late often results in fruit that is rotten on the inside. Timing matters, and it can feel difficult to judge, especially when growing pears for the first time.
Pear trees typically begin producing harvestable fruit within three to five years. Because these trees are a long-term investment, take a season or two to observe the size, color, and behavior of the fruit as it matures.
Harvest some fruit slightly early and some slightly later to compare results. Over time, you will learn to recognize the subtle signs that indicate peak harvest readiness on your trees.
When harvesting, pears should detach easily from the tree with minimal resistance. If the fruit resists removal, it likely needs more time to mature.
After picking, leave pears at room temperature to ripen, which usually takes about a week. Some cultivars, such as ‘Anjou’, require chilling for one to two weeks before they will ripen properly, but most varieties ripen well at room temperature.
To check ripeness, gently press near the neck of the pear. If it yields slightly and releases a sweet aroma, it is ready to eat. If it still feels firm, wait another day or two and test again.
Preservation

Once your tree starts producing fruit, you may be surprised by how many pears you harvest in a short time. The next question is often, what should you do with them all? Fortunately, pears suit several effective preservation methods.
Refrigeration is the simplest option. Most cultivars last one to two months in the fridge without a noticeable loss in quality. Some remain edible for several months, ready to use as needed. Always refrigerate pears before they ripen to extend shelf life.
For longer storage, freeze pears. Prepare and cut the fruit before freezing to make later use easier and speed up defrosting without sacrificing quality. Freeze pear pieces in a single layer on trays before transferring them to bags so the pieces do not stick together.
After peeling and slicing pears to your preferred size, dip each piece into an acidic solution to prevent browning. A mixture of equal parts water and lemon juice works well without overpowering the flavor, or you can use lightly salted water as an alternative.
Other Methods

Pears are also well-suited to dehydrating. Their natural sugars concentrate into chewy slices that taste like fruit candy without added sugar. Arrange pear slices on a tray and dry them in a 135°F (57°C) oven for at least ten hours, checking regularly for doneness. Juicier pears may need up to 24 hours of drying before they are ready for storage.
Many homesteaders prefer canning as a preservation method. This process uses warm syrup to preserve pears while maintaining a juicy texture.
Pack pear slices into a sterilized jar and pour hot syrup over the fruit. Secure the lid and process the jar in a water bath for just under half an hour. Allow the jars to cool completely before storing them in a cool, dry cupboard.
Varieties
Pears need cross-pollination to produce fruit, which means you must plant more than one variety. The varieties you choose should also be compatible, as some pear trees flower at different times and cannot pollinate one another.
Some hybrid pears can self-pollinate, but they still produce higher yields and better fruit quality when another pear tree grows nearby.
‘Bartlett’

‘Bartlett’ is the clear favorite for commercial production and in home gardens. The tree is medium-sized but produces large fruits under the right conditions. It is a long-living tree, often outliving its owners by several years.
‘Comice’
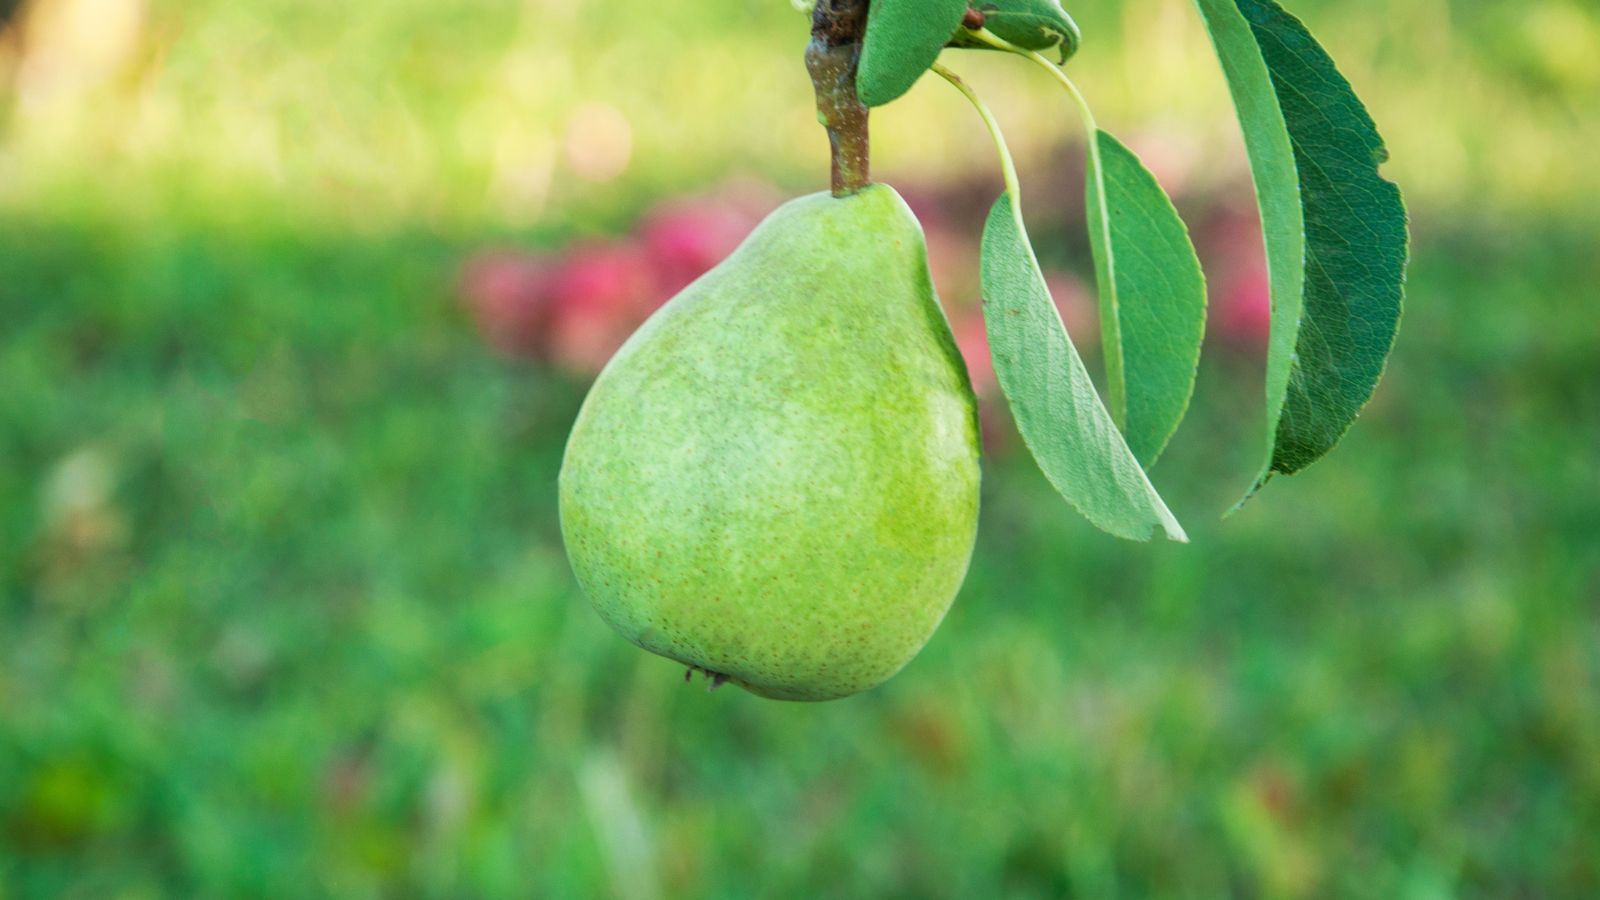
‘Comice’ pears are another popular choice, producing succulent yellow-green fruits. This is one of the few pear trees suitable for growing in Zone 9 as it requires fewer chill hours than some other cultivars. It is also ideal for smaller gardens as its height and spread are around 12 feet.
‘Anjou’
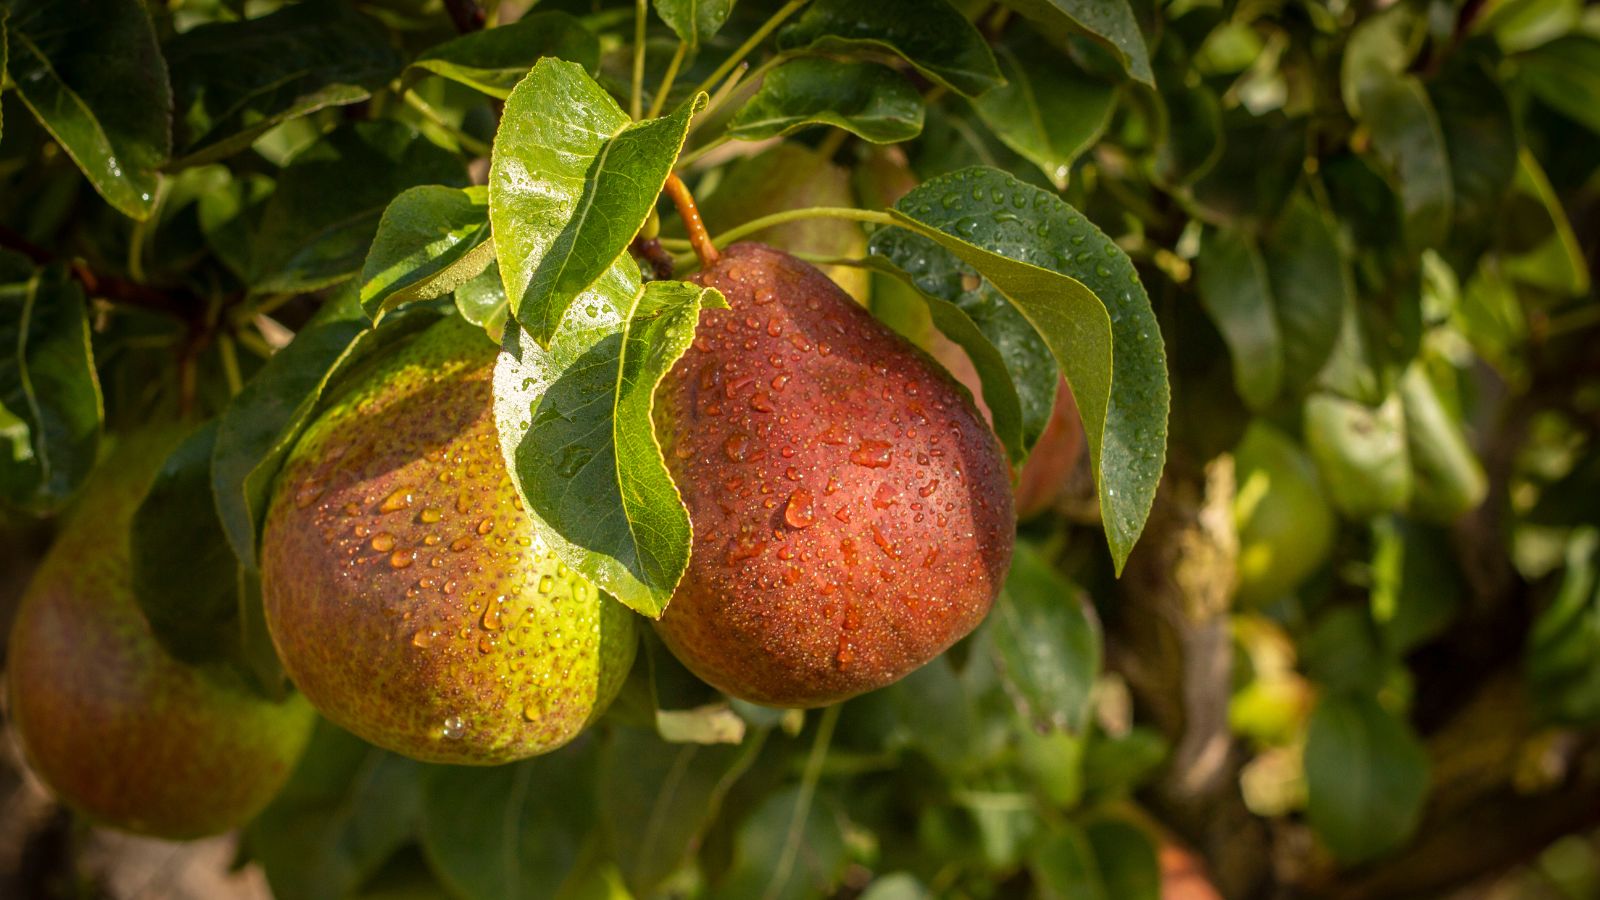
‘Anjou’ is perfect for slow-eaters, as the fruits have an incredibly long shelf life when stored in the fridge – up to six months. Those looking for color should try ‘Baldwin’, an orangey-red cultivar with firm flesh ideal for baking.
Other Varieties
There are so many options to choose from, including ‘Bosc’, ‘Seckel’, and ‘Forelle’. Check your local nursery to see which cultivars grow best in your area and ensure the ones you choose flower at similar times for successful cross-pollination.
Common Problems
Compared to many other fruit trees, pears are not especially prone to pests and diseases. Many cultivars also offer strong disease resistance, which helps reduce the risk of problems in the home garden. However, pest and disease pressure varies by region, particularly in humid climates, so it is still important to monitor trees regularly and address issues early if they appear.
Pests

Most pear tree pests lay eggs on leaves or fruit, with larvae causing the most damage. Codling moth larvae commonly infest pear fruit, tunneling toward the core as they develop. Pear psylla and leafrollers are also frequent problems, while spider mites, aphids, and scale insects may feed on various parts of the tree.
Horticultural oil offers one of the most effective control methods. It deters pests from settling on the tree, suffocates existing insects, and prevents eggs from hatching.
Watch closely for signs of pest activity, such as holes in leaves or fruit or increased ant presence, and act quickly to avoid long-term damage to the tree.
Diseases

Pears are susceptible to several diseases, some of which can cause serious damage or even lead to the loss of the tree if left untreated.
Fire blight is the most well-known pear disease in the U.S. and remains a major issue in commercial production, as the Bartlett pear is particularly susceptible. If new growth turns black and drops off, or if you notice oozing liquid from branches or trunks, fire blight may be present.
Remove all affected plant material immediately, including any debris that has fallen to the ground, as the disease can persist in surrounding soil. Monitor the tree closely for signs of further spread and act quickly if symptoms reappear.
Another common issue is pear scab, caused by Venturia pirina. This disease appears as dark, circular lesions on leaves, fruit, and stems. Over time, the lesions spread and crack, often rendering fruit inedible. Good garden hygiene helps reduce the risk of infection. Prune affected areas promptly and apply a fungicide if the disease continues to spread.
Fabraea leaf spot and Septoria leaf spot occur most often in wet, humid conditions. Infected leaves develop clearly defined purple or gray spots that gradually expand to cover larger areas of the leaf surface. Remove and destroy all infected foliage to prevent the disease from spreading to other plants in the garden.
Frequently Asked Questions
Can I grow pears in pots?
Pear trees can be grown in pots, provided the pot is large enough and has plenty of drainage. The pot should be at least double the width of the existing pot and deep enough to allow the roots to grow downwards.
Fill the pot with high-quality potting soil with added coconut coir and perlite to improve drainage. Potted pear trees will need watering more frequently as the container dries out faster, especially in summer. Extra pruning may be necessary for high-yielding trees to reduce the weight on the branches.
How can I grow a pear in a bottle?
You may have seen fully grown pears in bottles, usually surrounded by a brandy or other alcoholic drink, and wondered – how on earth did they squeeze the pear in there? The answer is – they didn’t. These pears are actually grown inside the bottle until they are ready to be harvested, and you can do the same thing with your own home-grown pears.
When the fruit is still small, secure a glass bottle over the fruits and ensure it is placed deep into the bottle to prevent the fruit from squeezing into the neck of the bottle. Angle the bottle downwards to allow moisture to run out the opening. Once the pear is ripe, remove it from the branch and rinse the bottle, filling it with a spirit of your choice. Leave the bottle to stand for a few weeks to infuse before tasting.
Can apples and pears pollinate each other?
Apples and pears do not share the same genus. Apples are part of the Malus genus, while pears are part of the Pyrus genus. This means they should not cross-pollinate.