

Contents
Welcome to the kickoff of the Epic Gardening microgreens guide! I’m very excited to share with you exactly how to go through your very own microgreens grow at home.
In this first post, I’ll break down exactly what you need to get started growing microgreens in your home. They’re a fantastically delicious, quick, and easy project for a beginning urban gardener, so let’s get started!


Microgreens Supplies

Here’s a quick rundown of the materials you’ll need to get started:
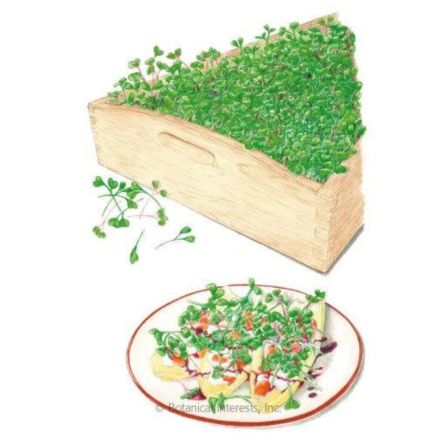
- Microgreen Seeds
- Hydroponic Nutrients
- pH Down or pH Testing Kit (if you don’t have it already)
- Growing Trays: get ones with NO drainage holes, a good source is a local garden or hydro shop
- Growing media: explained in detail below
- Spray bottle
Microgreens Seeds

The first thing you’re going to need are seeds to plant! We’re particularly fond of True Leaf Market’s seed selection, but there are other sources as well.
The smallest quantity of seeds we’d recommend is 4oz. Unless the seeds are particularly large, you’ll find you will go through an ounce or more for a 10×20 tray. If you want to get a little crazy, pick up a microgreen seed mix for some really beautiful (and still delicious) arrangement of microgreens. It’s not necessary to do this, and you can get started with just one 4oz pack of the cheapest seeds they’ve got if you want to save some cash.
Nutrient Solution and pH Down

Next, you will need some pH down and possibly some nutrient solution. The only thing that is absolutely mandatory here is pH down. As you’ll learn in future posts in this series, microgreens really love a slightly acidic growing environment. Most tap water and even reverse osmosis water is simply too alkaline for microgreens. pH down will help you adjust your water to a range that helps your microgreens thrive.
I included General Hydroponics FloraGro here because some people like to give their greens a light dousing of nutrients a few days before harvest. There are arguments on both side of the fence for this, but I figured I’d include it because I plan to use it in this guide.
Microgreen Trays

The last thing you need to grow is some 10″x20″ trays and some growing media. You need two trays because you’ll be using one to make a black out and humidity dome while your seeds sprout. They need complete darkness and a constantly moist environment for optimal sprouting.
Growing Media

Your seeds need something to sprout in, whether it’s hydroponic media or even potting soil. While there are some seeds that do better in a soil environment, most of them can sprout and thrive in hydroponic media just as well as soil. Here are my recommendations in order of easiest to hardest to work with:
- Sure to Grow 10″x20″ pads – these are hands down the easiest to deal with, although the fact that they are made out of PET-1 plastic means that they’re not the most sustainable choice. You will be throwing these away after every single tray.
- Coconut Coir – I’m using coco coir for this guide because it’s a great sustainable hydroponic media that can be reused after every single grow with just a little bit of effort.
- Soil – If you want to use soil, or are growing greens that require soil, this is going to be your best bet. The huge benefit of soil is that it can be amended and used over and over again in a closed-loop sustainable production system. The downside is that it’s the hardest to work with as far as cleanliness and harvesting. Consider using a seed starting mix such as Espoma’s, as a finer-particulate soil will help with seed germination over one that’s coarse.
Next Steps
microgreOnce you’ve gathered all of your materials, check out the next post in the series: How to Plant Microgreen Seeds.


