How to Build Hugelkultur Raised Bed Gardens
Building a hugelkultur raised bed can be fantastic if done correctly. In this guide, horticultural expert Lorin Nielsen examines all aspects of this process to help you get started!

Contents
Is a hugelkultur raised bed right for you? If done correctly, it absolutely can be. Using this method to fill your raised beds can offer major benefits, especially if you want to focus your budget on topping the bed with the highest quality growing medium.
But what exactly is hugelkultur, and why is it beneficial for raised garden beds? Is this technique more effective in its traditional mound form, or does it perform better when contained within a raised bed? And does hugelkultur really steal nitrogen from your soil and cause plant problems?
Let’s explore the hugelkultur method in more detail. We will cover which materials belong in a hugelkultur bed, what should never be added, and why those choices matter. We will also look at the ideal soil mix to use on top. By the end, you will have everything you need to set up a successful hugelkultur raised bed.
Medium Modular Metal Raised Garden Bed Kit – 15” Tall
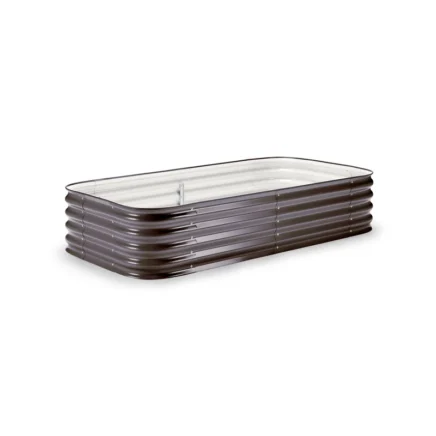
Medium Modular Metal Raised Garden Bed Kit – 15” Tall
Epic Cover Frame Kit (Birdies Large)
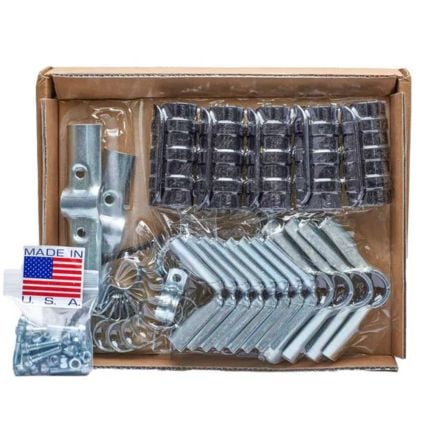
Epic Cover Frame Kit (Birdies Large)
Coco Coir, Castings & Thermometer Bundle

Coco Coir, Castings & Thermometer Bundle
What Is Hugelkultur?

This funny-sounding word, pronounced hoo-gell-culture or hoo-gull-culture depending on who you ask, is actually German for “hill mound.” In its original form, a shallow pit is dug and filled with rotting wood, which is then shaped into a long, narrow mound. Soil is piled on top of the logs, creating a tall structure with far more planting space than a flat garden bed.
At first, the logs simply add bulk to the bed. As they slowly decompose, the mound settles, and the decaying wood begins to hold extra moisture. As long as the mound remains fully planted, soil erosion is minimal, and the system develops into a self-supporting ecosystem.
In raised garden beds, hugelkultur is usually adapted slightly. You could build a long, narrow raised bed, fill the center with logs, and mound soil over the top to mimic the traditional hill mound style. However, most gardeners using raised beds prefer a level growing surface with enough soil depth for planting.
Hugelkultur raised beds offer the best of both approaches. When building one, wood typically makes up slightly less than half of the material used to fill the bed. Additional materials such as grass clippings, food scraps, coffee grounds, and similar organic matter can be added around the wood to speed up decomposition. On top of this base, you add your preferred growing mix.
This method uses permaculture principles to reduce the amount of soil needed to fill raised beds while also putting branches, logs, and other woody debris to good use. When done correctly, the hugelkultur portion of your raised bed can cost nothing at all and can significantly reduce the overall expense of building your bed.
Benefits and Drawbacks of Hugelkultur Beds

A lot of different benefits have been ascribed to hugelkultur beds online. Let’s list just a few of the most common:
- Reduces watering frequency
- Can use up waste wood or prevent it from needing to be burned
- Increases the surface area of your garden beds
- May generate heat as the wood decomposes
- Is an inexpensive way to create a tall garden bed
All of this sounds incredible, doesn’t it? But like most gardening trends you find online, there are both advantages and drawbacks to consider.
Drawbacks
Yes, a hugelkultur bed can reduce watering to some extent. However, most of the water retention benefits do not appear until the wood has broken down enough to become sponge-like and share moisture with the surrounding growing medium. If you start with very large logs, this process can take years.
Unless you grow a lot of trees, live in a forested area, or are close to orchards, you may not have easy access to large amounts of waste wood. This often means sourcing wood yourself. While large logs can sometimes be found, they are often bigger than ideal and may require a log splitter to size them down. Some gardeners choose to buy a cord of firewood for their beds, but if your goal is to build inexpensively, this may not be the best option.
Traditional hugelkultur beds are built as mounds, which increases planting surface area. However, if you do not want soil rising above the walls of your raised bed, you lose this benefit entirely. In that case, you may not gain any additional growing space at all.
Most raised beds already warm up faster in spring than in-ground beds, so extra heat retention is not always necessary. In addition, wood is carbon-dense and does not release much heat as it decomposes. Nitrogen-rich materials are what generate warmth during breakdown, not wood alone.
Benefits
So what are the real benefits of building a hugelkultur raised garden bed?
In my experience, the real benefits of a hugelkultur raised bed are as follows:
- Great way to use up branches, small logs, wood chips, scrap lumber, and virtually any other woody material you have
- Will in time act as a water reservoir at the bottom of the bed
- Can be extremely cost-effective to create
- Adds an abundance of organic matter to your soil
- Definitely reduces the amount of soil you’ll need to start your beds
- Reduces compaction and shrinkage in your raised beds
This is a much more realistic depiction of hugelkultur when applied in a raised bed setting. It is not going to work miracles, especially when it is brand new, but over time, the benefits can far outweigh the drawbacks.
Does Rotting Wood Steal Nitrogen?

One of the most common concerns raised by gardeners experimenting with hugelkultur is that decomposing wood steals nitrogen from the surrounding soil. Claims of failed plantings are widespread.
In many of those cases, the issue comes down to how little soil was added on top of the mound.
More than half of the material in your raised bed should be the soil you will actually be gardening in. Only the soil that is in direct contact with the wood will experience any noticeable nitrogen loss, so the goal is to limit how much soil presses directly against the wood.
The most effective way to do this is by packing nitrogen-dense materials around the wood. Whether you are using thin branches or thick logs, add several inches of nitrogen-rich material on all sides. This helps balance decomposition, encourages even breakdown, and fills gaps so the soil stays where it belongs.
When green, nitrogen-rich materials are incorporated around the wood, nitrogen theft is unlikely to be an issue. With normal watering, nutrients will naturally move through the soil profile over time, replenishing nitrogen around the wood as it decomposes. Fertilize as you normally would, and your plants should grow without issue.
How To Layer Hugelkultur Raised Beds
Now that you have a better grasp on what hugelkultur is and some of the benefits and drawbacks, let’s talk about the right way to build a hugelkultur raised bed!
Framing

If you are using one of the Birdies raised beds sold through the Epic Gardening store, you have a galvanized steel bed designed to last for decades. This makes an ideal framework for building a hugelkultur raised garden bed.
You can also use a wooden frame, but keep in mind that the goal of a hugelkultur system is to decompose wood over time. That means your wooden walls may be at risk as well. If you choose this method with a wooden frame, be prepared to replace the side walls as needed. Select woods that decompose more slowly, such as cedar. While it may cost more upfront, it is often worth the investment.
Brick, concrete blocks, or stone can also be used to build raised bed walls. These options may cost more initially, but they can last for many years, much like galvanized steel beds. The main drawback is that these materials are thicker, which can reduce the usable growing space inside the bed.
Start At The Bottom

One of the best things about a hugelkultur bed is that you can repurpose some of the soil that already exists in your yard. If you have decent-quality soil, this is a great way to get the most out of your own topsoil while still raising the bed height to a more manageable level.
If you want to use this method, dig out a couple of inches of surface-level soil from the area where the bed will sit. Either leave some hard-packed soil in place to support the sides of the bed, or bury bricks beneath the walls to prevent the bed from sinking over time. Set the removed soil aside on a tarp, as you will use it later.
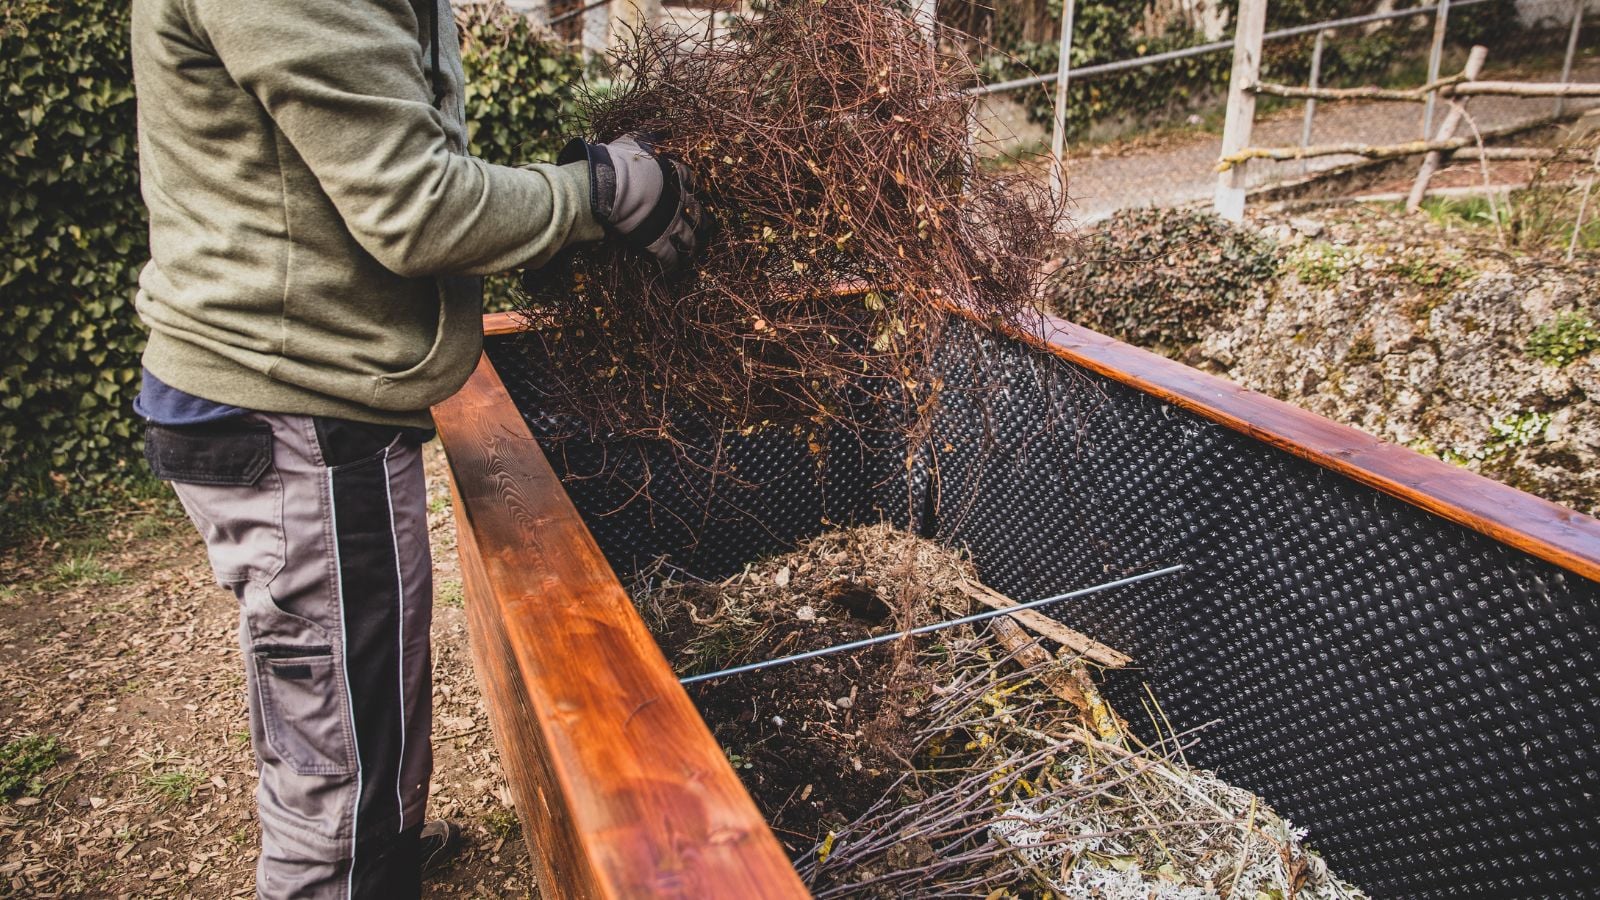
Once the shallow trench is prepared, fill those first few inches with green waste. Garden trimmings, grass clippings, fresh manure, compost, whether finished or unfinished, kitchen scraps, and similar materials work well here. This creates a nitrogen-rich layer that allows you to nestle the wood into place while helping balance decomposition from the start.
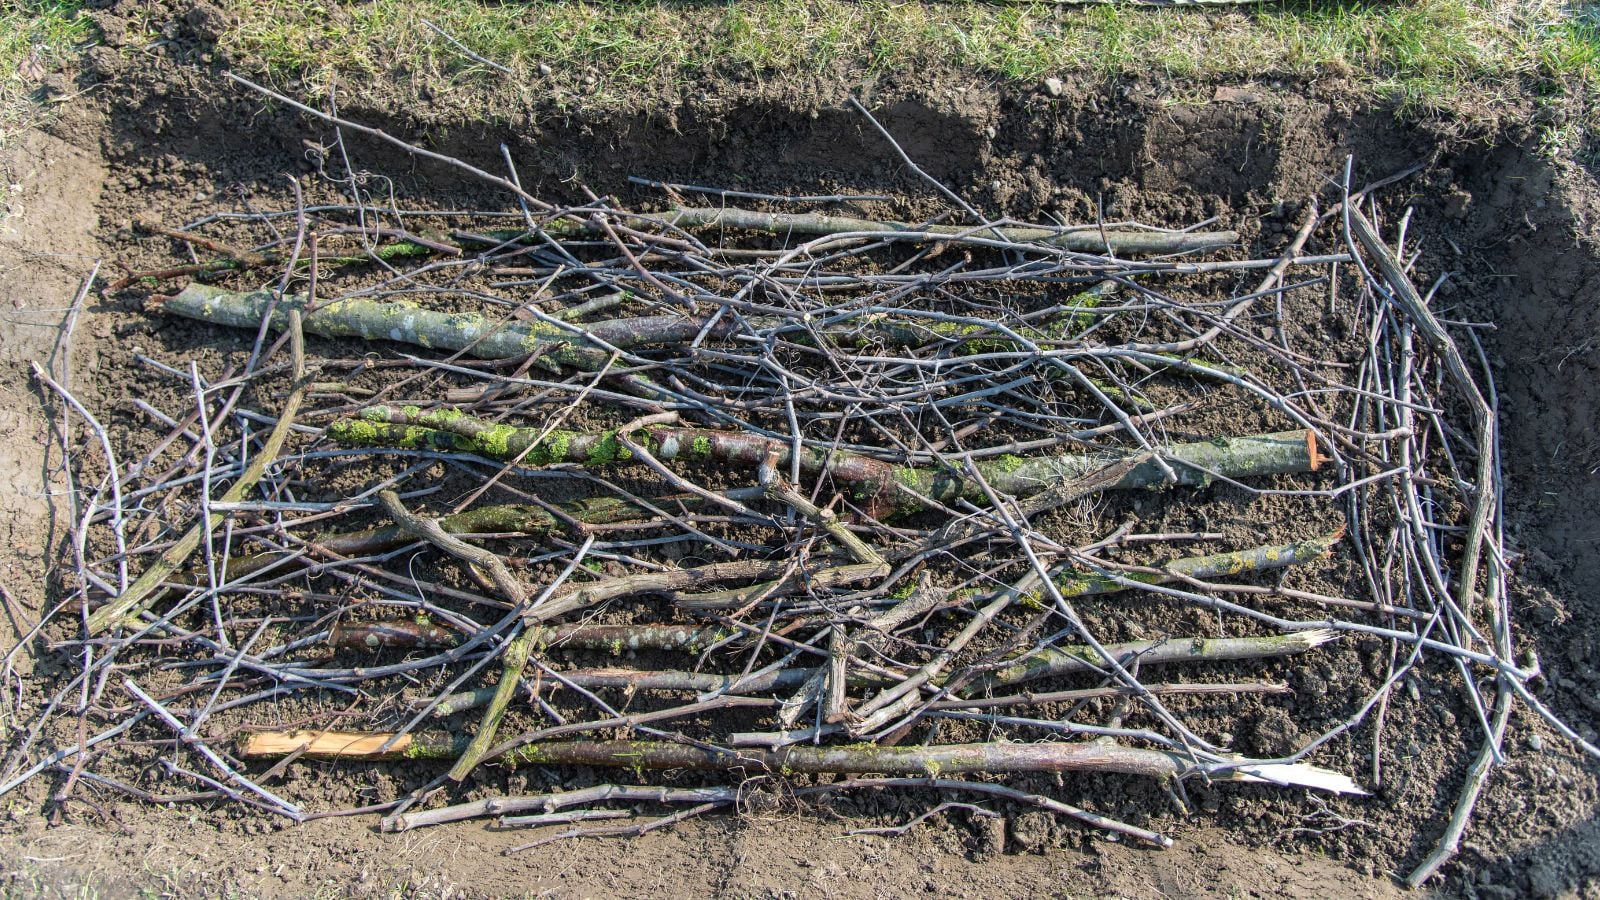
Work In Your Wood
Now it is time to choose your wood, and it cannot be just any type. You want the wood to sit below the halfway point of your raised bed, while still leaving at least eight inches of pure soil on top for gardening.
A 30-inch bed can hold up to 15 inches of wood, since you will still have 15 inches of soil above it. A 15-inch bed, however, should only contain six inches of wood at most. Maintaining at least eight inches of growing medium as the top layer is essential.
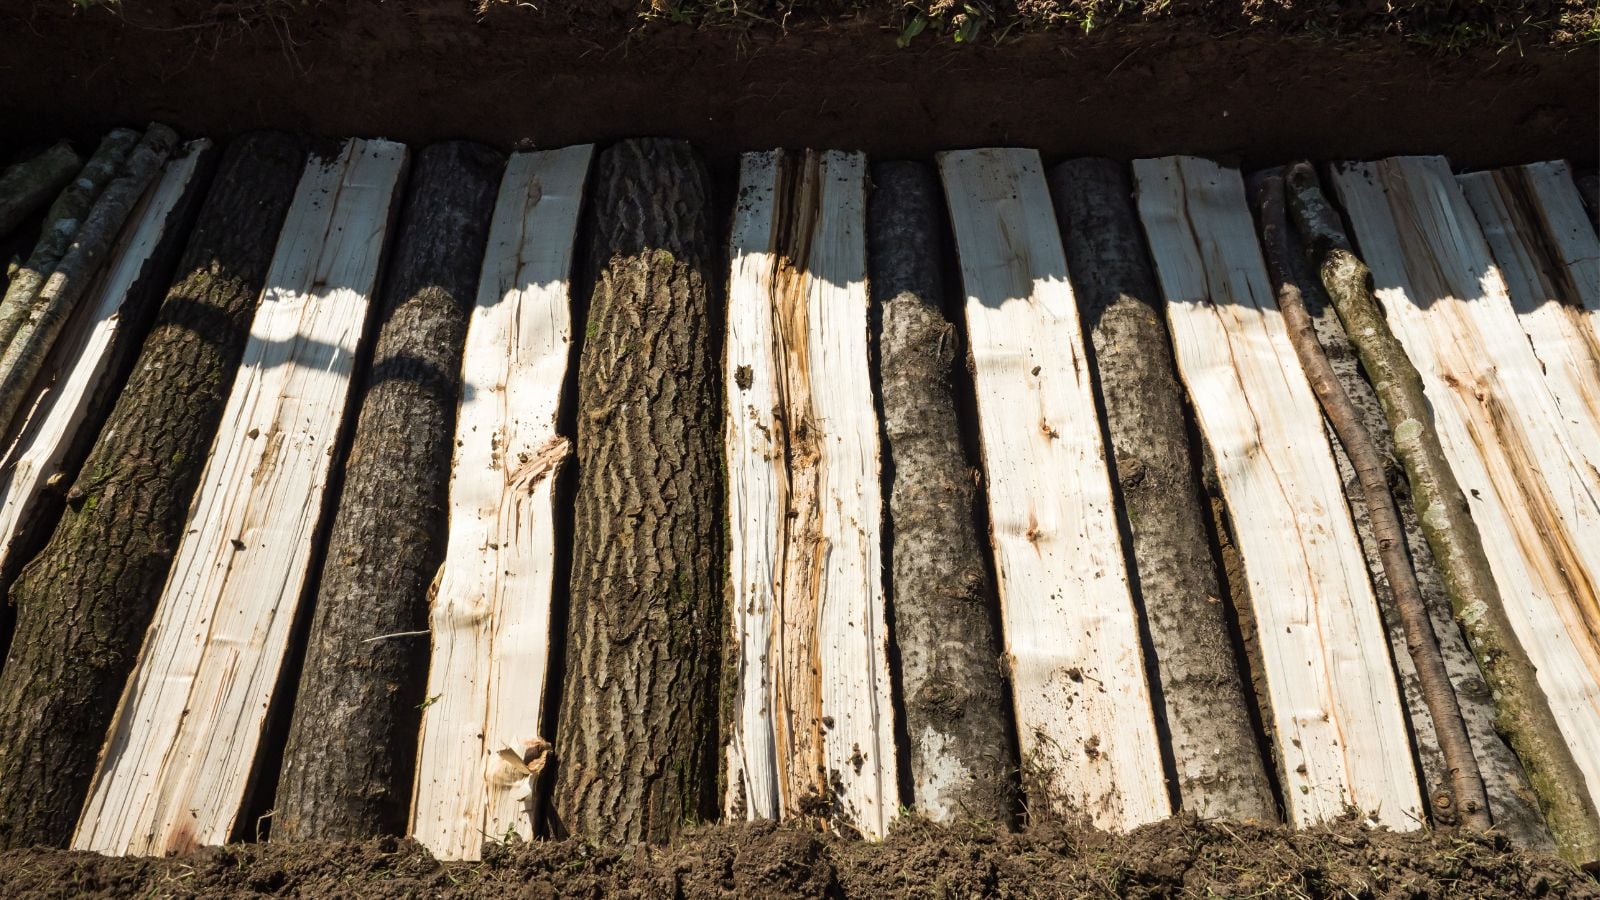
For shallower beds, branches and twigs are the best choice. If possible, pack grass clippings or other organic material into the bundles to fill any gaps, then push them down firmly into the green waste layer.
Taller beds can accommodate larger pieces of wood, as long as they remain below the halfway point of the bed. Dry logs that have already begun to rot are ideal, as they decompose faster.
As you fill the bed, pack one to two inches of green waste along the sides. Ideally, all wood should be completely surrounded by organic matter that will break down evenly over time.
If logs, branches, or twigs are not available, wood chips can be used instead. Arborist wood chips work best, especially those that include green leafy material. Beds filled with wood chips need extra organic matter, since chips decompose more quickly than larger wood.
Once the wood layer is in place, add another two to three inches of nitrogen-dense organic material on top. Pack it down firmly, pressing it into any gaps. This prevents soil from settling between the wood pieces and creates a protective nitrogen buffer beneath the main soil layer.
Wood You Shouldn’t Use
There are certain types of trees that are considered allelopathic. These trees contain compounds in their wood or bark that act as natural herbicides, preventing plant seeds from germinating.
Even though the wood in a hugelkultur bed sits beneath the growing medium, there is still a risk that these compounds could move upward into the root zone. For this reason, it is best to avoid specific types of wood, leaves, or chips when building your hugelkultur base, as doing so reduces the risk of plant damage.
Common allelopathic trees include walnut, especially black walnut, eucalyptus, tree of heaven, manzanita, sugar maple, red oak, sycamore, goldenrod, American elm, pepper tree, and black locust. Using wood or leaves from these plants can potentially cause problems. While these materials will eventually compost and lose their harmful compounds, it is safer to avoid them from the start.
Fill With Your Growing Medium
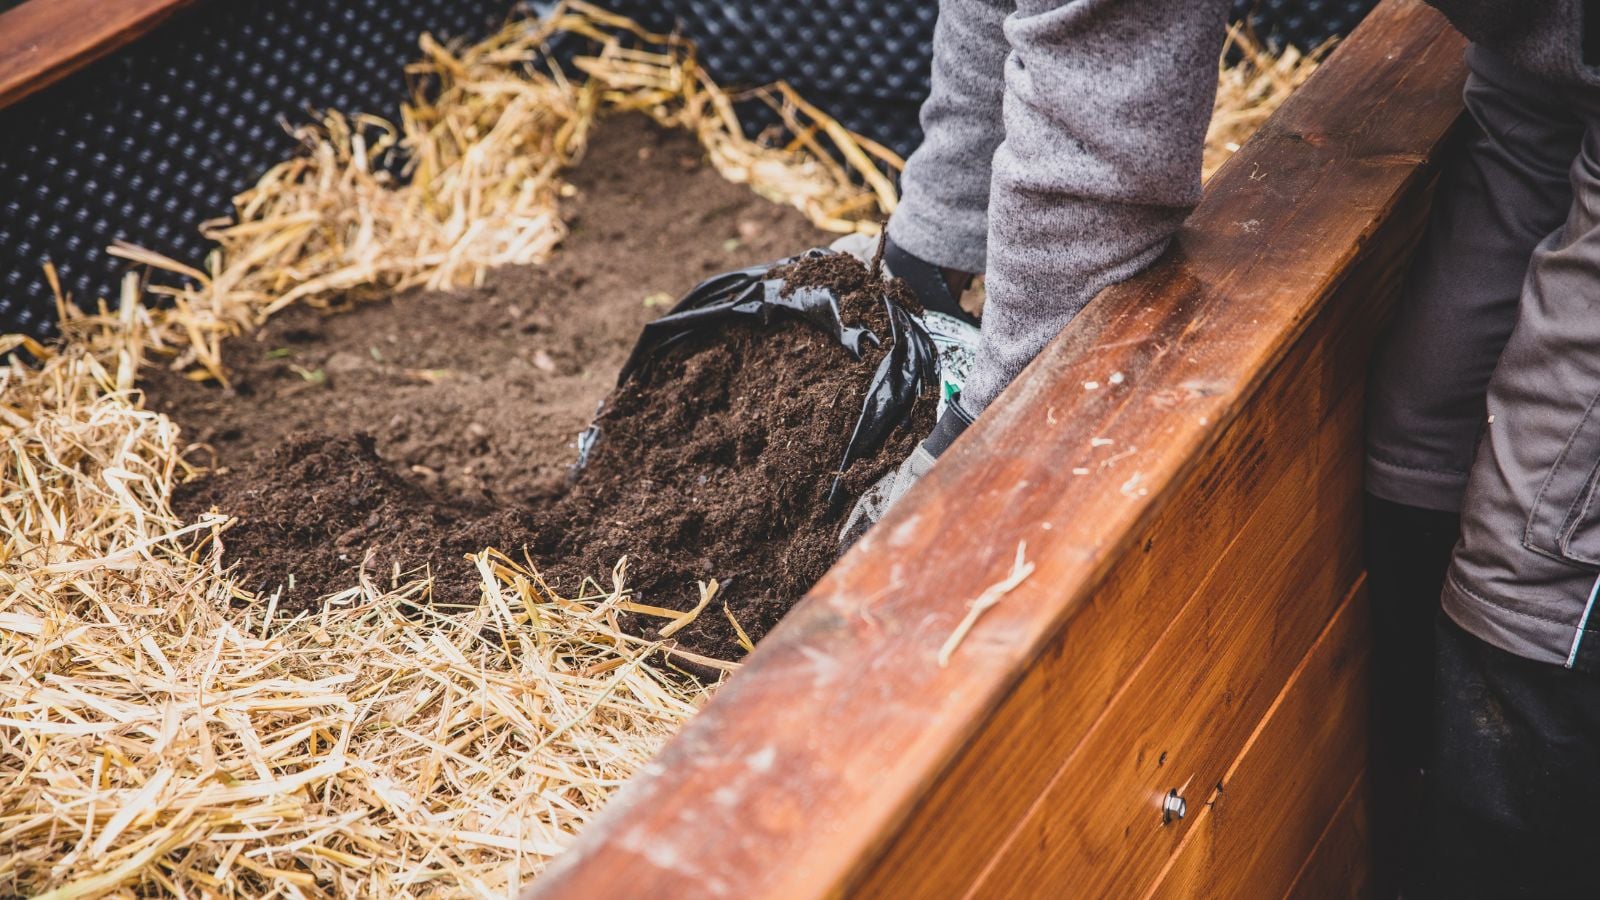
Now that the hugelkultur portion of the bed is in place, the next step is to add back any soil you removed from beneath the bed. Spread it evenly across the surface to fully enclose the fill material.
On top of this layer, you want a soil mix rich in organic matter that can hold a significant amount of moisture.
If you are blending in native soil, be sure you understand the type you are working with. Sandy soils often need extra moisture retention, so mix in additional coconut coir, peat moss, worm castings, or vermiculite. Clay soils benefit from generous amounts of leaf mold, plant compost, composted horse manure, or composted cow manure to improve structure. Silty soils should be thoroughly blended with the rest of the mix so they do not settle and form a dense, sticky layer on top of the wood.
While this top layer should retain moisture, it also needs to drain excess water effectively. Water should not pool on the surface. Before filling the bed completely, test a small amount of your mix by watering it thoroughly. If water remains on the surface for more than a few minutes, work in coarse sand or perlite to improve drainage.
Plant And Mulch

Now that your raised garden beds are full, it is time for the final step: planting and mulching. Preventing weeds is key, and the best way to do that is to keep the soil fully covered. Anywhere a plant is not growing should be covered with mulch to reduce the chances of weeds taking hold.
Hugelkultur raised beds can help retain moisture once the wood begins to break down. However, like all raised beds, it is still important to reduce moisture evaporation from the top few inches of soil. Since the wood is still new, the first growing season or two is the most important time to slow surface evaporation.
A thick layer of compost between plants, topped with wood chips, works well. This approach greatly reduces both weed pressure and water loss. For even better water efficiency, consider using a soaker hose system beneath the mulch layer.
Planting in raised beds is easier on your body because you do not have to bend as far. You will also find that watering and weeding are more manageable. This ease of maintenance is one of the biggest advantages of raised bed gardening, and it is easy to see why so many gardeners prefer it.


