How to Propagate Kalanchoe in 4 Easy Steps
Ever wondered how to propagate kalanchoe with ease? In this complete guide, gardening expert Rachel Garcia explains the entire process step by step, whether you're propagating from cuttings or offsets.

Contents
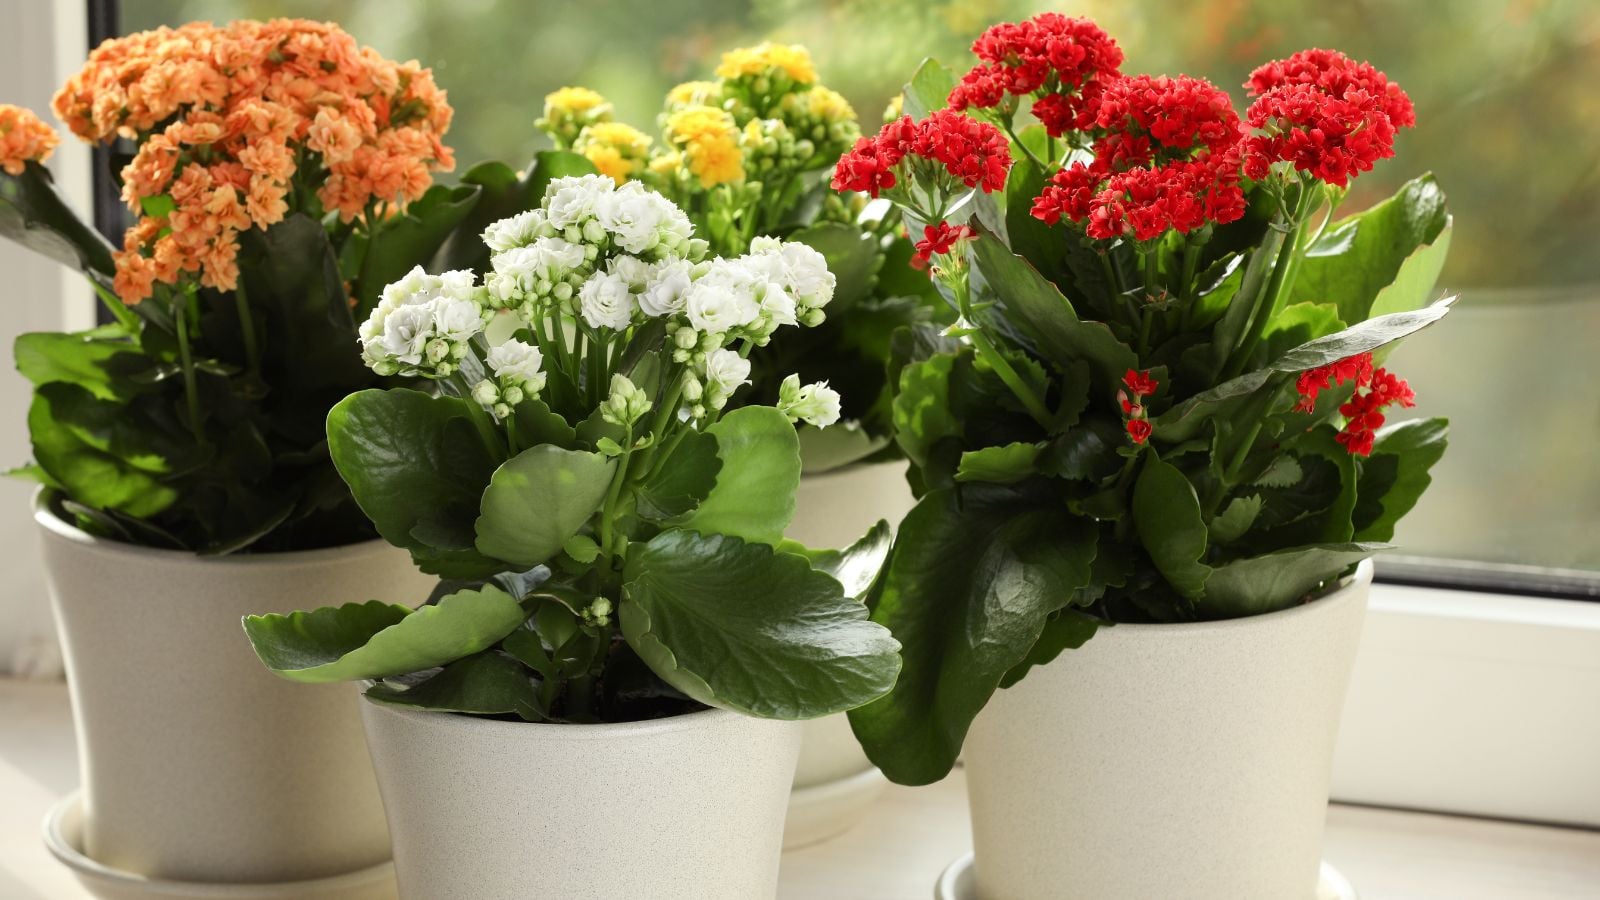
Kalanchoe’s bright blooms are the perfect way to cheer up a gloomy winter. This succulent comes in a rainbow of flowers that thrive for months, including the cold season. When not flowering, it’s a handsome plant with broad and chunky deep green leaves. And knowing how to propagate Kalanchoe will help you have as many as you want!
Once you have one kalanchoe plant in your garden, you’ll definitely want more. Luckily for you, this succulent is incredibly easy to propagate, no matter your experience level. Whether you own the impressive Kalanchoe blossfeldiana or a different species, this tried-and-true method will work for you.
How Does Kalanchoe Reproduce?

If you have a mature kalanchoe succulent, you’ve probably seen it grow offsets to create new plants. These baby plants pop up at the tips of leaves and rely on the parent plant while they grow their own roots. However, this takes a lot of energy from the parent. It will be faster and easier on the plant to take over the propagation yourself.
You can propagate kalanchoe plants through offsets or stem cuttings. When cut and planted correctly, the wounds will send out roots, creating a new plant. While the roots are getting established, the cutting will live off the nutrients stored in its succulent leaves. The result is a baby kalanchoe for your garden.
Kalanchoe can also reproduce by seeds, but this method is more complicated and generally less successful.
What You’ll Need

- One healthy kalanchoe
- A sharp, clean knife or clippers
- One pot, preferably clay (regulates moisture)
- Succulent and cactus soil
- Rooting hormone powder (optional)
- A clear plastic bag
- Misting bottle or watering can
The Method
The propagation method for kalanchoe is pretty standard among all succulents. They’re best propagated by stem cuttings or offsets, which usually root in 15-20 days.
Step 1: Take the Cutting

The best time to propagate kalanchoe is during the spring or summer. At this time, it usually won’t have any flowers, so it’s busy storing energy for the next bloom. That means you can direct some of the energy into new growth through propagation.
The stem you select should be healthy and mature but not flowering. It also must be a few inches long with at least two leaves. With your knife or clippers, make a clean cut just above a leaf or stem node.
If you’re propagating with an offset, carefully remove it where it joins the parent plant. Like the stem cuttings, it must have at least a couple of leaves to survive.
Because kalanchoe is prone to etiolation, you can use propagating as an excuse to pinch back those leggy stems. Doing so will remove the unsightly parts of the plant while creating the perfect stem cutting.
Just clip off the stem at the base of where the leggy growth begins. From there, make the cutting propagation-ready by removing the lower leaves and trimming the bottom if it’s too long. The parent plant will regrow from where you pruned the stem.
Step 2: Let it Dry

Now that you have your cutting, you have to let it dry out. The wound where you cut the stem will form a callous, which protects the cutting from disease and rot. Depending on the stem’s thickness, this will take 1-3 days.
To promote fast and healthy rooting, dip the end of your cutting in a rooting hormone powder. This should be done after the wound has calloused.
Step 3: Plant

Succulents need a soil mix that drains quickly and effectively. They hate to be sitting in water, which commonly leads to root rot. You can buy a specialty succulent and cactus soil almost anywhere. Alternatively, you can create a 2:1 soil mixture with peat moss and sand (coconut coir and perlite also work). Adjust the ratio so the soil becomes moist when watered but not soaked.
You can plant a few kalanchoe plants in one pot if it’s big enough. However, keep in mind that these baby cuttings are going to grow and need the space to do so. Fill the pot you’ve chosen with moist soil.
Poke each cutting into the soil and lightly pat down, so the stems are upright.
Humidity will help your kalanchoe cutting really take off. Create more moisture for your plant by covering the container with a clear plastic bag. Make a few holes or slits in the bag to create air circulation, and remove the bag when the cutting is actively growing.
Step 4: Grow!

Place your cutting in bright, indirect light. A south-facing window is usually the best spot in the house for succulents. Keep your kalanchoe plants away from direct light since the leaves are prone to sunburn. The temperature should always be above 50°F (10°C).
Keep the soil moist with a spray bottle or light watering. You should only water your kalanchoe cutting when the soil is getting dry. When your cutting has established roots, and you notice stem/leaf growth, you can begin caring for it like you would a full-grown kalanchoe.
Kalanchoe Care

Your new kalanchoe needs bright, indirect light and will etiolate if it doesn’t get enough sun. Etiolation is when part of the plant grows towards the sun, unbalancing the plant.
Average house temperatures are fine and it can live outdoors in zones 10-12. When it’s outside, keep it in the shade so the pretty leaves don’t burn.
Your kalanchoe will appreciate a deep drink of water followed by a period of drought while the soil dries. This succulent is likely to die from excess water, so don’t get carried away.
Fertilizer can be applied during the spring and summer to promote flowering and growth. Go for a balanced or phosphorous-leaning fertilizer for this succulent. You can use a slow-release form at the beginning of the season or diluted liquid fertilizer every other week.
Frequently Asked Questions
Can I grow kalanchoe from cuttings?
Yes! This is one of the easiest ways to grow new kalanchoe plants. Even some of the less common varieties can be propagated this way.
What is the fastest way to propagate kalanchoe?
Propagation by offset is perhaps the easiest way to grow more kalanchoe.
Can I root kalanchoe cuttings in water?
It is possible. But it’s risky as the roots of kalanchoe are sensitive to moisture for extended periods.
Does kalanchoe reproduce by leaves?
Yes. Like other succulents, kalanchoe can reproduce via fallen leaves that root to the ground.
Where do you cut kalanchoe?
You want to cut just above the soil line, slightly above the area where the soil meets stem.


