How To Harvest, Dry, and Store Oregano For Later Use
If you know how to harvest oregano properly, you'll be able to keep your house stocked with flavorful leaves! Elevate your dishes with herbs from your own garden this season. This guide by horticultural expert Lorin Nielsen reveals how.

Contents
Originating from Greece’s hilly countryside, oregano was described as the “joy of the mountain” by the local Greeks. Today, this aromatic herb is cultivated worldwide and used abundantly in several cuisines. It is an almost inevitable ingredient in Greek, Italian, and South Asian dishes.
Oregano is closely related to sweet marjoram, which is another extremely popular herb grown in raised bed herb gardens. As a result, the plants also go by the name wild marjoram. Currently, there are around 36 varieties of oregano grown around the world. Origanum vulgare is a perennial plant that blooms twice a year, in summer and autumn.
Planting this herb in your garden will guarantee a continuous supply throughout the year. Oregano adds a distinct flavor and aroma to many favorite dishes, including pasta, omelets, roast potatoes, tomato dishes, lentils, kebabs, and pizza.
To enjoy an ongoing supply and encourage healthy growth, it is essential to harvest oregano properly. Below, you will find tips on how to harvest and store oregano the right way.


When to Harvest Oregano
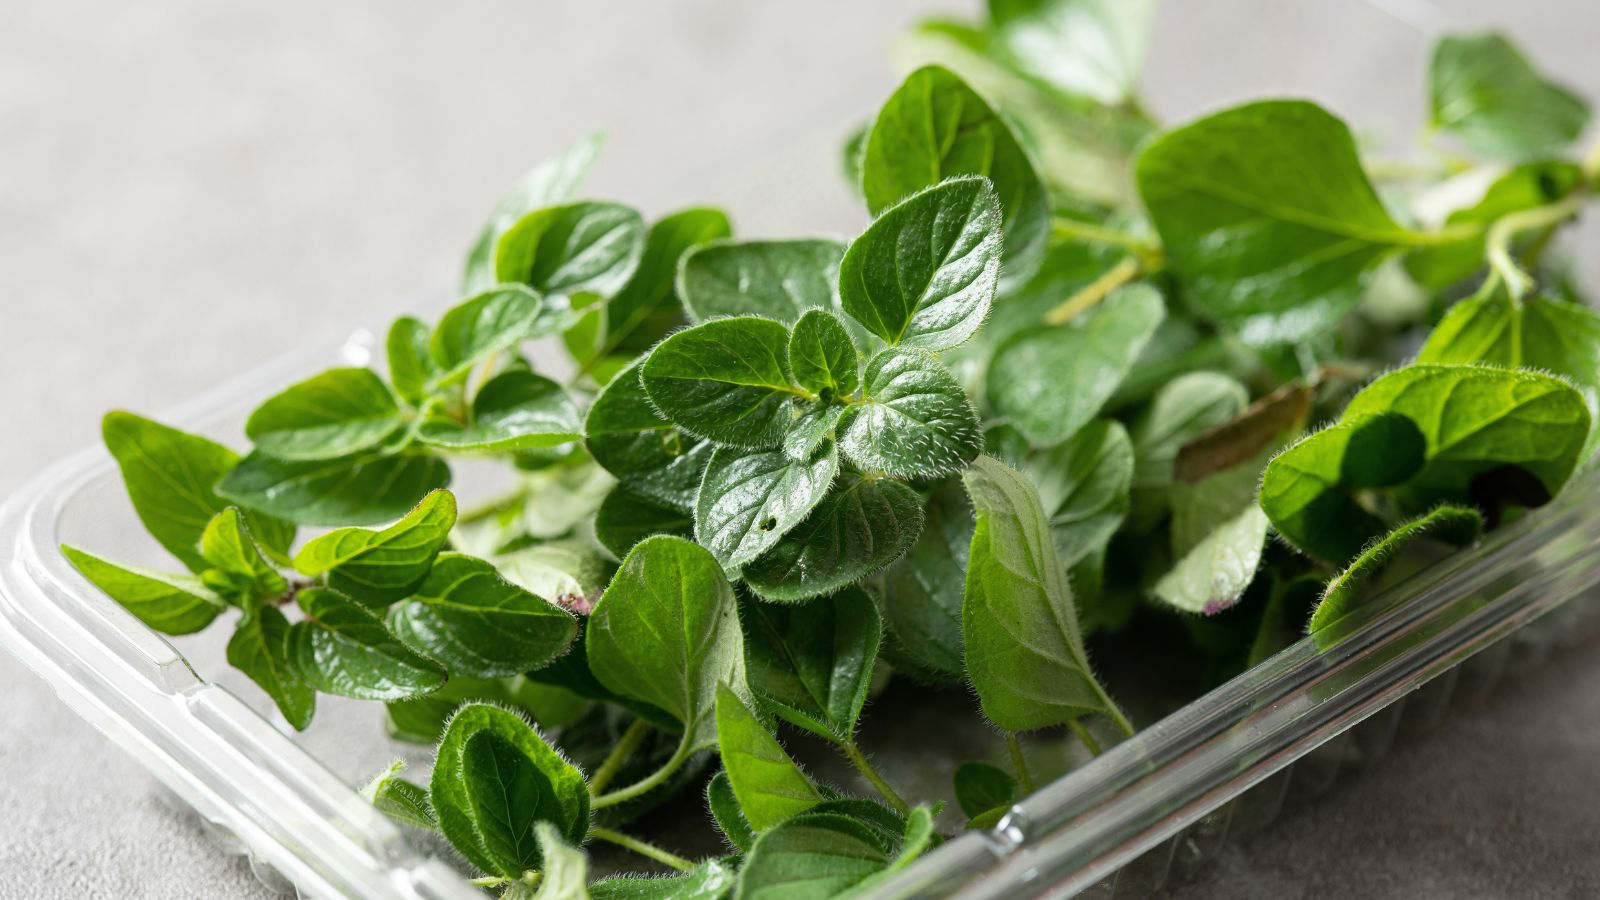
If you have an established patch of well-growing oregano in your herb garden, or even if you are growing oregano in a container, late spring or early summer is a good time to pick leaves.
If your plant is not yet mature, you will need to wait a bit longer before harvesting. You can begin harvesting oregano once the stems reach at least four to five inches tall.
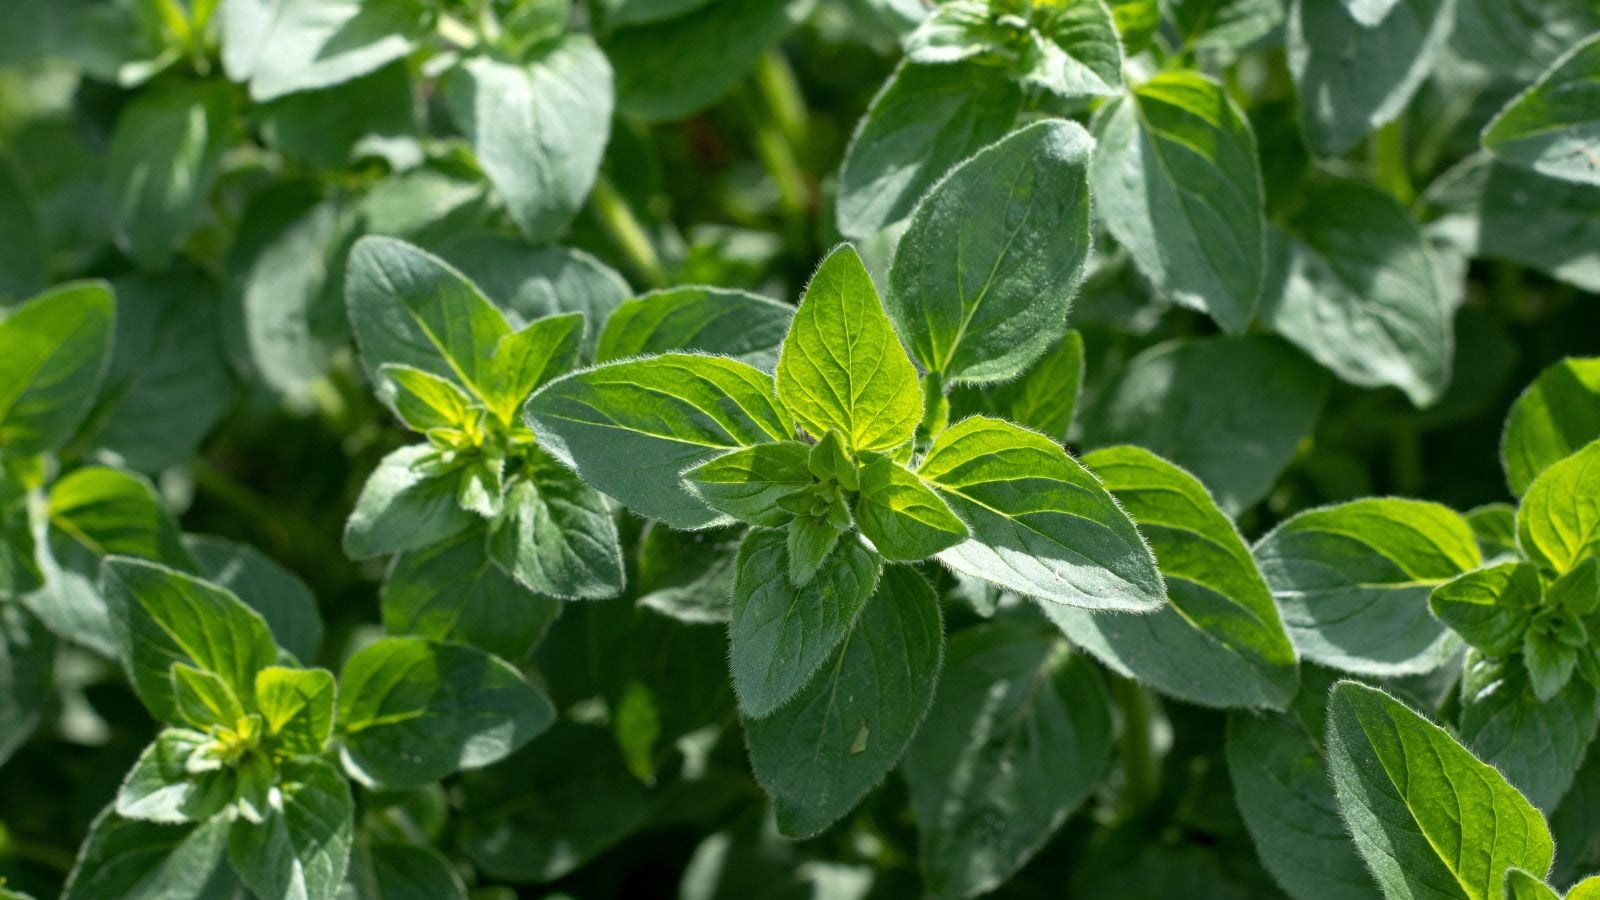
The best time to harvest oregano is just before it blooms. At this stage, the plant has developed its highest concentration of essential oils, and the flavor is strong, potent, and at its peak.
That said, you do not need to wait until flowering to harvest. Like most herbs, oregano can be harvested on a cut-and-come-again basis. You can simply take leaves from the plant as needed for fresh use. As the plant begins to move toward flowering, it is also an ideal time to harvest larger amounts for drying and long-term storage.
The time of day you choose to harvest also affects flavor. In general, it is best to collect stems or leaves early in the morning. You do not need to wait for the dew to dry from the leaves.
Keep in mind that oregano plants take about two to three weeks to regrow their foliage. Avoid harvesting the entire plant at once. Instead, harvest regularly and take small amounts as needed. This approach allows you to enjoy fresh oregano consistently while keeping the plant healthy and productive.
How To Harvest Oregano
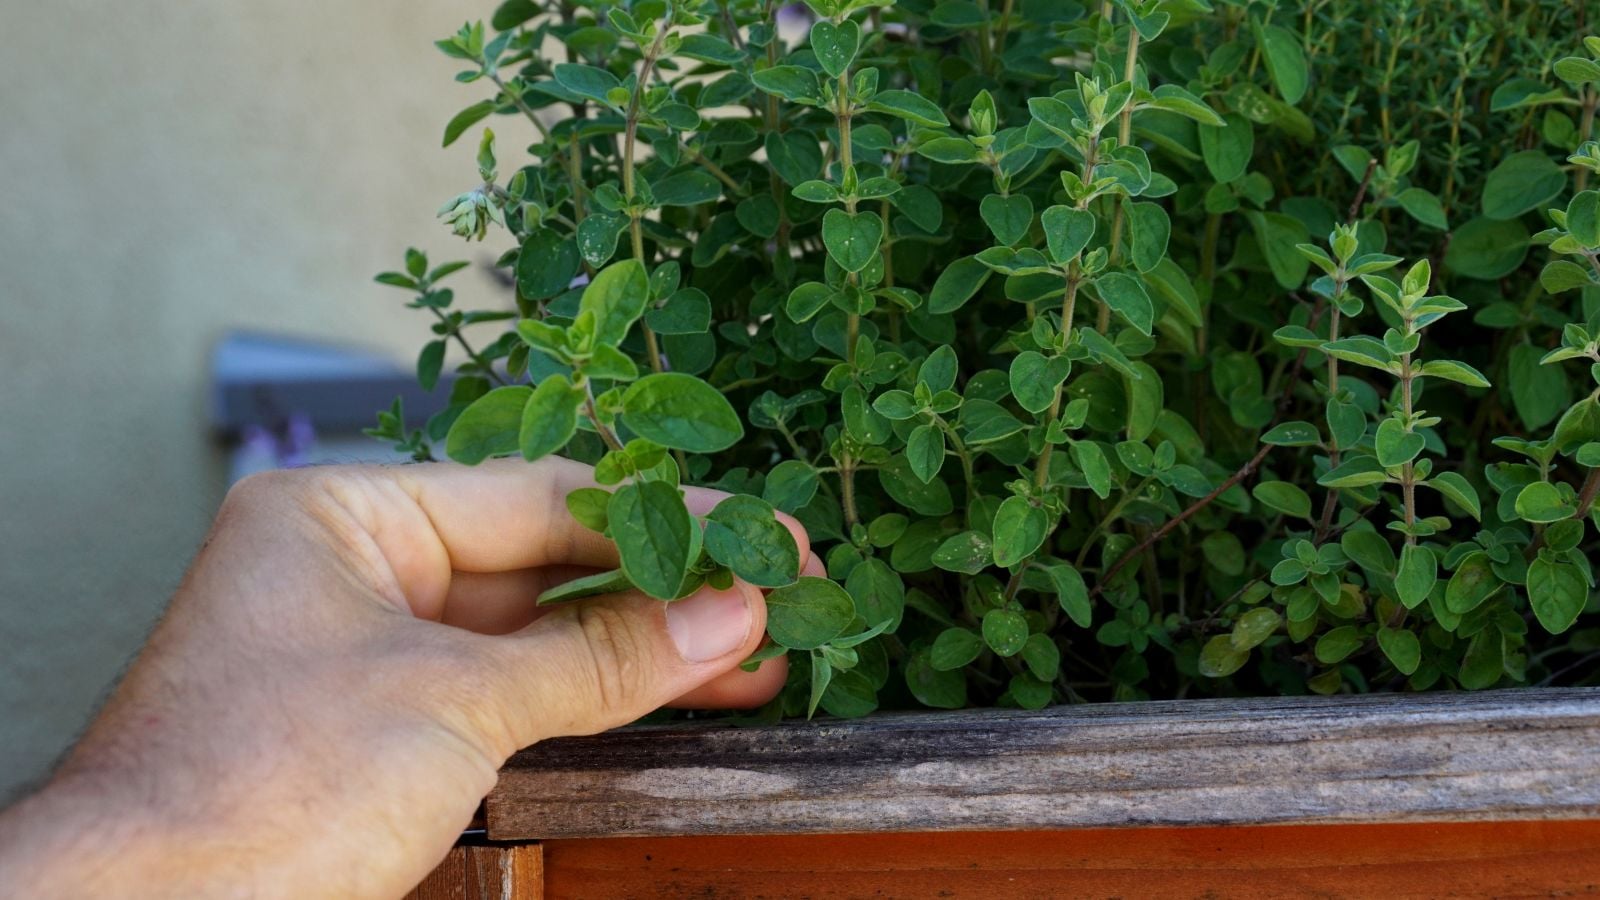
Harvesting oregano is simple, and how you harvest depends on how you plan to use it. There are two easy methods to try, depending on whether you want to use your oregano immediately or store it for later use.
Whether you are harvesting for fresh use or for storage, avoid taking more than one third of the oregano plant at one time. Cutting the plant back too heavily can slow regrowth and make it harder for the plant to produce new foliage.
Choose a stem that is at least six to eight inches tall. Grasp the stem with one hand about two thirds of the way down to keep it steady. With your other hand, slide your fingers upward along the stem to strip the leaves into your hand, leaving the bare stem behind. Once the leaves are removed, trim the bare stem just above a leaf node so the plant can regenerate.
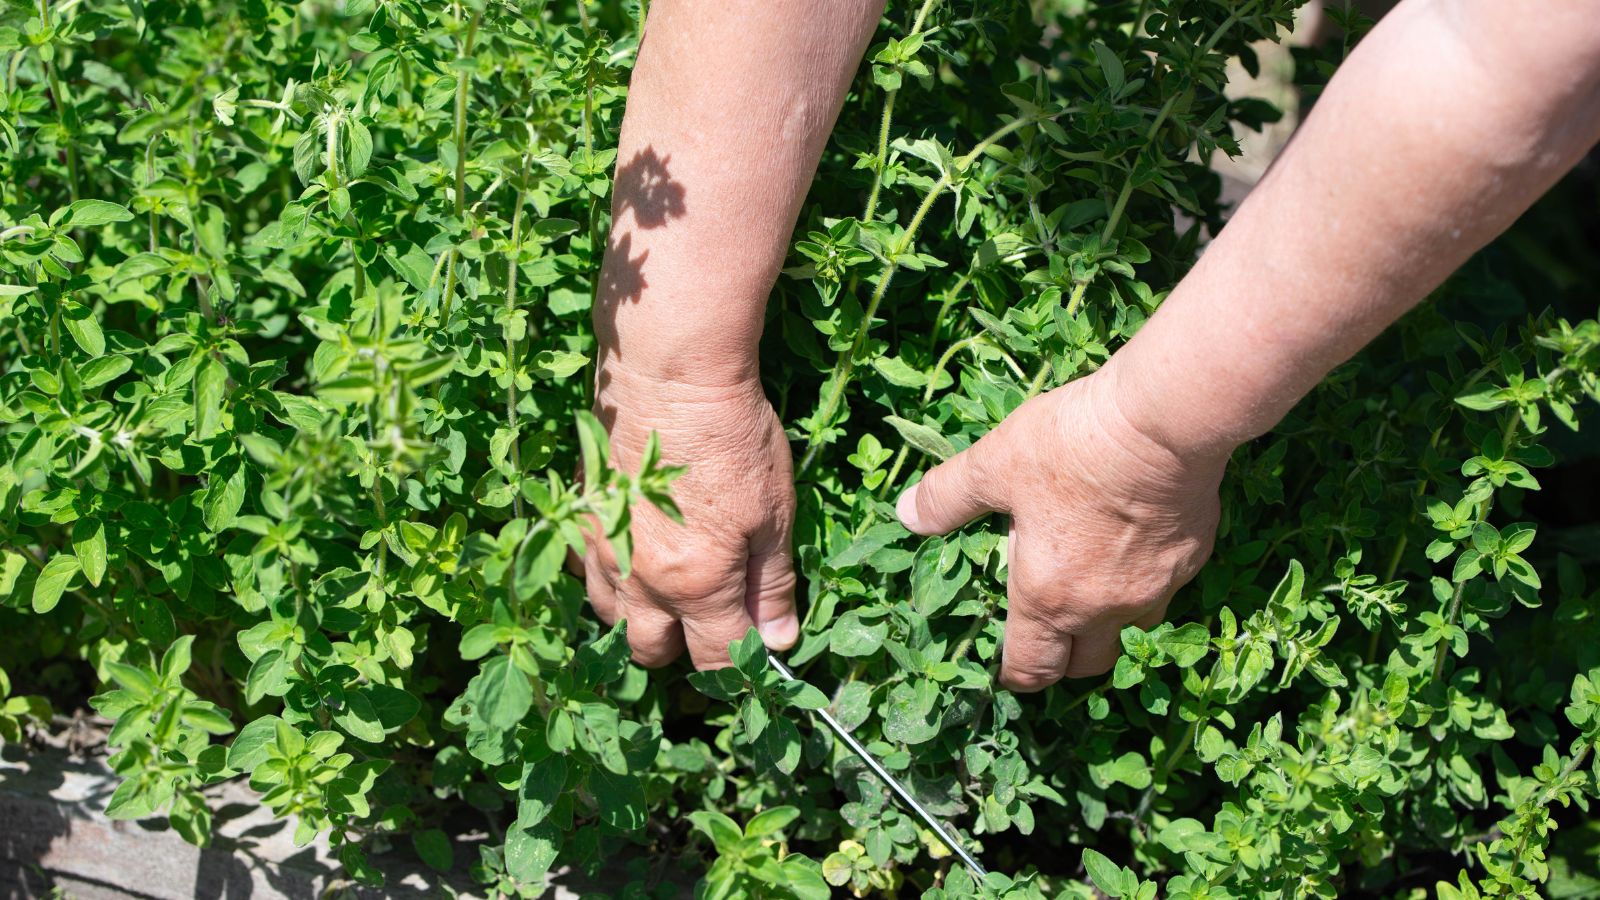
If you want to harvest the stems as well, cut them about two thirds of the way down using pruners or snips. This method allows you to collect both stems and leaves at once and is the better option if you plan to dry oregano later, as the stems can be tied together easily for drying.
Keep in mind that oregano leaves lose some flavor shortly after the plant begins flowering. For drying, it is best to harvest before flowers appear, when the plant is richest in essential oils.
Use pruning shears or scissors to cut stems just above a leaf node, also known as the growth node. This is the point where leaves emerge from the stem. Cutting just above this node encourages bushier growth, which is ideal if you plan to continue harvesting throughout the season. For drying purposes, longer stems are easier to handle and hang.
How To Store Fresh Oregano
Fresh herbs last longer in cooler temperatures, which means refrigerating your harvest can help extend its lifespan. There are a few different ways to store oregano in the refrigerator, depending on how you plan to use it. Below are some of the best methods for storing fresh oregano leaves.
Storing In Water
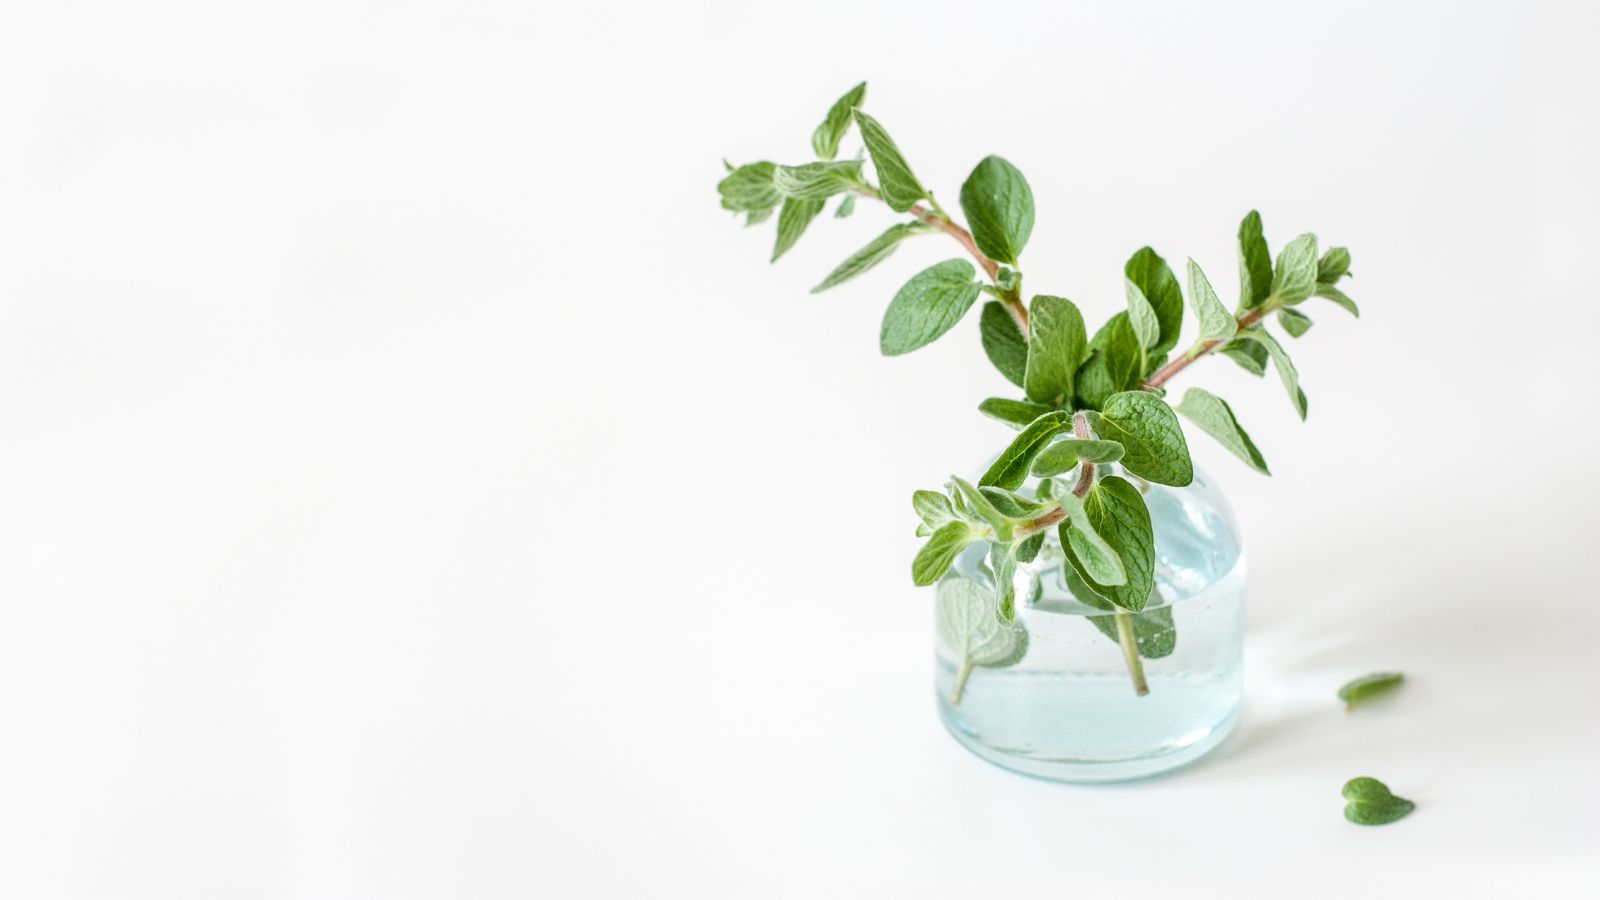
If you want to store your harvested oregano for just a day or two, the best option is to place cut stems in a glass or jar filled with water. This simple method helps prevent wilting and preserves flavor until you are ready to use the herb.
Harvest longer stems, cutting just above a leaf node. Place the cut ends into a glass or jar with one to one and a half inches of water, making sure the stem ends stay submerged. To maintain moisture around the leaves, loosely cover the oregano with a plastic bag. Change the water daily to keep the stems fresh until use.
Washing the leaves before storage is not necessary. You can rinse them just before adding them to your favorite dishes.
Storing In Bags
The second method is just as simple as the first. Herbs stored this way can last a little longer, sometimes up to a week.
Gather the harvested stems into a small bunch and wrap them loosely in a damp paper towel. The paper towel should feel slightly damp to the touch, not dripping wet. Place the wrapped bundle into a plastic bag, gently pressing out excess air, and store it in the crisper drawer of the refrigerator.
If you only plan to store oregano for a day or so, you can place the herbs in a paper bag and skip the damp paper towel. Keep in mind that this method will not preserve freshness for as long.
Check your herbs every couple of days to make sure they are not wilting or developing mold.
How To Dry Oregano
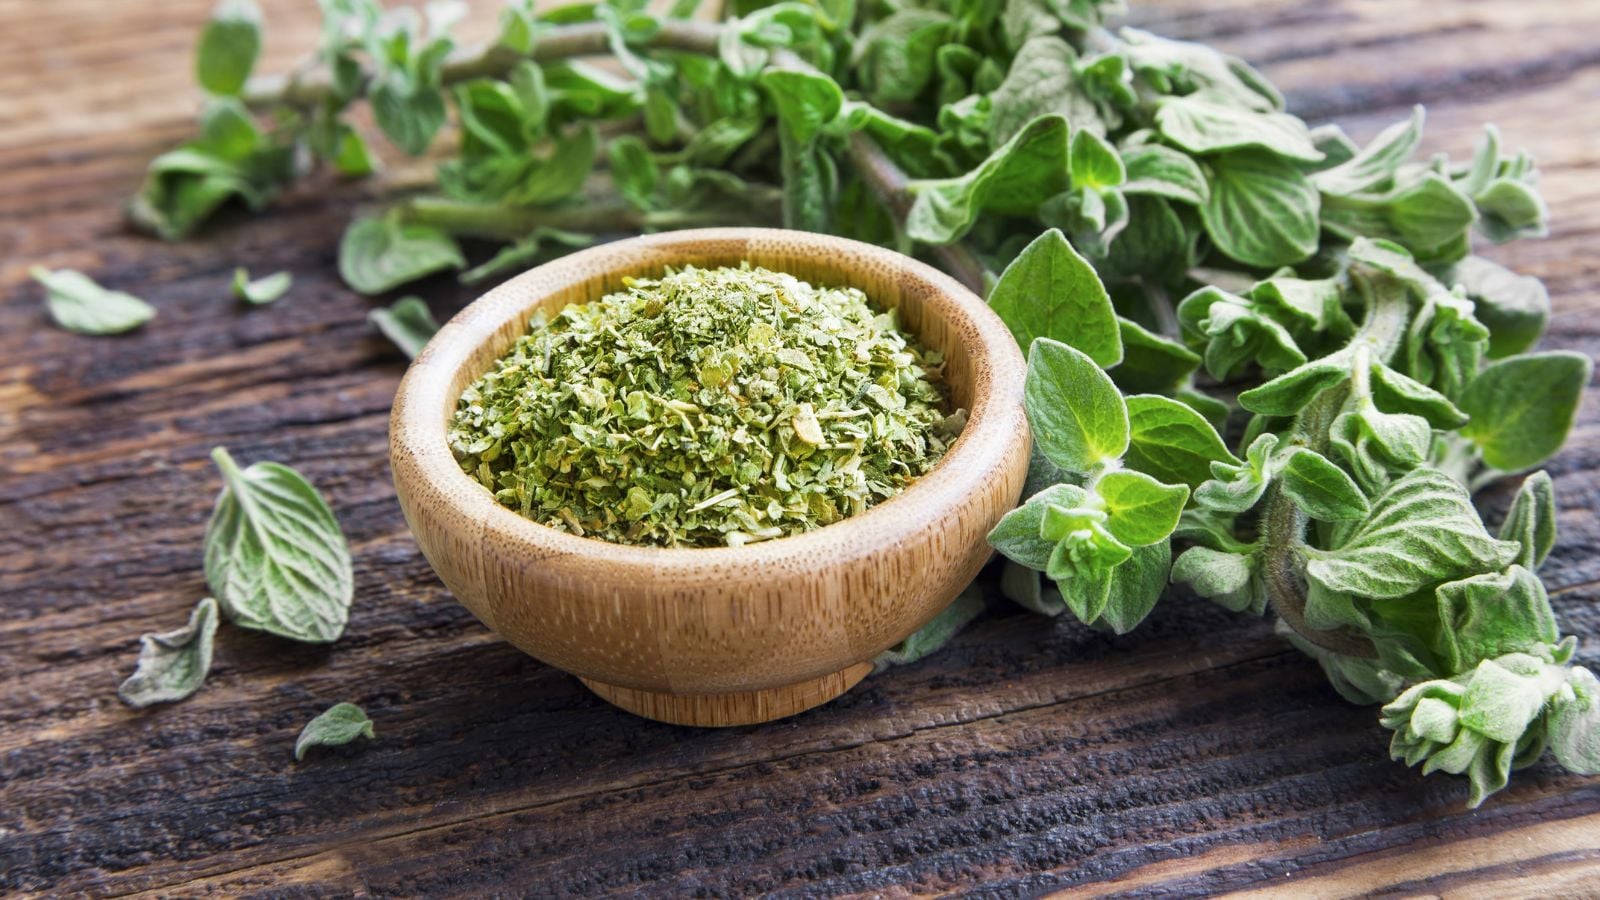
Drying oregano leaves is one of the best ways to store your harvest for long-term use. The drying process is simple and can be done using several methods, and dried oregano can last for up to one year. After that point, it may lose some flavor, but it can still be used for a while longer.
There are a few different ways to dry oregano. While you can use a dehydrator or an oven, high heat during drying can reduce flavor. For the most robust flavor when cooking later, hang-drying is the preferred method. You can also use an air-only dehydrator, as long as it does not apply heat.
Hang-Drying Oregano
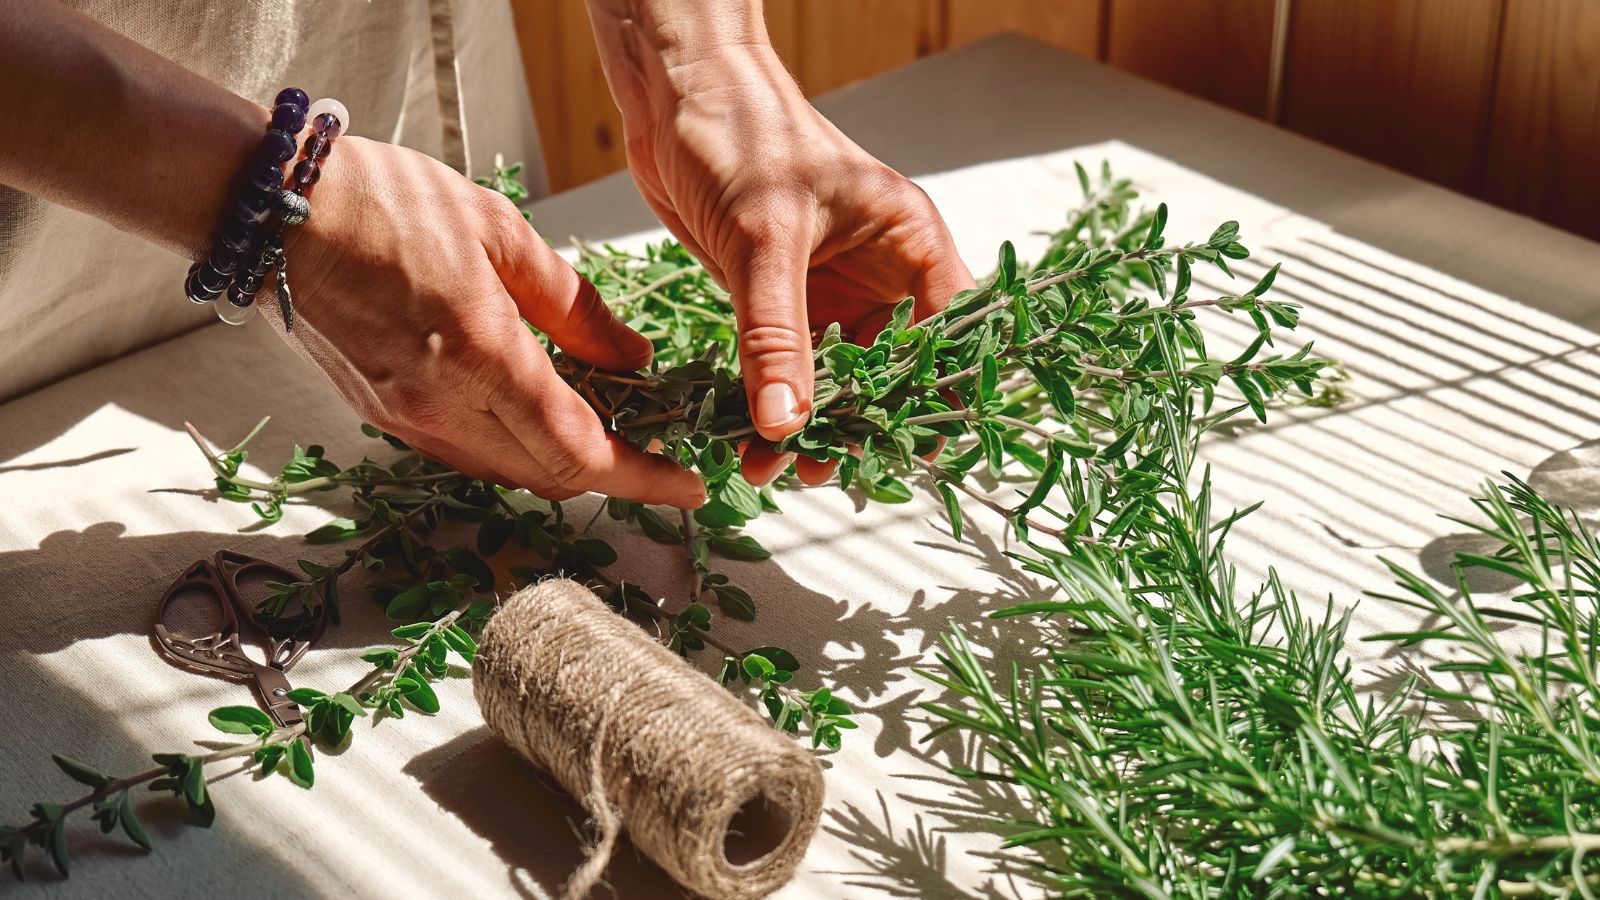
Wash harvested oregano stems and dry them thoroughly, blotting away moisture with paper towels. Once the stems are completely dry, tie them into a small bunch using a rubber band or twine. Hang the bunch upside down inside a paper bag in a well-ventilated area. If you are drying multiple bunches at the same time, hang them at least six inches apart to allow for proper air circulation.
It usually takes around four to six weeks for oregano to dry fully. You will know it is ready when the leaves crumble easily when touched. At that point, open the bunch and separate the dried sprigs. You can crush the leaves or store them whole in an airtight glass jar.
Before long-term storage, remember to cure your dried oregano. To do this, shake the jar once a day to redistribute the leaves and release any trapped moisture. If possible, add a moisture-absorbing packet to the jar, as this helps prevent mold and keeps the oregano in good condition during storage.
Other Methods Of Storing Oregano
If you do not want to dry oregano, freezing is another effective option. Frozen oregano is best used within one year.
To freeze whole oregano leaves, wash them and blot them dry with paper towels. Once surface moisture is removed, allow the leaves to air-dry until no residual moisture remains. Spread the leaves in a single layer on a parchment-lined baking sheet and place them in the freezer. After they are fully frozen, transfer the leaves to a freezer bag and remove as much air as possible.
You can also freeze oregano in portioned cubes. Finely chop the leaves and place them into ice cube trays. Add just enough liquid, either water or broth, to hold the oregano together, then freeze overnight. Once the cubes are completely frozen, transfer them to a freezer-safe bag for long-term storage.


