How and When to Harvest Garlic
If you're unsure when or how to pull up your garlic plants, this quick guide includes everything you need to know about harvesting this iconic root crop.

Contents
I have a love affair with garlic! It’s so tasty, and you can enjoy the fruits of your labor almost year-round. While this is an easy veggie to grow, there are a couple of tricks you should know for properly harvesting garlic bulbs. If you don’t know when to harvest garlic, you’ll run into one of two situations:
- Digging garlic up too early yields tiny bulbs with tiny cloves.
- Keeping this crop in the ground too long can result in split, overripe, or rotten bulbs that won’t store well.
At the same time, it is important to know how to harvest garlic bulbs. Luckily, this is not too complicated. Let’s dig in, and I’ll clear up as much as I can!
Silver White Softneck Garlic – USDA Certified Organic

Silver White Softneck Garlic – USDA Certified Organic
Montana Zemo Hardneck Garlic – USDA Certified Organic
Montana Zemo Hardneck Garlic – USDA Certified Organic
Majestic Hardneck Garlic – USDA Certified Organic
Majestic Hardneck Garlic – USDA Certified Organic
When to Harvest Garlic

So, when should you harvest your growing garlic bulbs?
This is not an exact science, and it largely depends on the type you’re growing and the climate you’re in. It is also important to note that there are three garlic harvest windows during the year.
The first harvest is usually in early spring. Spring garlic plants are usually about a foot tall at this time. You can either pull a complete plant and use the scallion for cooking, or you can just cut some of the leaves and use them as a nice addition to your cuisine.
The second harvest usually occurs in June or July, when you can harvest garlic scapes from hardneck varieties. The scapes grow from a woody central stalk and look like a big, green curly-Q. Most farmers and gardeners agree that removing garlic scapes helps form better bulbs later, but opinions on this issue are sometimes divided.
I personally prefer removing the scapes, as they are very tasty and healthy, and it does seem to help yield bigger bulbs. If you decide to harvest scapes, you can store them in the refrigerator for about 3 months.
The third (main) harvest comes later in the summer, around mid-July to late August. Again, all of these timelines can be pushed ahead of schedule if the climate is warm or if there are stretches of unusually warm weather, so it is best to check on your plants regularly.
There is quite a bit of preparation that comes into play for the main harvest, and I will go over it in detail below, but I’d like to point out one last factor that can influence the time of harvest:
The kind of garlic you planted!
In general, there are softneck and hardneck varieties, each with its own advantages.
When to Harvest Softneck Varieties

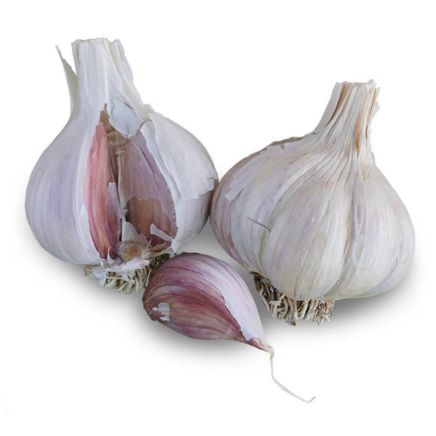
These varieties are what you most commonly find in grocery stores. Softneck types are recommended for warm climates, and they can be braided because their necks remain soft after harvest. They typically have two layers of smaller cloves and one layer of bigger cloves around them, and have a strong flavor.
The most common softneck garlic varieties are ‘Silverskin’ and ‘Artichoke.’ ‘Silverskin’ has a stronger flavor and can be stored for about a year, while ‘Artichoke’ can be stored for about 8 months and packs a bit less punch.
When to Harvest Hardneck Varieties

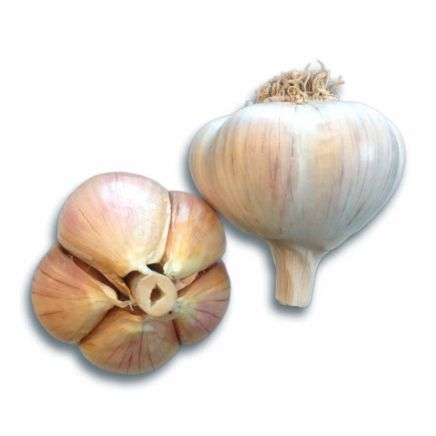
These are great for cold northern winters, and their deeper roots help the plant survive the freezing and thawing of the ground. Unlike softnecks, hardneck types have only one layer of fairly large cloves that grow in a ring around the stem.
While they might be easier to grow, their shelf life is unfortunately shorter. But hey, there’s much less peeling involved, and they have garlic scapes! They are called hardneck because they have a rigid stalk that begins an inch or two above the bulb. ‘Rocambole,’ ‘Purple Stripe,’ and ‘Porcelain’ are popular cultivars. They’re harvested in early spring or summer after they’ve overwintered.
Garlic Harvest Timing

Since you traditionally plant garlic of the softneck variety in warmer climates, you can expect its main harvest as early as late spring. Obviously, they do not have the second harvest, as they very rarely have scapes.
Harvesting your planted garlic is a bit tricky, since you can’t see when the bulbs are ready to be dug up. If you wait until all of the green leaves go brown, you’ll have overripe bulbs, and the cloves will start to separate, which means your garlic spoils more easily.
Since each leaf also acts as a wrapper for the bulb, you would normally like to have as many green leaves when you dig your garlic out, as these wrappers can greatly increase its shelf life.
On the other hand, if you are too eager and dig them out too soon, you will end up with small bulbs that also can’t last as long when stored.
Some experts say that you should harvest when the lower leaves are brown, but the top 5-6 are still green. A good rule of thumb is to wait until a third of the leaves are brown. It’s a good idea to check up on one or two plants to see if the bulbs are big enough. Just remove a bit of dirt around the stalk to get a good look.
If you’re satisfied with the size, you should proceed with the harvest. If not, you can wait a bit more, but when about half the leaves are brown, dig out all your garlic, no matter the size.
How to Harvest Garlic

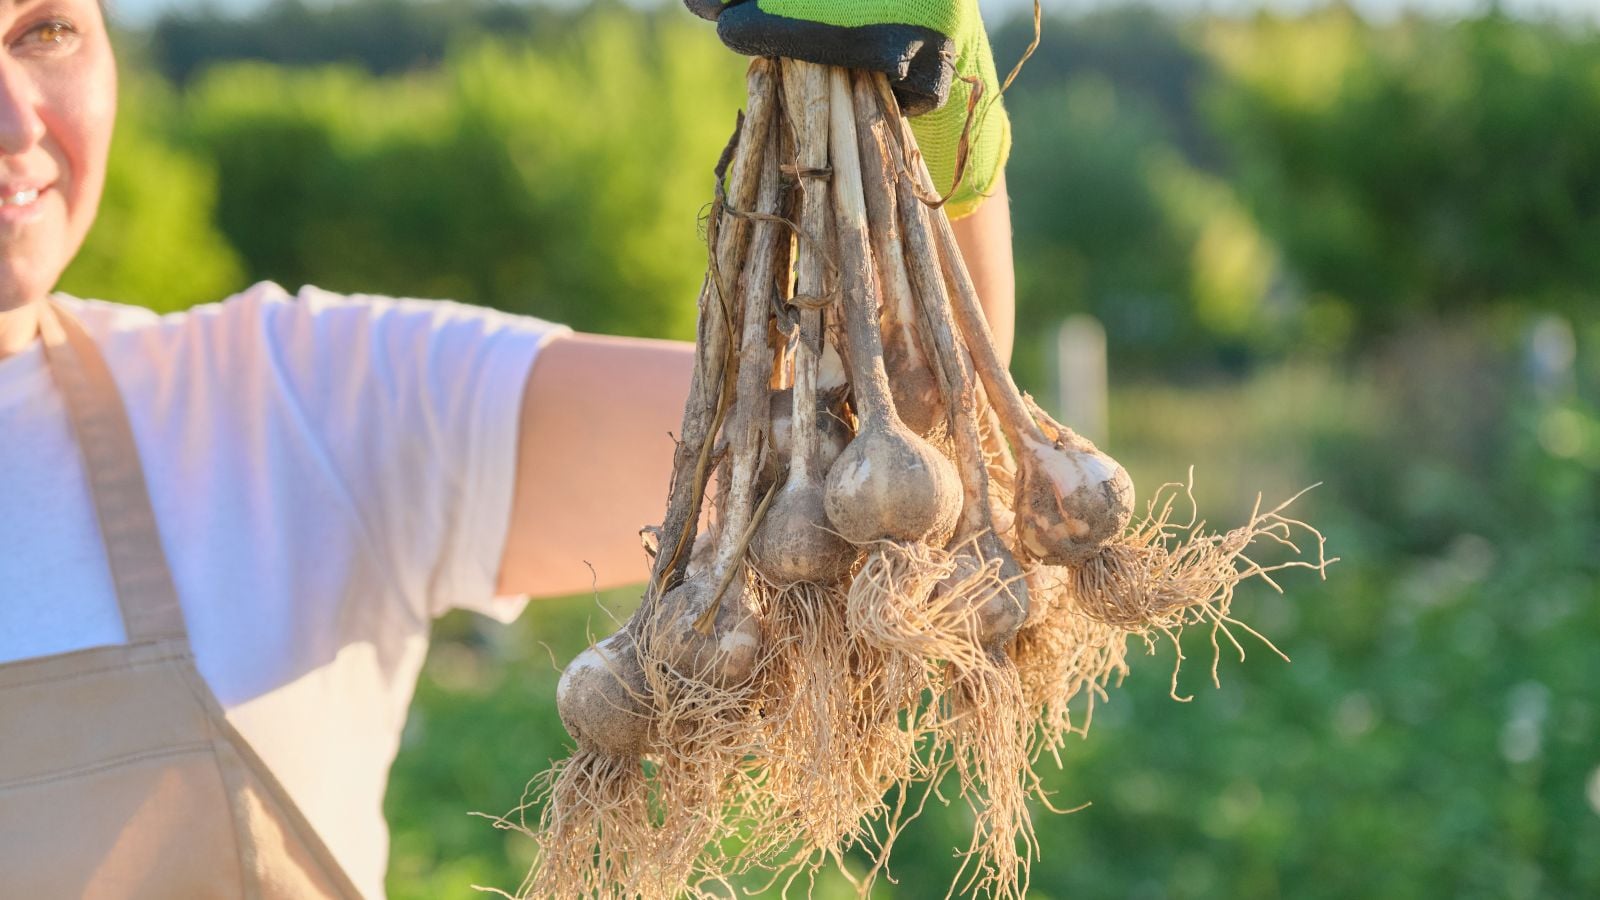
Harvesting can be fairly straightforward, but a bit of care is needed. Even though it might be tempting to try to pull the bulbs out by the stems, you will most likely end up with a broken-off stem, as they are fairly sensitive. This is a problem because you want to cure garlic with its stems and leaves attached, as you’ll store garlic better that way.
The best way to unearth planted garlic is to use a spading fork to loosen the soil around your plants, but be careful not to dig too close to the heads. When you are confident that you can dig them out without stabbing any garlic, carefully lift the bulbs with a spade or similar tool, then gently brush off the soil. If the soil has a bit of a clay-like quality and sticks, don’t try to clean it by hand; just leave it for the time being.
Now, unlike onions, it is really not a good idea to leave your fresh garlic too long in the sun, so don’t leave it lying around while you’re moving on to the next plant. Move it to a shady area with good air circulation, like a porch or a shed (or at least put it under a tree).
Once again, garlic is really sensitive, so avoid bumping or dropping it. They bruise easily, and bruises greatly reduce the flavor and storability.
How to Preserve Garlic
Garlic can last a long time, but it has to be cured and stored properly. Let’s talk about how to properly cure your bulbs for better flavor and preservation.
Curing Garlic Bulbs
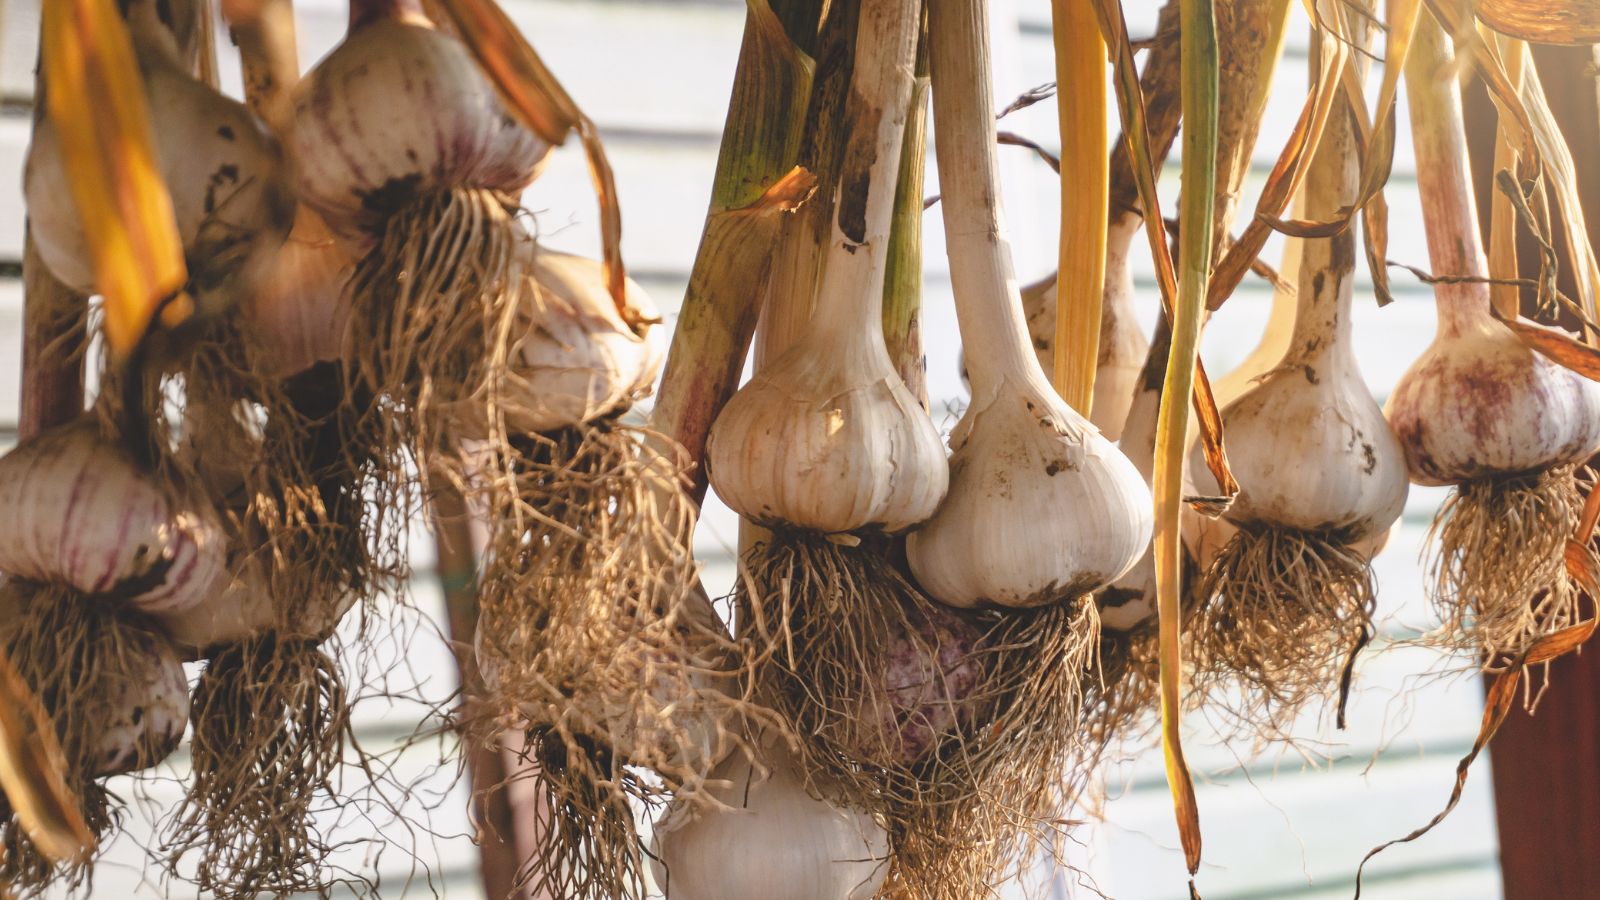
In general, curing means allowing your garlic to slowly dry down so you preserve all the nutrients and flavor. As I mentioned earlier, you should keep your garlic in a dry, shady place with good air circulation.
The best way, in my opinion, is to hang them upside down in bunches of 4 to 6, but other gardeners also bundle them in bunches of 10 to 12 bulbs. Smaller bunches mean that the garlic gets to breathe more, so curing is a bit faster.
Remember when I said to be careful not to snap off the stems while harvesting?
You need to cure garlic with leaves and roots, as the bulb keeps drawing energy from them over time. Intact leaves also mean that any garlic pests and fungi can’t spoil your garlic.
Curing usually takes between two weeks and two months, depending on the humidity. You will know when your own garlic is ready for storage because the leaves will be completely dry and brown, and the roots will look shriveled and be hard like a brush. Also, the bulb wrappers will become dry and papery, and you will be able to split cloves with ease.
Of course, you don’t have to cure all of your garlic. You can use a portion of it fresh, right out of the garden. You can even use some of your bountiful garlic harvest to make your own garlic spray. If you plan to plant garlic again, you should save some of your largest, best-cured bulbs for garlic seed. Then you can plant cloves to grow more!
Cleaning Your Garlic Harvest
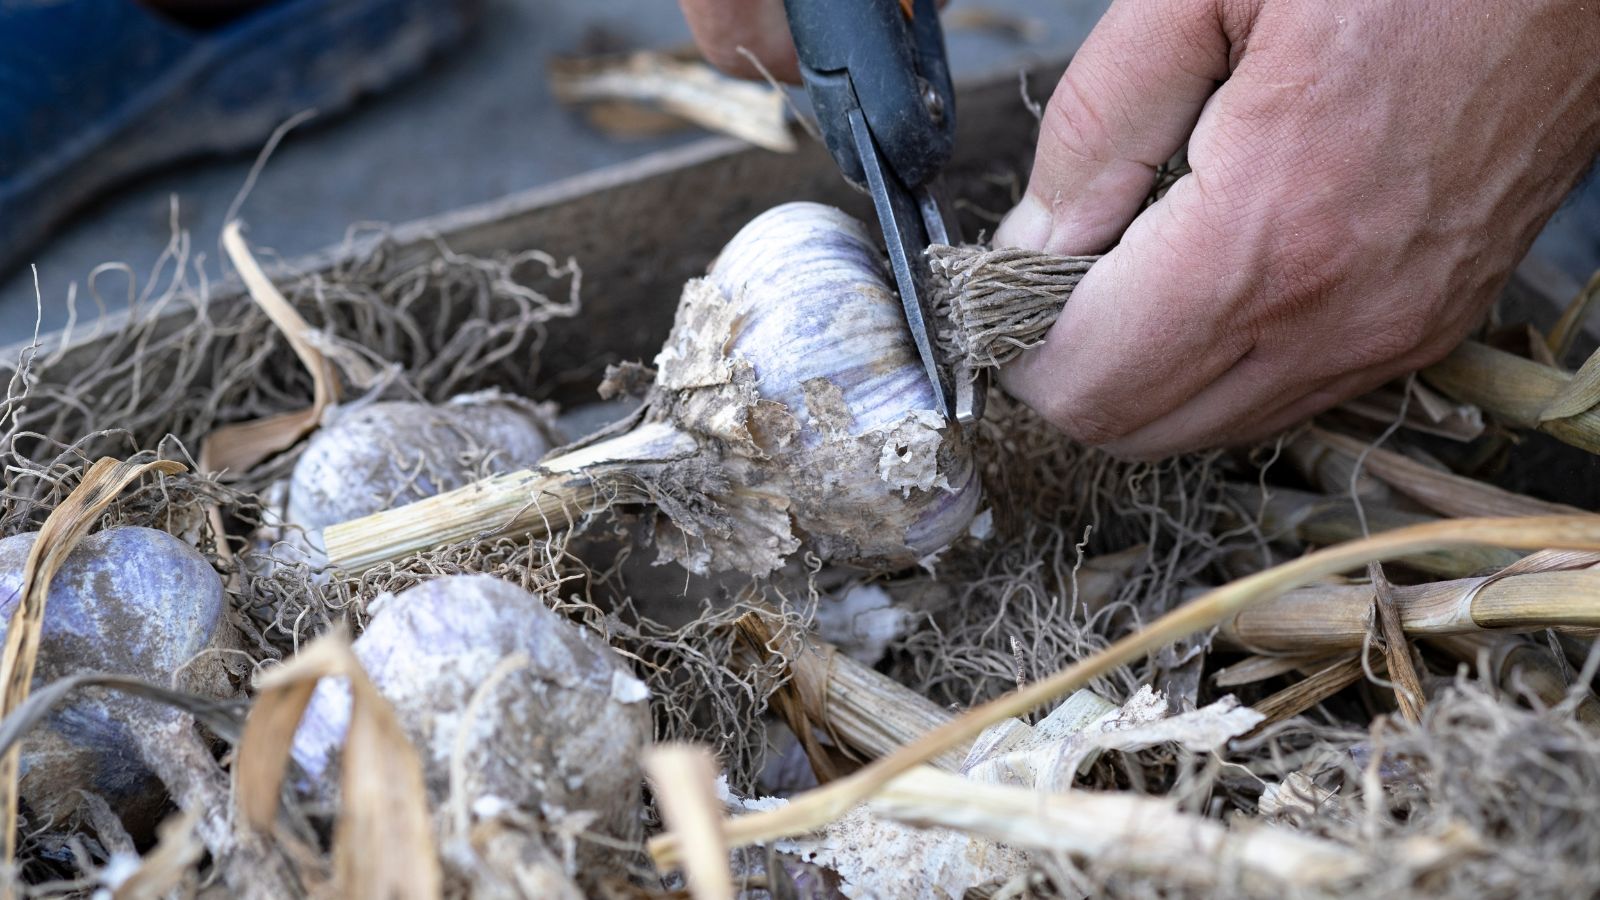
Before you store your garlic, trim the roots and leaves to 1/4 or 1/2 inch from the garlic head. Since it is all dried up, most of the remaining dirt will dislodge, and a couple of layers of wrappers will also separate. Be careful not to remove too many wrapper layers, as they protect the cloves. It is best not to fuss with it; just remove the dirtiest wrappers. Don’t wash the bulbs.
Garlic Bulb Storage

Storing garlic is fairly simple. Keep bulbs in a cool, dry place. Experts say that the ideal temperature range for home storage is 56-58°F (13-14°C). In other words, you can simply toss them into your kitchen cupboard or a cool storage shelf.
Since garlic tends to sprout at lower temperatures, it is not advisable to store it in a refrigerator. The ideal humidity is around 60%, so don’t store it in your cellar or basement if it’s damp, because it can lead to mold and fungus.
Frequently Asked Questions
What is the best way to store my garlic?
Garlic is fairly easy-going when it comes to storage. Put it in mesh bags, like the ones that are used to store potatoes, or put it in woven baskets, brown paper bags, cardboard cases, and so on. If you were growing softnecks, remove the tops, or braid your garlic and hang it in a kitchen (or wherever you think is appropriate).
How is a garlic braid made?
Leave quite a bit of the stem when you’re curing. After your garlic is ready for storage, soak the stems to make them pliable. Start with the three largest bulbs that form the bottom of your braid. When you lay them out, add the remaining bulbs (you would usually have 12-13 bulbs in a braid), and then braid them as you would braid hair.
What is a “scape”?
Scapes are found in hardneck varieties. A scape is a thin floral stem that grows from the central woody stalk. It starts to curl above the main stem as it grows. They are very tasty when harvested midsummer. Some experts argue that leaving scapes gives better cloves for re-planting garlic.
How do I know garlic bulbs are ready to dig?
Garlic is usually ready for harvest when the bottom leaves have died out, and only around half are still green. Check one or two of your plants first to see if the garlic bulb is big enough and the wrap is properly formed.
Should I leave the tops on, or cut them off?
If you are growing softnecks, it is a matter of preference and whether you want to store garlic bulbs in bags, or make braids out of them. For hardneck garlic, it is a common practice to cut the tops off.
How long should I let garlic dry?
It depends on humidity, but between 2 weeks and 2 months. The best way to tell it is done is that leaves, roots, and wrappers dry out.
What happens if you leave garlic in the ground too long?
If you don’t harvest early enough after planting garlic, the bulbs become over-matured in the ground and split. This makes them inedible.
Can you eat garlic immediately after harvesting?
You can pull from your garlic crop immediately, but uncured garlic — while still flavorful — doesn’t have as intense of a flavor as cured garlic does.
Should I wash garlic before drying?
No. Instead, simply dust off the dirt as much as possible with your hands or a dry cloth. Moisture will disrupt the curing process.
Should you dry garlic in the sun?
No. Keep your garlic in a temperate, dry place after you harvest. This will prevent moisture from cooking inside the cloves.


