How to Plant, Grow, and Care for Snow Peas
Snow peas are the most popular pea pod in Asian cuisine. They are also easy to grow. providing plenty of pods to harvest in the right conditions. This in-depth guide explains all you need to know about growing snow peas at home!

Contents
Fall and spring gardens can put gardeners in a bit of a pickle. What should you grow? With a satisfying crunch and natural sweetness that works just as well eaten fresh as it does in stir-fries, snow peas are a smart and delicious addition to late fall or early spring gardens with mild temperatures.
Snow peas belong to the pea family and are classified botanically as Pisum sativum. They are thought to have originated around ten thousand years ago, either in Europe or India, and fossilized peas of a similar age have even been discovered in Switzerland. Since then, peas have spread across the globe and diversified into roughly 13,000 varieties. These fall into three main categories: sugar snap peas, snow peas, and English peas.
With fast-growing vines that seem to have a mind of their own, snow peas will happily climb walls, trellises, and neighboring plants in their search for sunlight. Growing snow peas does more than add fresh produce to your kitchen. Like other legumes, peas improve soil health by adding nutrients back into the ground, which benefits nearby plants as well.
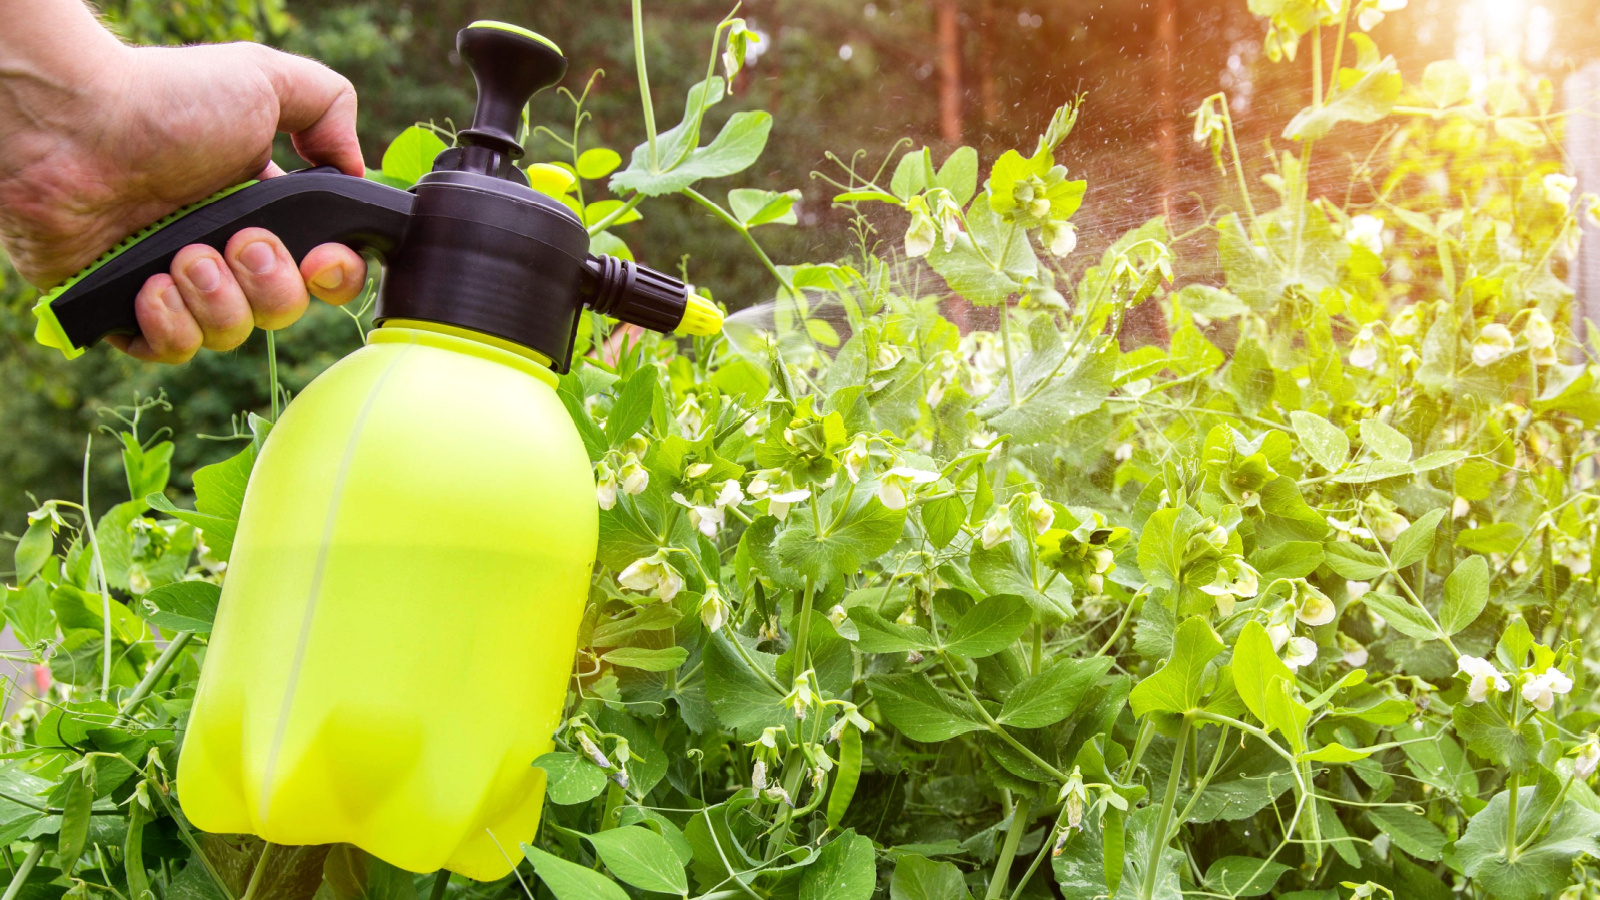
Snow peas are easy to spot in the garden, not only because of their generous harvests, but also thanks to their ornamental flowers. White, pink, and purple blooms add a burst of color before giving way to crisp, edible pods.
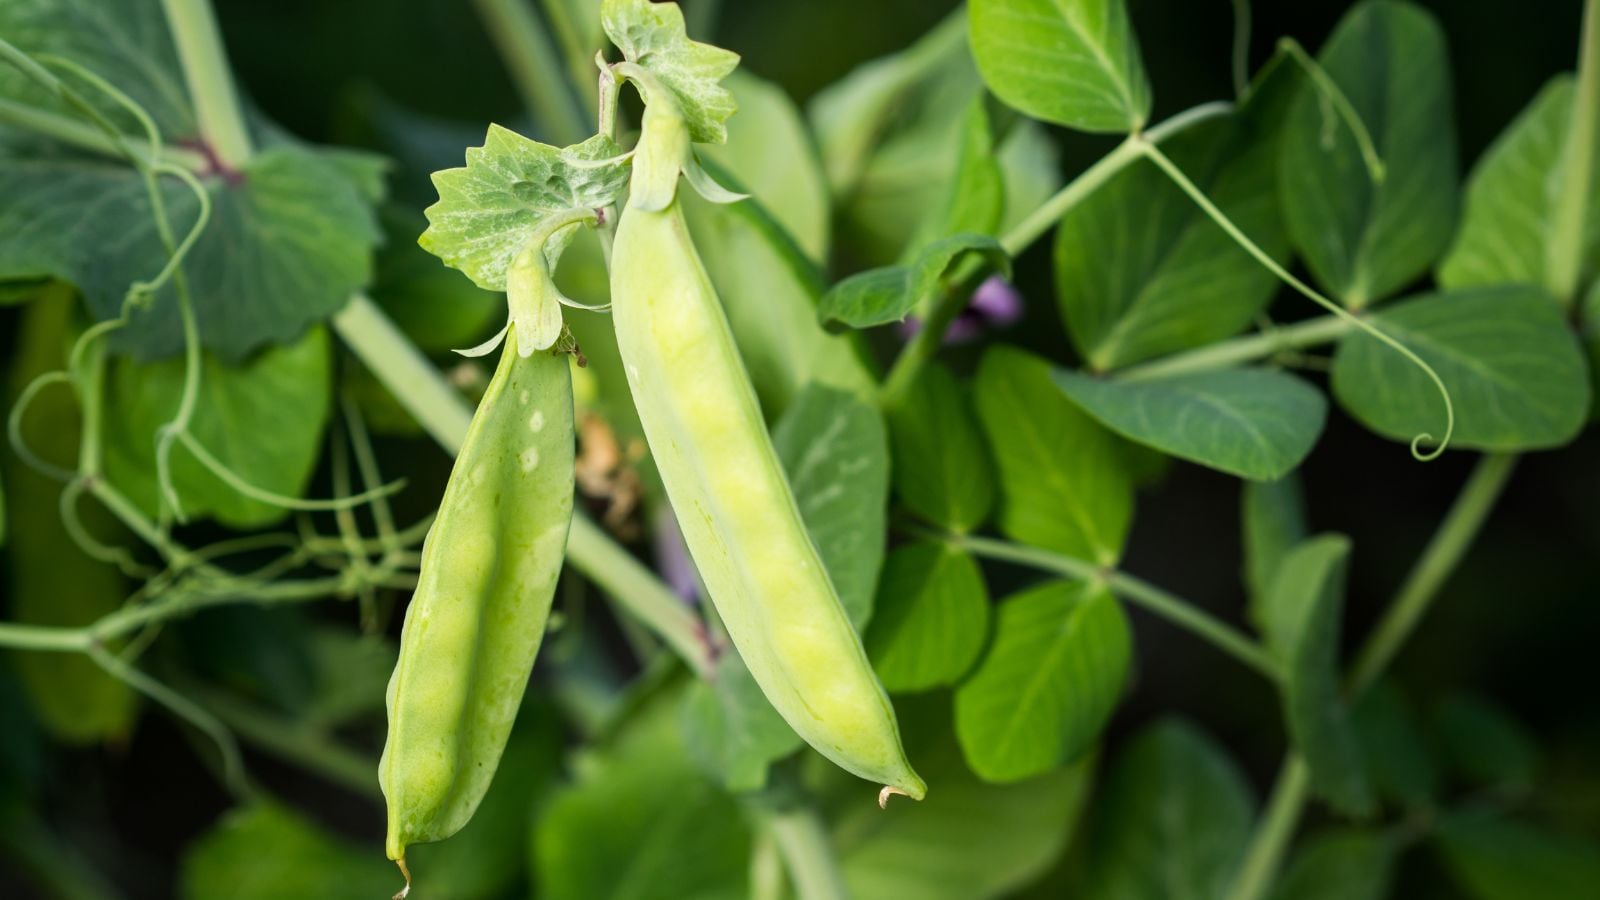
Snow peas are harvested and eaten while the pods are still immature and are consumed whole. You can distinguish them from other pea types by their flat, slightly translucent pods, with small developing seeds visible inside.


Quick Care Guide

|
Scientific Name
Pisum sativum var. macrocarpon
Days to Harvest
60-70 days; dependent on variety
Light
Full sun to partial shade
Water
An inch a week, or until the soil is moist. Reduce watering during rainy spells.
|
Soil
Well draining loamy soil; can tolerate sandy soils with added organic matter
Fertilizer
Well rotted manure, compost, or liquid kelp
Pests
Aphids, pea weevils, spider mites, leafminers
Diseases
Root rot, damping off, powdery mildew, Fusarium wilt, Anthracnose
|
All About Snow Peas

The sweet and crunchy snow pea, Pisum sativum var. macrocarpon, grows on vining plants that climb trellises or latch onto nearby plants as they reach upward. Dwarf or bush types are more manageable in smaller gardens, such as ‘Oregon Sugar Pod II’. With many varieties available, snow peas are well suited to containers, raised beds, or traditional garden rows.
This cheerful vine thrives in the mild temperatures of fall and spring and can be grown in most zones that offer at least ten weeks of weather between 50 to 70°F (10 to 21°C). In warmer regions, gardeners can often enjoy both fall and spring harvests, while those in cooler climates typically grow snow peas as a spring crop.
Characteristics
Snow peas grow on delicate, thin green vines with oval leaves that extend outward from the stem. Depending on the variety, plants can reach five to eight feet in height and produce flowers in a range of colors. Once pollinated, these flowers develop into seed pods that are about two inches long. Fine tendrils extend from the vines and wrap around nearby structures to support the plant as it climbs.
Snow peas are typically eaten while still immature, when the small seeds inside the pods are just beginning to form and the pods remain sweet and crunchy. The tendrils and young shoots are also edible and are often featured in salads or crudités on modern menus. While snow peas are not usually grown to full maturity, mature pods will eventually produce small green seeds that can be eaten or dried and saved for planting the following year.
Plant peas directly into the soil in a sunny to partially shaded area of the garden. Seeds usually germinate in seven to 21 days, after which the vines slowly climb trellises, fences, or walls. Under good conditions, many varieties begin producing pods in about two months.
Snow peas are harvested while young, when pods reach roughly two inches in length. Harvesting can continue several days a week for about a month, or until weather conditions shift. In the right environment, snow peas can be highly productive garden plants.
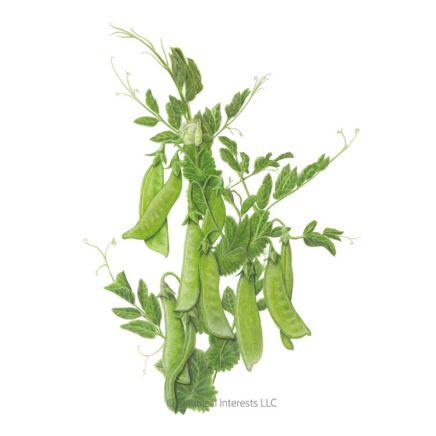
Popular climbing varieties include ‘Mammoth Melting Sugar’ and ‘Manoa Sugar’, which are well-suited to Hawaiian growers. Dwarf varieties include ‘Oregon Sugar Pod II’, ‘Snow Giant’, and ‘Snow Wind’, an unusual cultivar that produces very few leaves but an abundance of pods.
Planting

When planting snow peas in your garden, check your expected first or last frost date and time planting accordingly. For fall planting, sow peas about ten weeks before your first frost so there is enough time for growth and harvest before cold temperatures kill the vines.
In spring, plant about a month before your last frost, as young seedlings can tolerate light frost. Avoid letting plants mature and flower while frost is still likely, as blooms and developing pods are more vulnerable to cold damage than young plants.
When sowing seeds, plant them about one inch apart and deep along each row, then thin seedlings to about four inches apart once they emerge. Space rows roughly 18 inches apart, or leave enough room to comfortably move between them. Install a wooden or metal trellis or other support system at planting time to encourage vertical growth and promote good airflow between leaves.
Because peas are nitrogen-fixing plants, they are excellent candidates for companion planting. Grow snow peas alongside radishes, beets, or leafy greens in the same bed, but avoid planting them near onions or garlic.
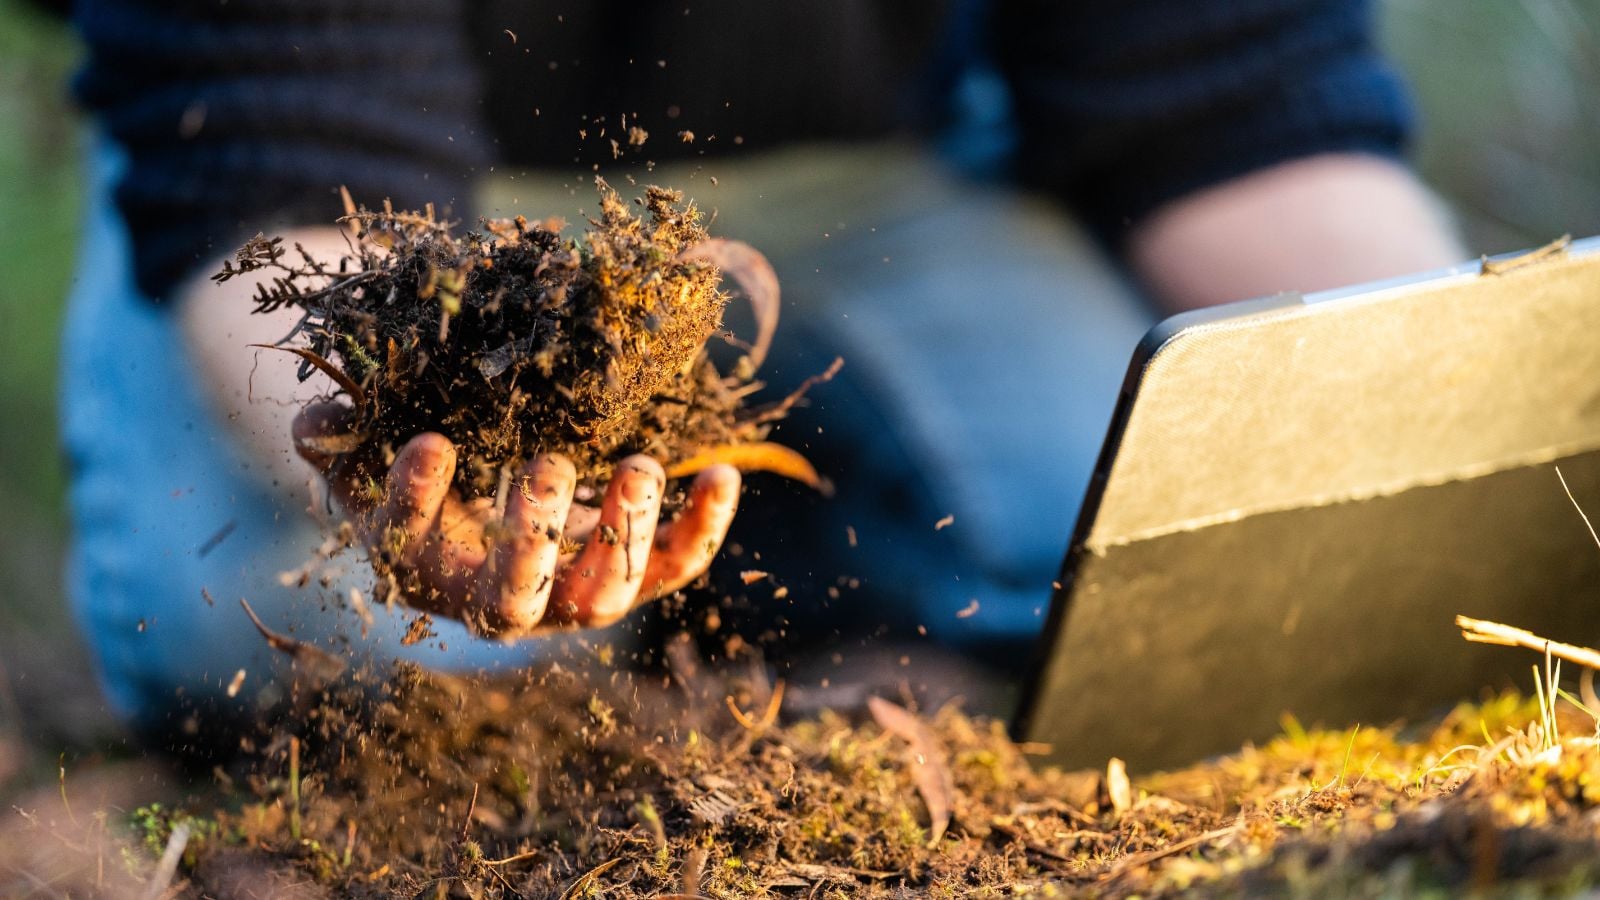
When sowing, consider using a soil inoculant to improve growth and yields. Soil inoculants contain beneficial microorganisms that colonize pea roots and help convert atmospheric nitrogen into a form plants can use. These products are typically sold as powders and are easy to find online. Inoculation can improve overall plant health and increase harvest size.
Gardeners may also choose to start seeds in trays and transplant seedlings outdoors later. This approach can be useful in regions with short fall seasons or for gardeners working with limited space who want to maximize their harvest window.
How to Grow
Snow peas are an easy-to-grow crop and are ideal for beginner gardeners. There are a few key rules to keep in mind when growing snow peas to deter pests and increase yields.
Light

Ideally, snow pea plants should receive between six to eight hours of sunlight per day. They grow well in zones 2 through 11 and can tolerate frost while young, which makes them an excellent choice for early-season vegetable gardens.
Water

Snow peas need consistent moisture at the root level. They prefer to be watered regularly, about once or twice a week, but do not tolerate excessive water at any one time, as their roots are prone to rot. At the same time, overly dry soil can stress plants and slow growth. Keep an eye on the weather, as too much or too little rainfall can quickly impact an otherwise healthy crop.
For best results, use a drip hose and water in the morning. Avoid wetting the foliage, as damp leaves can encourage disease and allow soilborne fungi to splash up from the soil. In drier climates, aim to provide about one inch of water per week, but always check soil moisture by hand and adjust watering as needed.
Soil

Snow peas thrive in rich, loamy, well-draining soil, but they can tolerate sandy soils as well. If you are gardening in sandy soil, plan to water more frequently, as sand does not retain moisture well.
Avoid growing snow peas in clay-heavy soils, as poor drainage can cause excess moisture buildup and encourage diseases such as root rot and damping-off. Keep in mind that peas develop deep root systems and need soil that is at least one foot deep.
If you are growing snow peas in sandy soil, amend it with compost or well-aged manure. Snow peas are heavy feeders and require ample nutrients to perform well. They prefer slightly acidic to neutral soil, with an ideal pH range between 5.6 and 6.8.
Temperature

While snow peas can be grown in partial shade, they perform best in full sun during moderately cool conditions. Ideal growing temperatures range between 55 to 70°F (13 to 21°C), so it is important to consider both sunlight exposure and how warm different areas of your garden become throughout the day.
Once plants reach maturity, the flowers and developing pods become more sensitive to frost, so avoid planting too early. Later in spring, when temperatures consistently rise above 75°F (24°C), snow peas will begin to decline and eventually die back.
Fertilizing
While snow peas need a nutrient-rich growing medium, avoid fertilizing them until plants are about four inches tall. Once they reach this size, you can add compost or well-rotted horse or cow manure around the base of each plant. Be careful to avoid nitrogen-rich fertilizers, as excess nitrogen encourages leafy growth at the expense of flowers and pods.
Snow peas are short-lived plants and do not require repeated feedings throughout the season. A single, well-timed amendment is usually enough to support healthy growth and a productive harvest.
Pruning & Training

Depending on the type of snow pea, provide support in the form of a trellis or lattice. While dwarf peas do not usually need support, except when they are heavy with fruit, be sure to prune them to encourage good airflow between the vines. Place your trellis in an area that is not too windy, as snow peas do not perform well when tossed around by strong gusts.
To encourage lateral growth, snip off the uppermost set of leaves once your snow peas reach about 18 inches tall. This encourages the plant to redirect energy into side growth and can lead to a larger harvest.
While pea tendrils often pull the plant upward and anchor it naturally to a lattice or other support, they sometimes attach themselves to nearby plants or even to each other. When this happens, loosely tie the vine to the trellis with string to guide it in the desired direction.
Propagation

Snow peas are best started from seed, either sown directly into the soil or started in trays and transplanted out later. To improve growth, try inoculating the seed by dipping it into water and then into a powdered inoculant before sowing.
While extremely rare, it is possible to root a portion of the vine using rooting hormone and an evenly moist growing medium. This method is typically used only to preserve an especially rare or new variety and is not worthwhile for general garden use.
Harvesting

Snow pea plants can be harvested multiple times throughout their short lifespan. It is best to grow different varieties that mature at slightly different times to ensure a continuous harvest.
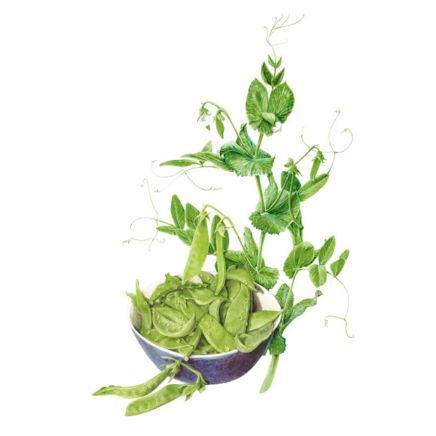
You will know your snow peas are ready to harvest when small seeds are visible inside the pods. The seeds should be no larger than one-quarter of an inch in diameter, and the pods will appear slightly translucent. Harvesting at this stage ensures optimal sweetness and tenderness.
To harvest, simply snip the snow pea where the pod meets the stem. Store harvested peas in a dry part of the refrigerator, such as in a salad spinner or wrapped in clean kitchen towels. Avoid storing them in sealed plastic bags with no airflow, as this can cause the pods to rot. Snow peas can be washed before storage, but be sure to let them dry completely, as excess moisture will cause them to spoil quickly.
Snow peas can also be frozen or pressure-canned for long-term storage. At the end of the plant’s life cycle, cut the plant off at its base and add it to your compost bin.
Troubleshooting
While easy to grow, snow peas can sometimes run into problems. One of the best ways to avoid issues is to focus on prevention through even watering, using healthy or disease-resistant seed, maintaining healthy soil, and ensuring there is good airflow between the leaves.
Growing Problems

Pea plants are water sensitive. Too much water can cause roots to rot, while too little water can quickly stress the plant. Maintain even moisture around the roots of your snow peas, as this helps prevent many common growing issues.
Sometimes growers notice lots of lush green growth on their vines, but few sugar pea pods. This is often caused by poor pollination or excess nitrogen in the soil. Try gently shaking the flowers while they are open to encourage self-pollination. You can also snip the tops of the pea plants to promote lateral growth and improve overall pod production.
Pests

Aphids attack peas in two ways: by spreading disease and by sucking sap from the leaves, which depletes plant energy and causes discoloration. Start by blasting the vines with a strong stream of water from a hose. Follow up with neem oil or insecticidal soap, and encourage beneficial insects such as ladybugs and lacewings to help control populations.
Pea weevils are greenish-brown insects with yellowish stripes running down their backs. Pea leaf weevils, by comparison, are small beetles that look similar but cause different damage. Weevils lay eggs on pea pods, and the larvae burrow inside to feed on the developing seeds. Leaf weevils feed on young, tender leaf edges. Hand-pick weevils as you find them and drop them into a bucket of soapy water to eliminate them. They are more active at night, so use a flashlight when checking plants.
Spider mites leave tiny, silvery webs on the underside of leaves and feed by sucking nutrients from plant tissue. Treat infestations with insecticidal soap, or introduce ladybugs or lacewings to help clear them out.
Leaf miners create distinctive squiggly “doodles” on leaves as they feed inside the leaf tissue. Remove and discard infested leaves completely to eliminate the larvae inside. To prevent adult leaf miners from laying eggs, cover plants with a row cover. Keep in mind that if pollinators cannot access flowers, you may need to hand-pollinate your plants.
Diseases
Anthracnose appears as round red, brown, or black spots on leaves. This fungal disease spreads in warm, humid conditions. Copper or sulfur fungicides can be used to slow or stop its spread. Prevention is key, so keep garden tools clean and avoid splashing water onto plant leaves, as this can spread fungal spores.
Fusarium wilt is caused by a soilborne fungus that infects a plant’s vascular tissue. Affected plants often appear stunted, with foliage turning yellow and then brown. Unfortunately, fungicides are not effective against fusarium wilt. Crop rotation is one of the best preventative measures.
Frequently Asked Questions
Do snow peas need to climb?
Not all snow peas need to climb. Dwarf varieties can stand up on their own. Be sure to read about the variety you’re planting.
Can you grow snow peas in the fall? Can you grow snow peas in summer?
You can grow snow peas in temperatures between 55-70°F (13-21°C). If you have those temperatures during the fall and summer for 10 weeks, you can grow snow peas.
How many peas will one plant produce?
Depending on the variety, one plant will produce about a quarter to a half pound of peas.


