How to Cure Garlic For Long-Term Storage
Curing garlic is an essential element of the harvesting process. It extends the shelf life of your harvest, ensuring you can enjoy them for months to come. In this guide, Sarah Jay explores all methods used to cure hardneck and softneck varieties!

Contents
Grow a garlic crop, and you earn a garlic harvest. Once the bulbs are out of the ground, it is time to preserve their flavor and extend shelf life by curing garlic. Nothing beats freshly harvested garlic, but cured garlic cloves deliver the rich, full flavor you expect from a productive vegetable garden.
There are several ways to cure garlic, and each method has its own benefits. The curing method you choose can affect how you store garlic long-term. Available space also plays a role, as does the type of garlic you grow.
Let’s walk through the different ways to cure garlic and cover everything you need to know while garlic bulbs dry. If you are still deciding whether to grow garlic, this guide will help you understand which curing approach works best for your space, storage needs, and gardening goals.
Sicilian Artichoke Softneck Garlic

Sicilian Artichoke Softneck Garlic – USDA Certified Organic
German White Stiffneck Hardneck Garlic

German White Stiffneck Hardneck Garlic – USDA Certified Organic
Montana Zemo Hardneck Garlic

Montana Zemo Hardneck Garlic – USDA Certified Organic

Types of Garlic Bulbs
There are two basic types of garlic: hardneck and softneck. The variety of garlic you’ve grown has a huge impact on how the garlic dries. So before we get into curing methods, let’s cover garlic types first.
Hardneck Garlic

One way to tell whether you are growing hardneck garlic is by looking at the stem. In hardneck varieties, the stem emerges from the center of fully mature bulbs as a thick, rigid cylinder. This structure forms garlic scapes.
Hardneck garlic leaves grow upright, and a single, robust flower develops from the center. Hardnecks produce larger garlic bulbs with fewer cloves per bulb. The stiff stem runs straight through the center of the garlic bulb and extends down into the root zone.
Elephant garlic is a popular hardneck type that many gardeners enjoy growing. This garlic plant produces very large bulbs with only four individual cloves. Many garlic varieties with purple striping also fall into the hardneck category.
One important thing to note is that hardneck garlic does not store as long as softneck garlic and requires a shorter curing period. In most cases, hardneck varieties cure for only a couple of weeks, since the neck is already much drier at harvest compared to softneck garlic.
Softneck Garlic

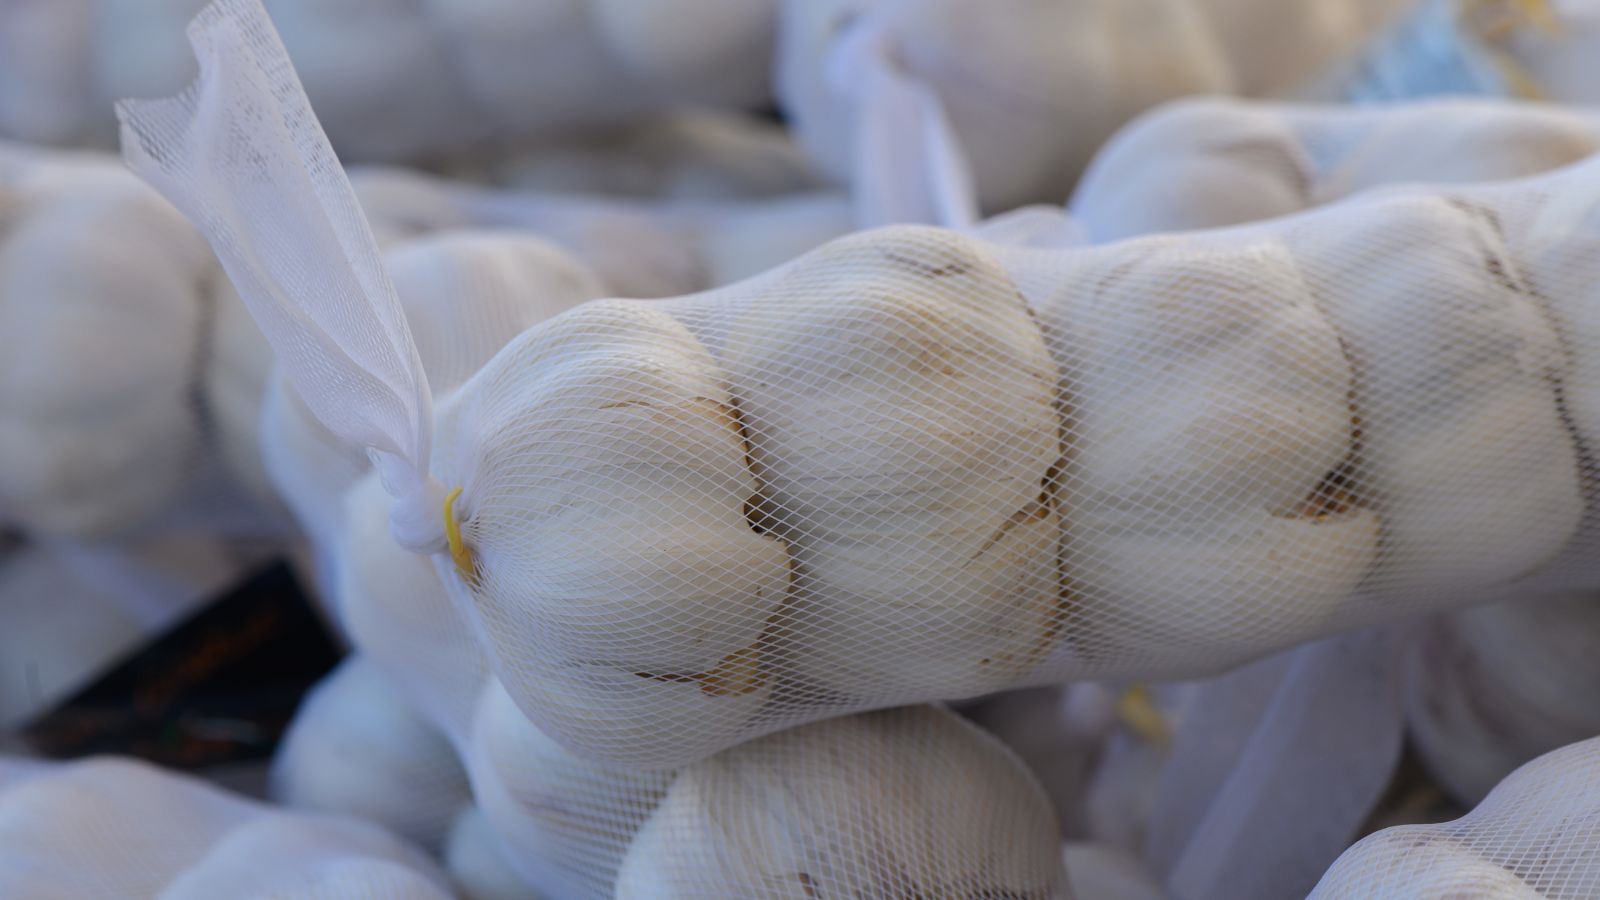
Fresh softneck garlic is the type most commonly sold in grocery stores. Instead of producing scapes, softneck garlic develops green leaves that turn yellow or brown at the tips and fall over when it is time to harvest. These bulbs contain many more cloves per head, and when left intact, they store much longer than hardneck varieties.
Because the necks are more flexible, softneck garlic requires a longer curing period for long-term storage. The outer bulb wrapper is thinner than that of hardneck garlic, and the bulbs are generally smaller overall.
Artichoke garlic is the most widely grown softneck variety in commercial production. When fully mature, bulbs can contain up to 20 cloves. Growers favor this type for its reliability and high success rate, making it possible to produce an entire crop with consistent results. This is the familiar garlic most people recognize from the grocery store.
Before you invest time and effort into curing garlic, confirm that your variety benefits from the process. Some hardneck types do not store long enough for curing to be worthwhile, as cloves can shrivel after a few months. Set these aside for immediate use. Damaged cloves can also interfere with proper curing, so sort them out before setting up your curing area to protect the quality of the remaining bulbs.
Garlic Curing Preparations

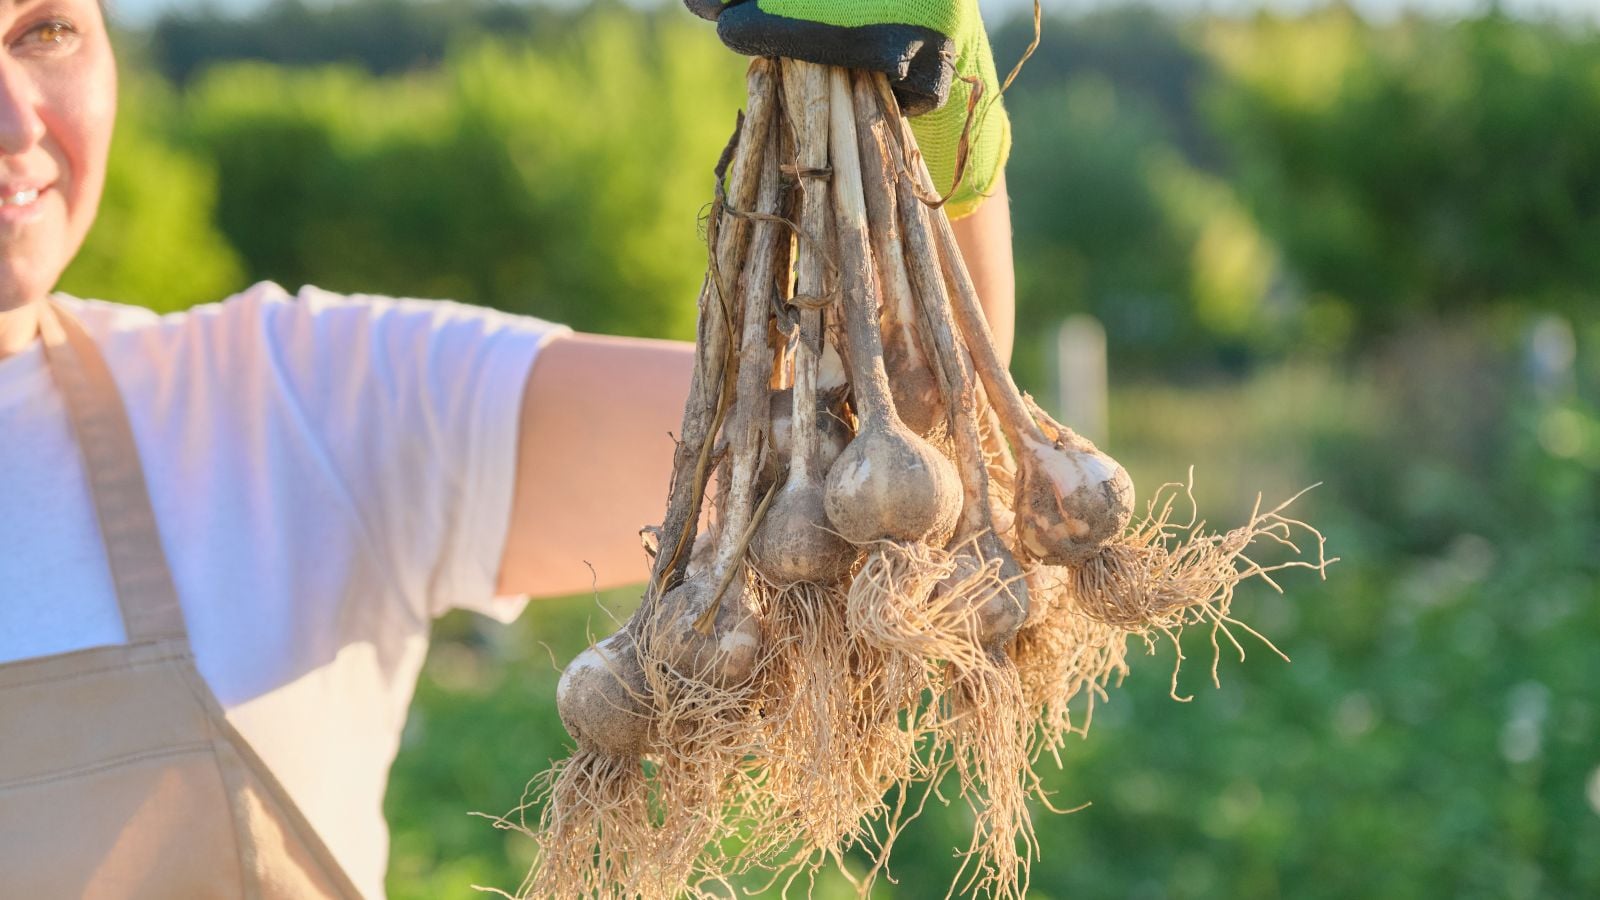
To begin, you need to know how and when to harvest garlic. Harvest timing is partly seasonal, as garlic matures at a predictable point in the growing year. For softneck garlic, harvest when about one-third of the leaves have turned yellow. At this stage, use a digging fork to gently loosen the soil and lift the bulbs.
Always check one bulb before harvesting the entire crop. If the test bulb is still too small, wait until about half of the leaves have yellowed before pulling the remaining garlic.
Select only garlic suitable for curing. Remove any bulbs with damaged or soft cloves and use them within a few hours to a few days. Sprouting garlic should also be excluded from the curing batch. Set these bulbs aside for early summer or fall planting. Any cloves showing green shoots should be eaten promptly or replanted later.
Prepare the garlic for curing. Brush excess soil from the roots, keeping the roots and leaves intact. As you harvest and clean the bulbs, keep them out of direct light. Handle garlic carefully during this process, as bulbs bruise easily and damage can shorten storage life.
Garlic Curing Methods
There is nothing quite like cured garlic grown in your own garden. Let’s explore the different methods for extending your garlic bulbs’ shelf life so you can enjoy homegrown garlic whenever you need it.
One important rule applies to every curing method: bulbs should never sit in direct sunlight, and any damaged bulbs must be removed before curing to protect the rest of your harvest.
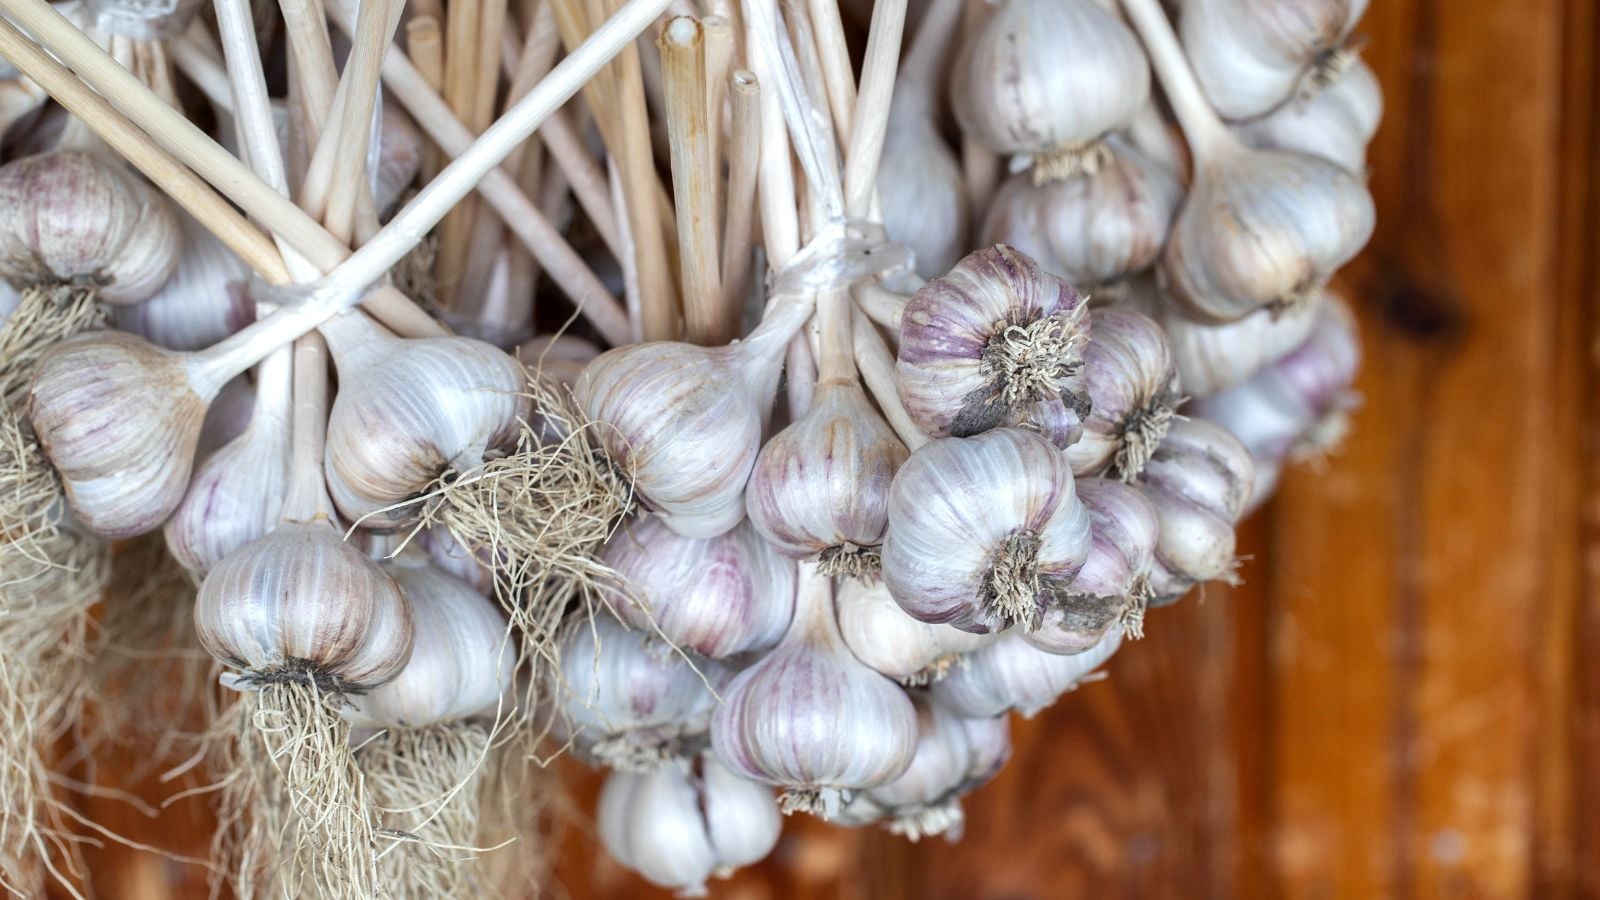
Bunch Curing
Hang garlic bunches from ceiling hooks or rafters and cure them for about two weeks. This method requires a space large enough to hold the bunches with strong air circulation. Use a small electric fan or a box fan, and keep it running for the entire curing period.
Maintain a room temperature up to 80°F (27°C) and keep relative humidity between 60 to 70%. Higher humidity levels can lead to mold or extend curing time to as long as six weeks.
Once the papery skins, leaves, and roots are completely dry, the garlic is ready for long-term storage. This curing method works best for gardeners with a smaller harvest and plenty of space. When bundling garlic, keep bunches small for faster, more even drying. Smaller bunches usually cure fully in about three weeks, while larger bunches restrict airflow and take longer to dry.
Rack Curing

Lay garlic bulbs horizontally on a rack to cure them whole. The same conditions used for hanging garlic apply to this method. Choose a well-ventilated area with temperatures between 70 to 80°F (21 to 27°C), moderate humidity, and consistent air movement. When curing is complete, the papery wrappers will feel dry and brittle to the touch.
Unless you grow garlic on a large scale, this method may not be ideal. Curing racks are not widely available and often need to be built, which can take time and effort. They also require a significant amount of space. If racks are poorly constructed, they may block airflow and slow the curing process.
That said, if you already have access to a rack or the materials to build one, this is a viable curing option. This method typically takes up to two weeks, making the shorter curing time a trade off for the additional space required.
Net Curing
Hang each garlic bulb using vertical netting, fencing, or chicken wire. This approach works similarly to bunch curing but saves a significant amount of space. Vertical netting concentrates curing into a single plane, which makes it easy to hang garlic in a kitchen or storage area away from direct light. This setup allows you to cure far more garlic than the bunch method while using the same footprint.
As with other curing methods, maintain steady air circulation and moderate humidity throughout the process. Arrange the netting so air can move freely around each bulb. This technique creates literal walls of garlic.
Keep a box fan or small electric fan running continuously for three to four weeks. Once the bulb wrappers feel dry and brittle, the garlic is fully cured and ready to be cleaned and prepared for long-term storage.
Braiding or Trimming Bulbs

Once your garlic has cured, either trim the leaves from the bulbs or braid them. Braiding produces the longest storing garlic and adds visual appeal that trimmed bulbs do not offer. To braid garlic, trim off the roots and brush away any remaining dirt from the bulbs.
Tie three bulbs together with twine, then create a simple braid. You can keep it basic with three bulbs or add more for a tiered design. Secure the end with twine and hang the braid in your kitchen where it is easy to reach for cooking.
Trimming bulbs offers its own advantages. This method cleans garlic for storage more quickly and helps prevent the papery skins from peeling away. Use sharp scissors or pruners and cut about one inch above the top of each bulb. Store the trimmed bulbs in mesh bags to allow airflow.
Set aside the largest bulbs for planting later, as smaller bulbs tend to produce smaller harvests. Focus on saving the biggest cloves for the strongest future garlic crop.
Stand-Curing Hardneck Garlic

Because of their stiff necks, hardneck garlic can sometimes be stood upright to cure. This method looks unusual and works best in a sheltered area with no wind and moderate humidity. Fan the leaves out in all directions to add stability, then stand each bulb upright on its neck with the bulb lifted off the surface.
This curing approach is not ideal for households with pets or children, as tipped bulbs can bruise easily. However, if you only have a small amount of garlic to cure and limited space, standing hardneck garlic upright can be an effective and practical solution.
Garlic Storage

Whether you store garlic for cooking or to make a garlic spray that helps maintain your garden, you have several storage options. You can freeze garlic in freezer bags in nearly any form once it is removed from the skin. Peeled cloves, minced garlic, and chopped garlic all freeze well. Garlic scapes can also be frozen. Frozen garlic keeps for up to six months.
Preserving garlic in oil is another flavorful storage method, but it requires proper preparation. You must cook garlic before storing it in oil, as bacteria on raw garlic can multiply and cause botulism. Boil peeled garlic cloves in water for two minutes, then drain them thoroughly. Place the cooked cloves in olive oil with your choice of spices. Store the mixture at room temperature and use it within two months.
Garlic powder may seem intimidating to make, but the process is straightforward if you have a dehydrator. Slice peeled garlic thinly and arrange the slices in a single layer in the dehydrator. Dry at 150°F (66°C) until the pieces are brittle and crush easily by hand. Grind the dried garlic to your preferred texture using a mortar and pestle or a blender. Store the finished garlic powder in an airtight container, where it will keep its flavor for up to two years.
Frequently Asked Questions
Is curing garlic necessary?
It’s not, but curing homegrown garlic is a great way to preserve the flavor and shelf life of these bulbs.
How long does garlic need to cure?
At least two weeks is needed to cure garlic and up to six weeks for some softneck varieties.
Can you eat garlic immediately after harvesting?
Indeed, you can, but the flavor will be much lighter than garlic that has been cured properly. Hardneck varieties should not need as much curing and can be eaten immediately.


